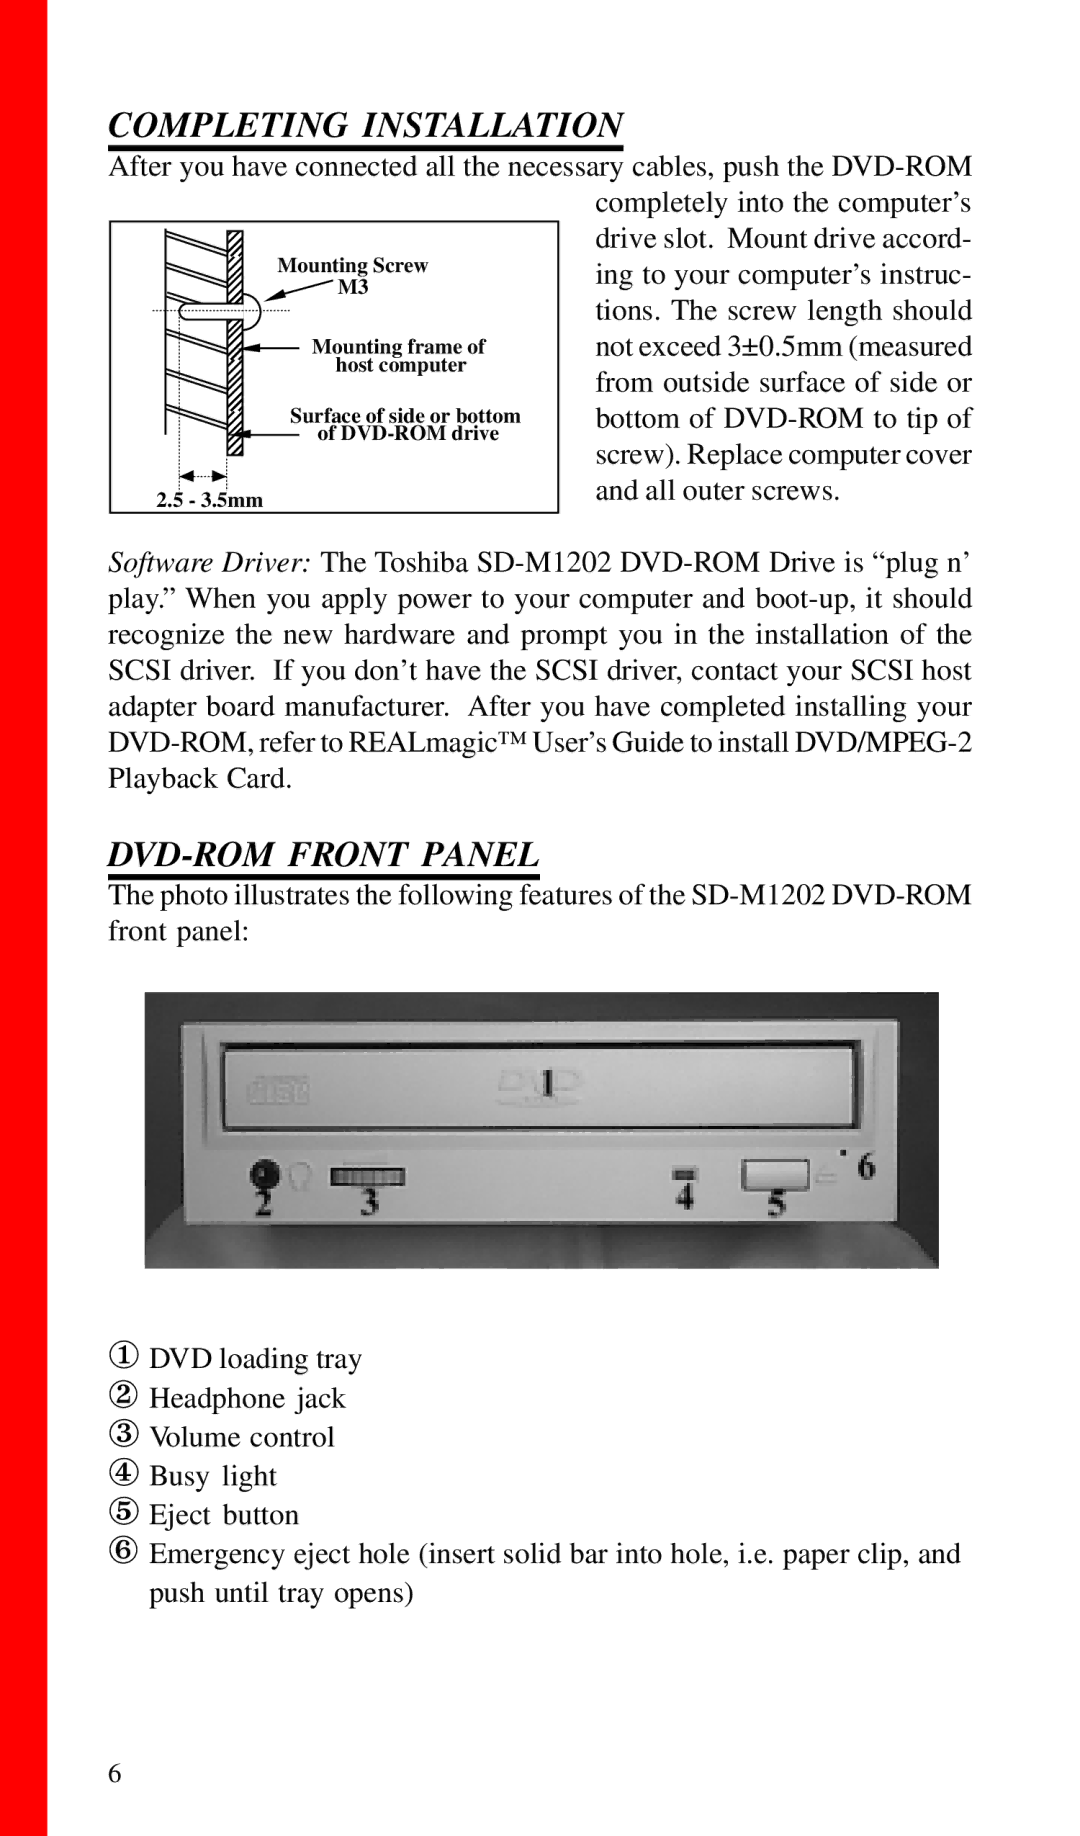
2.5 - 3.5mm
Mounting frame of host computer
Surface of side or bottom of DVD-ROM drive
M3
Mounting Screw
COMPLETING INSTALLATION
After you have connected all the necessary cables, push the DVD-ROM completely into the computer’s drive slot. Mount drive accord- ing to your computer’s instruc-
tions. The screw length should not exceed 3±0.5mm (measured from outside surface of side or bottom of DVD-ROM to tip of screw). Replace computer cover and all outer screws.
Software Driver: The Toshiba SD-M1202 DVD-ROM Drive is “plug n’ play.” When you apply power to your computer and boot-up, it should recognize the new hardware and prompt you in the installation of the SCSI driver. If you don’t have the SCSI driver, contact your SCSI host adapter board manufacturer. After you have completed installing your DVD-ROM, refer to REALmagic™ User’s Guide to install DVD/MPEG-2 Playback Card.
DVD-ROM FRONT PANEL
The photo illustrates the following features of the SD-M1202 DVD-ROM front panel:
①DVD loading tray
② Headphone jack
③ Volume control
④ Busy light
⑤ Eject button
⑥ Emergency eject hole (insert solid bar into hole, i.e. paper clip, and push until tray opens)