1.Turn
2.Insert a solid bar (i.e. large paper clip*) into Emergency Eject hole and push in as shown in the picture below.
3.
This procedure cannot be repeated without cycling the drive’s power. After the media is removed and the loading tray is closed, the tray will not reopen without first turning the power ON/OFF.
*Use a bar that is less than 1.5mm in diameter. Do not insert more than 50mm in depth as this may damage the drive.
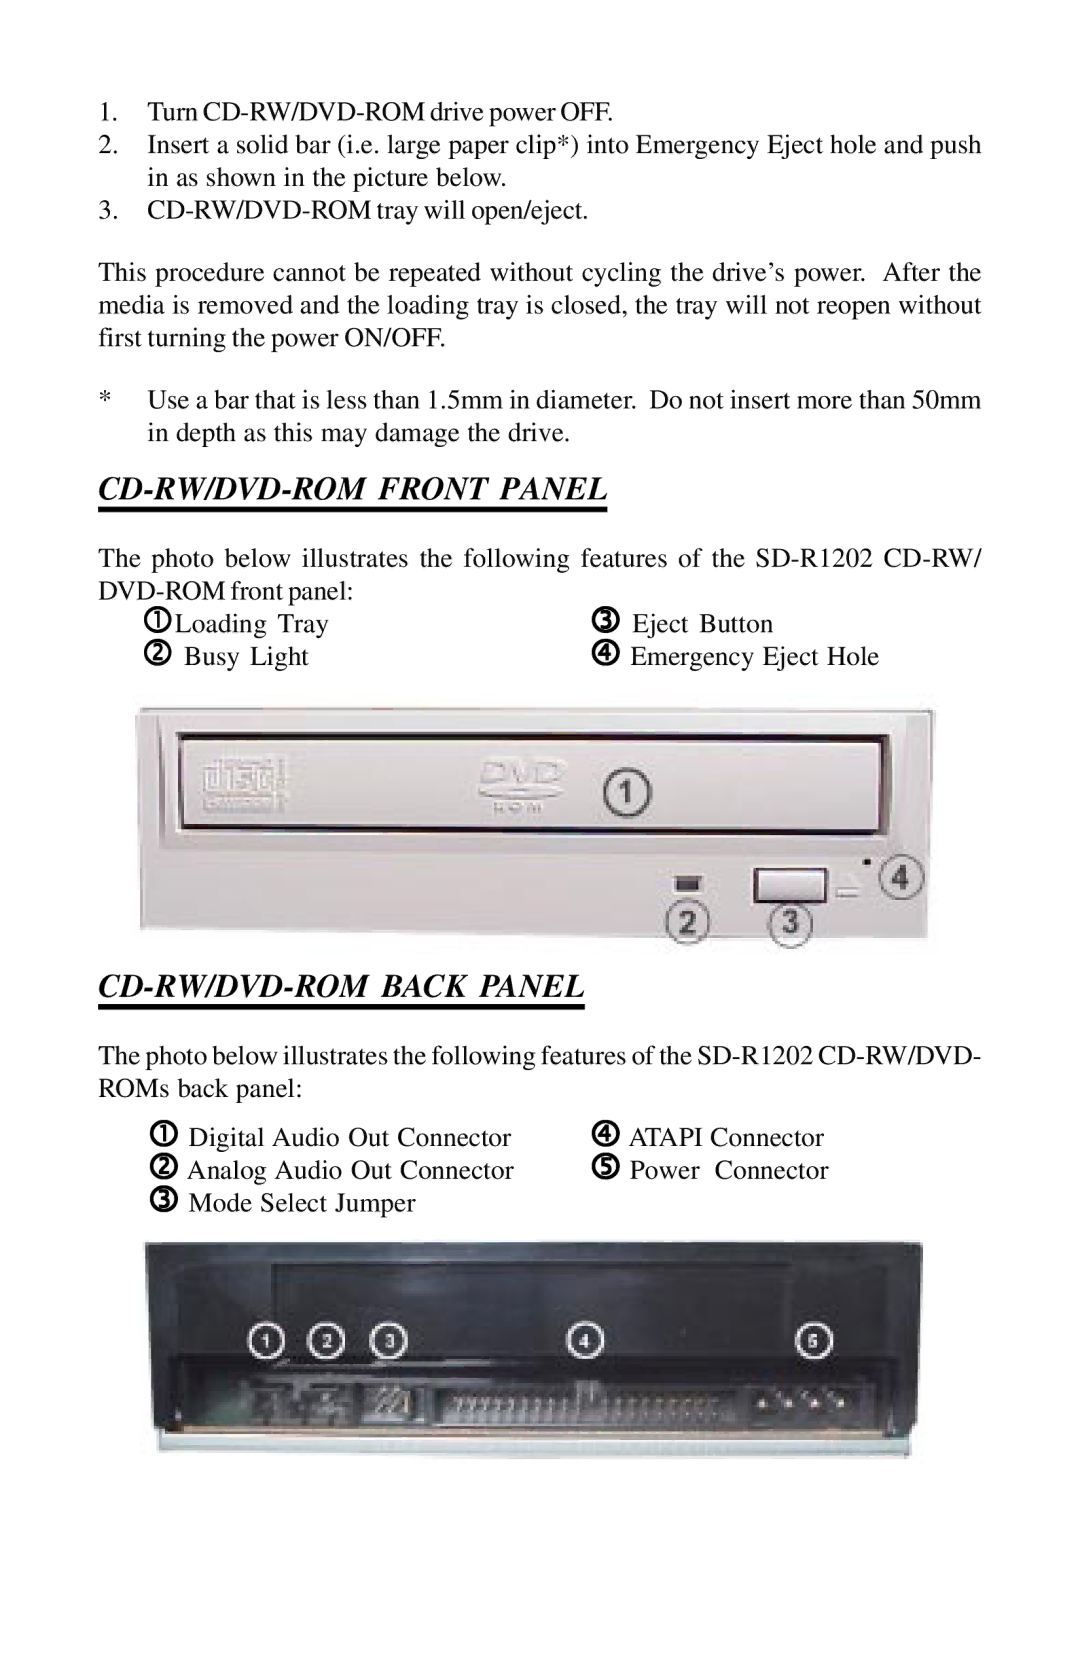
CD-RW/DVD-ROM FRONT PANEL
The photo below illustrates the following features of the
| |
"Loading Tray | # Eject Button |
$ Busy Light | % Emergency Eject Hole |
CD-RW/DVD-ROM BACK PANEL
The photo below illustrates the following features of the
" Digital Audio Out Connector | % ATAPI Connector |
$ Analog Audio Out Connector | & Power Connector |
# Mode Select Jumper |
|
