Placing DVD Rewriteable Drive inside your Computer
Now that you have set the jumpers, you are ready to install your DVD Rewriteable drive inside your computer.
![]() Important Note: Disconnect power from your computer system before beginning installation.
Important Note: Disconnect power from your computer system before beginning installation.
Remove computer cover and faceplate if required. Refer to your computer systems manual for removal information. If the DVD Rewriteable drive is replacing a
Your Toshiba DVD Rewriteable drive can be placed in any free
Carefully start sliding the DVD Rewriteable drive into the opening with the disc tray facing the front of the computer. Before you push the drive all the way in you will need to connect the IDE BUS cable, Audio cable and the Power cable on the back of the drive.
Connecting Cables
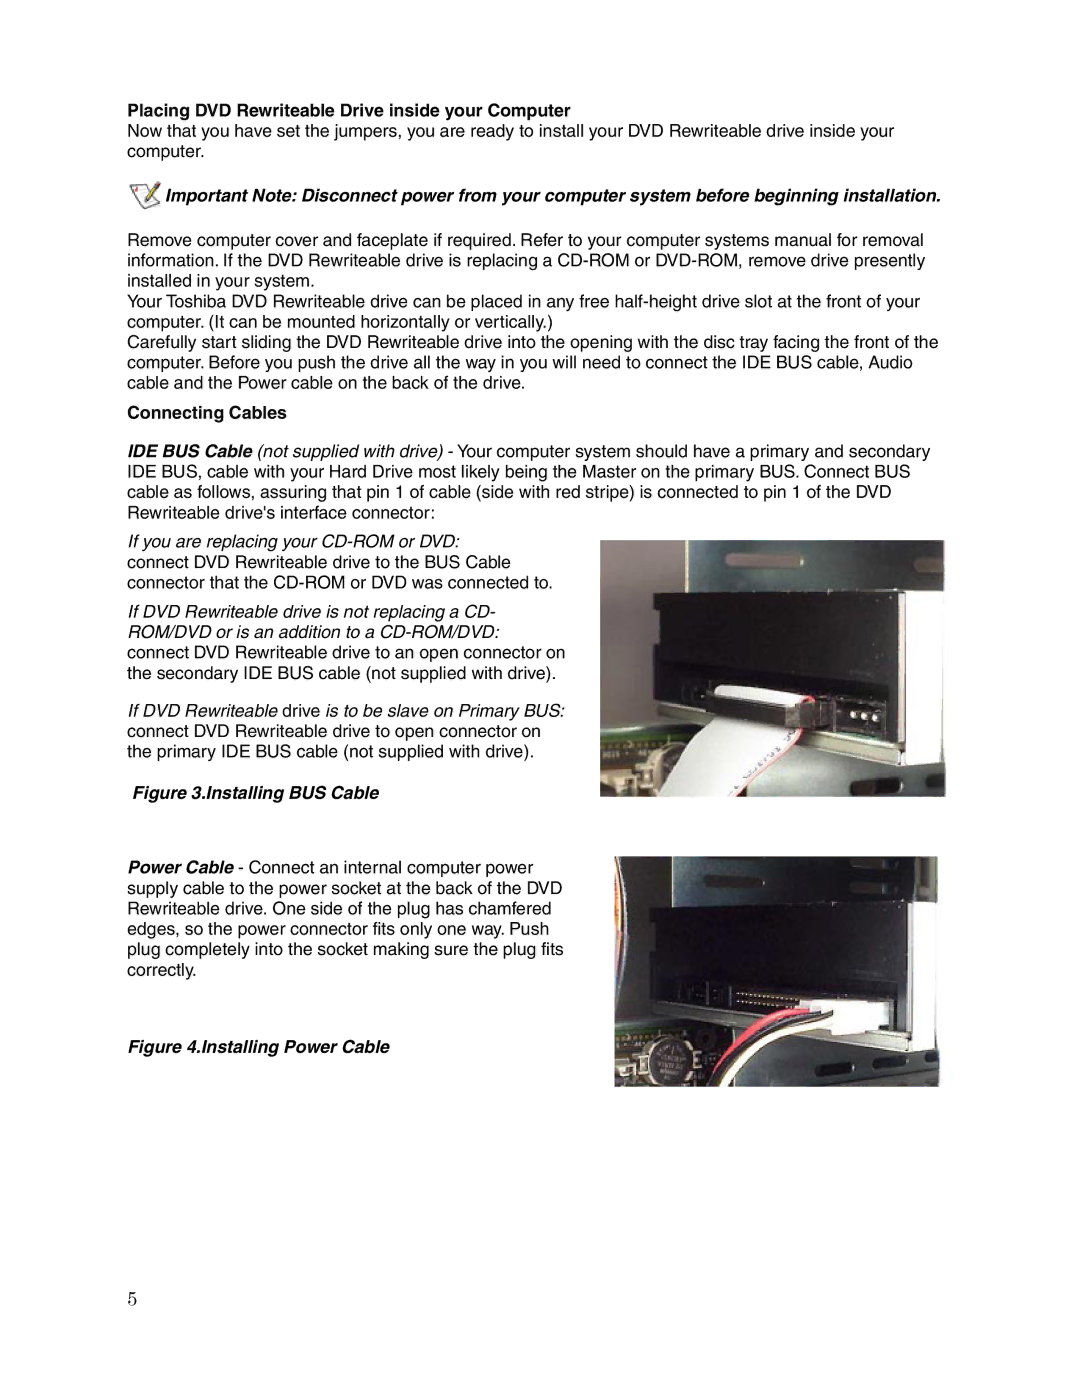
IDE BUS Cable (not supplied with drive) - Your computer system should have a primary and secondary IDE BUS, cable with your Hard Drive most likely being the Master on the primary BUS. Connect BUS cable as follows, assuring that pin 1 of cable (side with red stripe) is connected to pin 1 of the DVD Rewriteable drive's interface connector:
If you are replacing your
If DVD Rewriteable drive is not replacing a CD- ROM/DVD or is an addition to a
If DVD Rewriteable drive is to be slave on Primary BUS: connect DVD Rewriteable drive to open connector on the primary IDE BUS cable (not supplied with drive).
Figure 3.Installing BUS Cable
Power Cable - Connect an internal computer power supply cable to the power socket at the back of the DVD Rewriteable drive. One side of the plug has chamfered edges, so the power connector fits only one way. Push plug completely into the socket making sure the plug fits correctly.
Figure 4.Installing Power Cable
5