)Note:
1.If you press the Pair button for more than 10 seconds, the Powerline Adapter will leave the network which it is associated with and its network name assumes a random value. The Power LED turns off when it disconnects from the Powerline network.
2.For detailed information about the Pair button, please refer to Charpter 5 Advanced Feature:How to Use the Pair Buttons
2.4 Connection Instruction
To ensure the optimum performance of the Powerline Adapter and significantly improve the transmission capacity of the network, we recommend that you comply with the following connection rule:
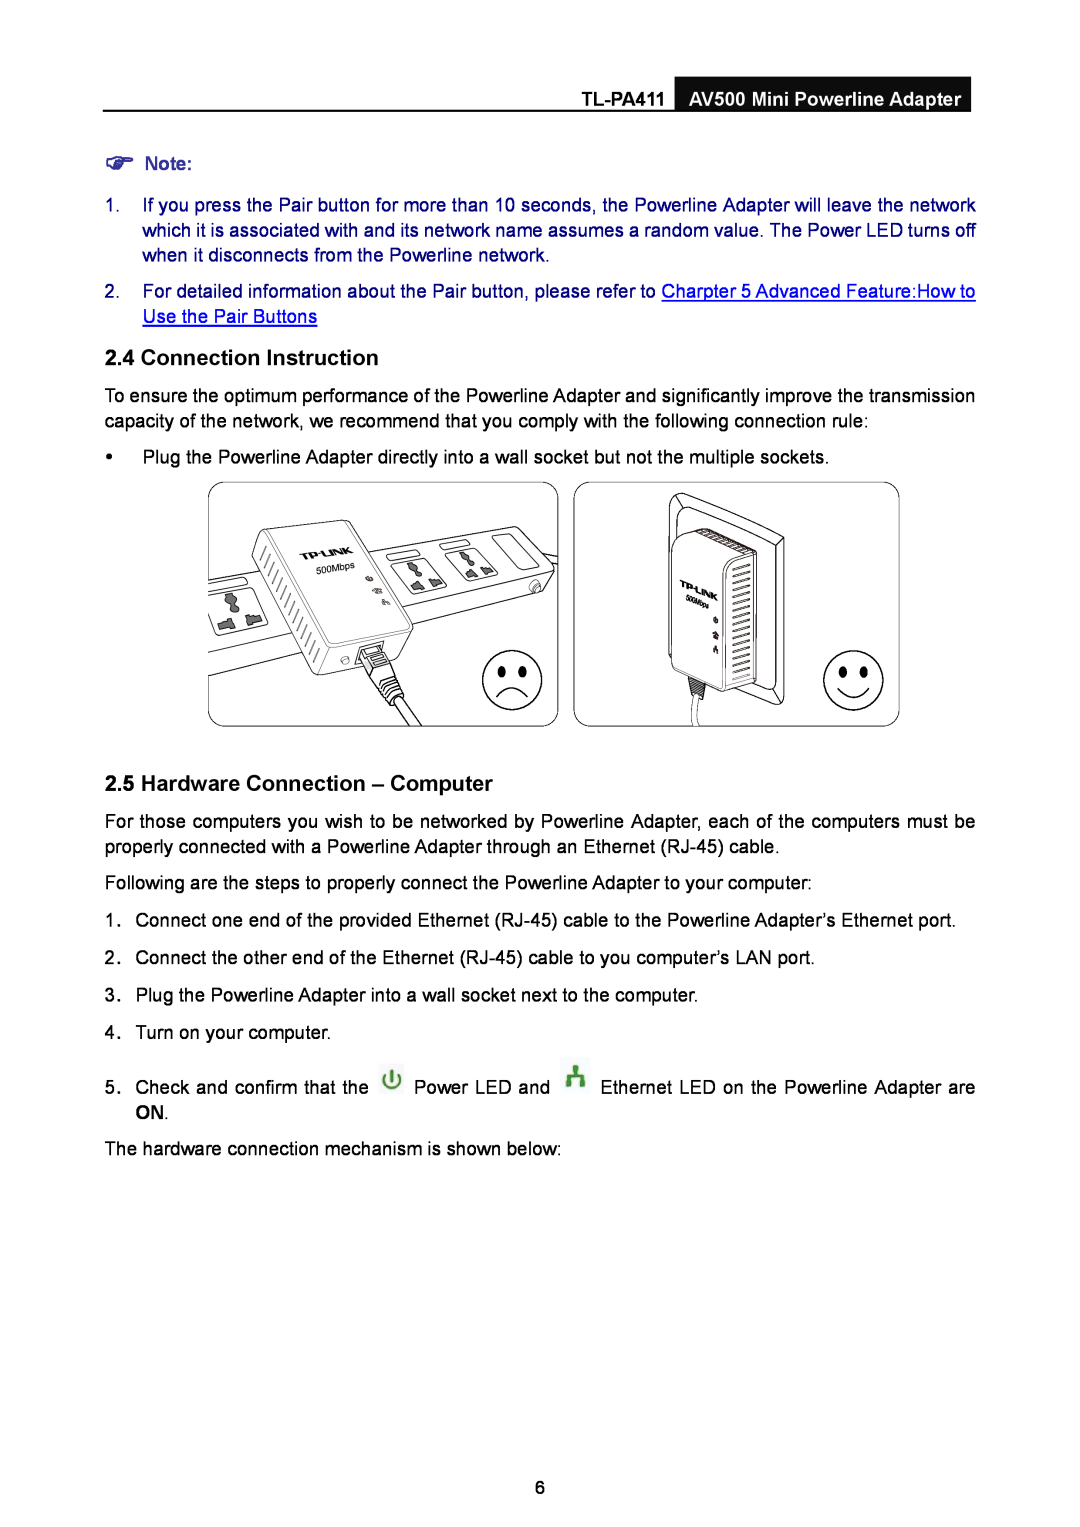
yPlug the Powerline Adapter directly into a wall socket but not the multiple sockets.
2.5 Hardware Connection – Computer
For those computers you wish to be networked by Powerline Adapter, each of the computers must be properly connected with a Powerline Adapter through an Ethernet
Following are the steps to properly connect the Powerline Adapter to your computer:
1.Connect one end of the provided Ethernet
2.Connect the other end of the Ethernet
3.Plug the Powerline Adapter into a wall socket next to the computer.
4.Turn on your computer.
5.Check and confirm that the ![]() Power LED and
Power LED and ![]() Ethernet LED on the Powerline Adapter are ON.
Ethernet LED on the Powerline Adapter are ON.
The hardware connection mechanism is shown below:
6