CONNECTING TO A POWER SOURCE
Note: SFP transceivers are not provided in the switch package.
Connecting to a Power Source
To connect a device to a power source:
1.First verify that the external AC power supply can provide 100 to 240 VAC,
2.Plug the power cable into a grounded,
Note: For international use, you may need to change the AC line cord. You must use a line cord set that has been approved for the socket type in your country.
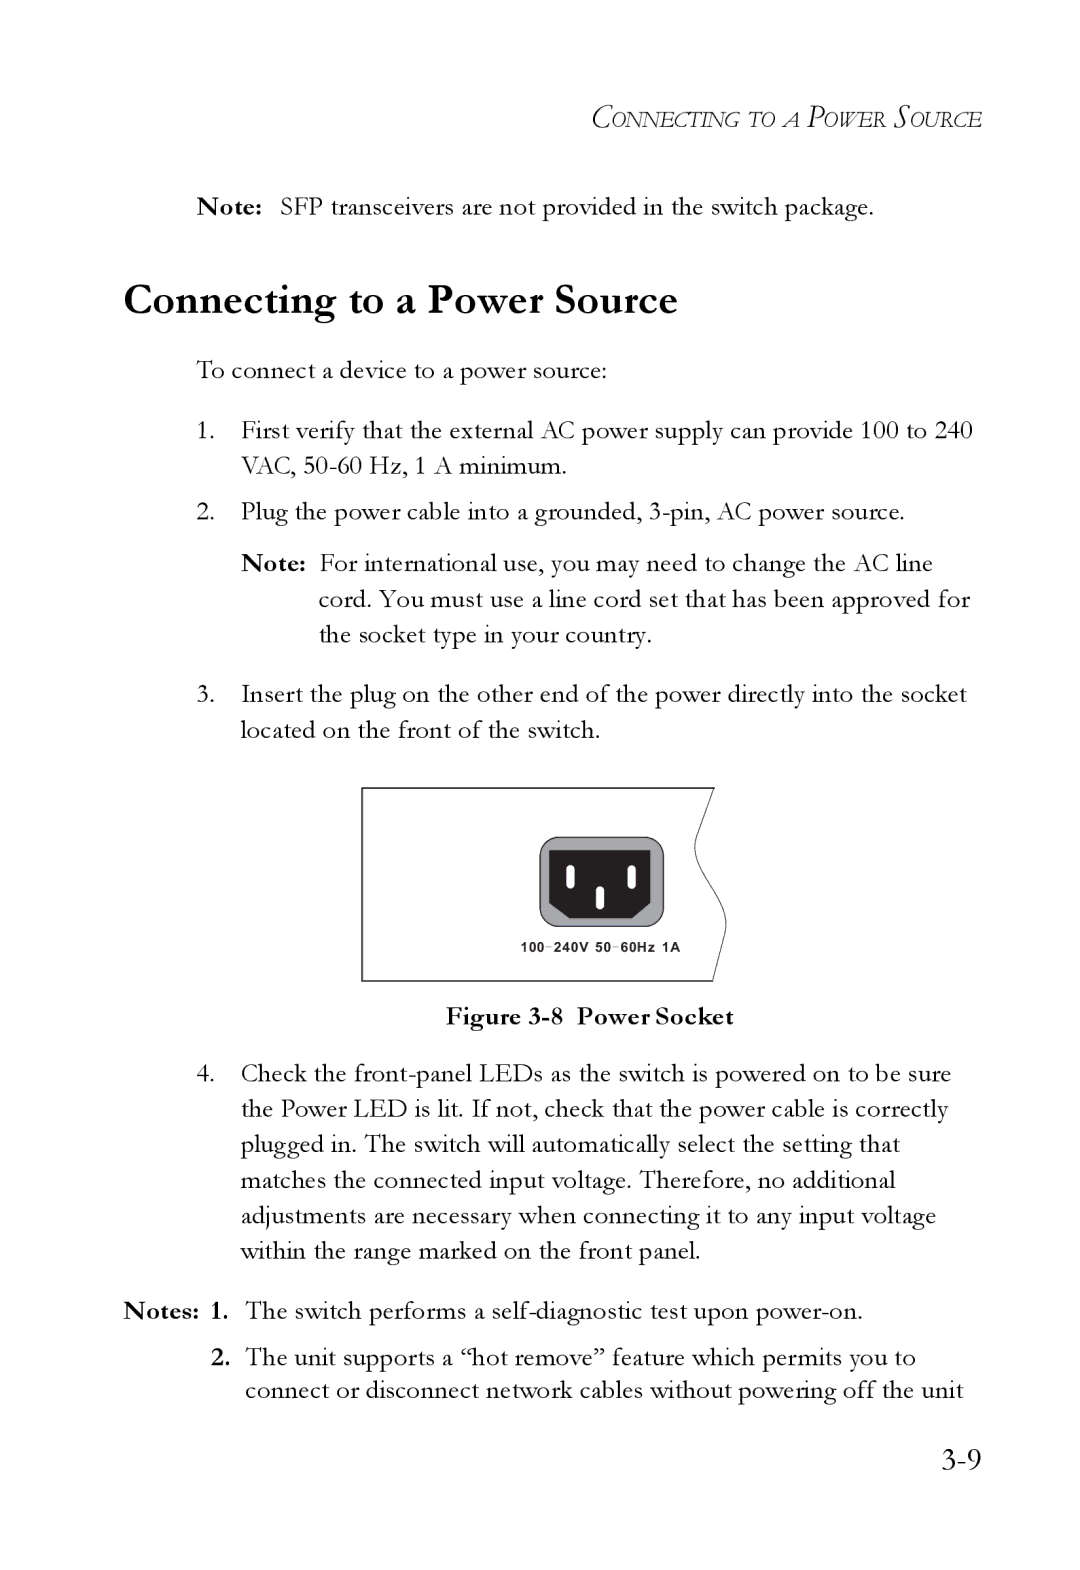
3.Insert the plug on the other end of the power directly into the socket located on the front of the switch.
100- 240V
Figure 3-8 Power Socket
4.Check the
Notes: 1. The switch performs a
2.The unit supports a “hot remove” feature which permits you to connect or disconnect network cables without powering off the unit