Note: DO NOT PRESS the port 1 button for 3 seconds or longer on any slave switch because this will initialize only the switches downstream from this slave switch.
10.Turn ON the connected computers
Rack Mount
The KVM Switch can be mounted in an EIA
Note: If you would like to mount the KVM switch to a EIA 19” equipment rack, install the included mounting brackets to the sides of the KVM switch, secure them with the screws provided, and then mount the KVM switch to the equipment rack with the hardware provided by the equipment rack manufacturer.
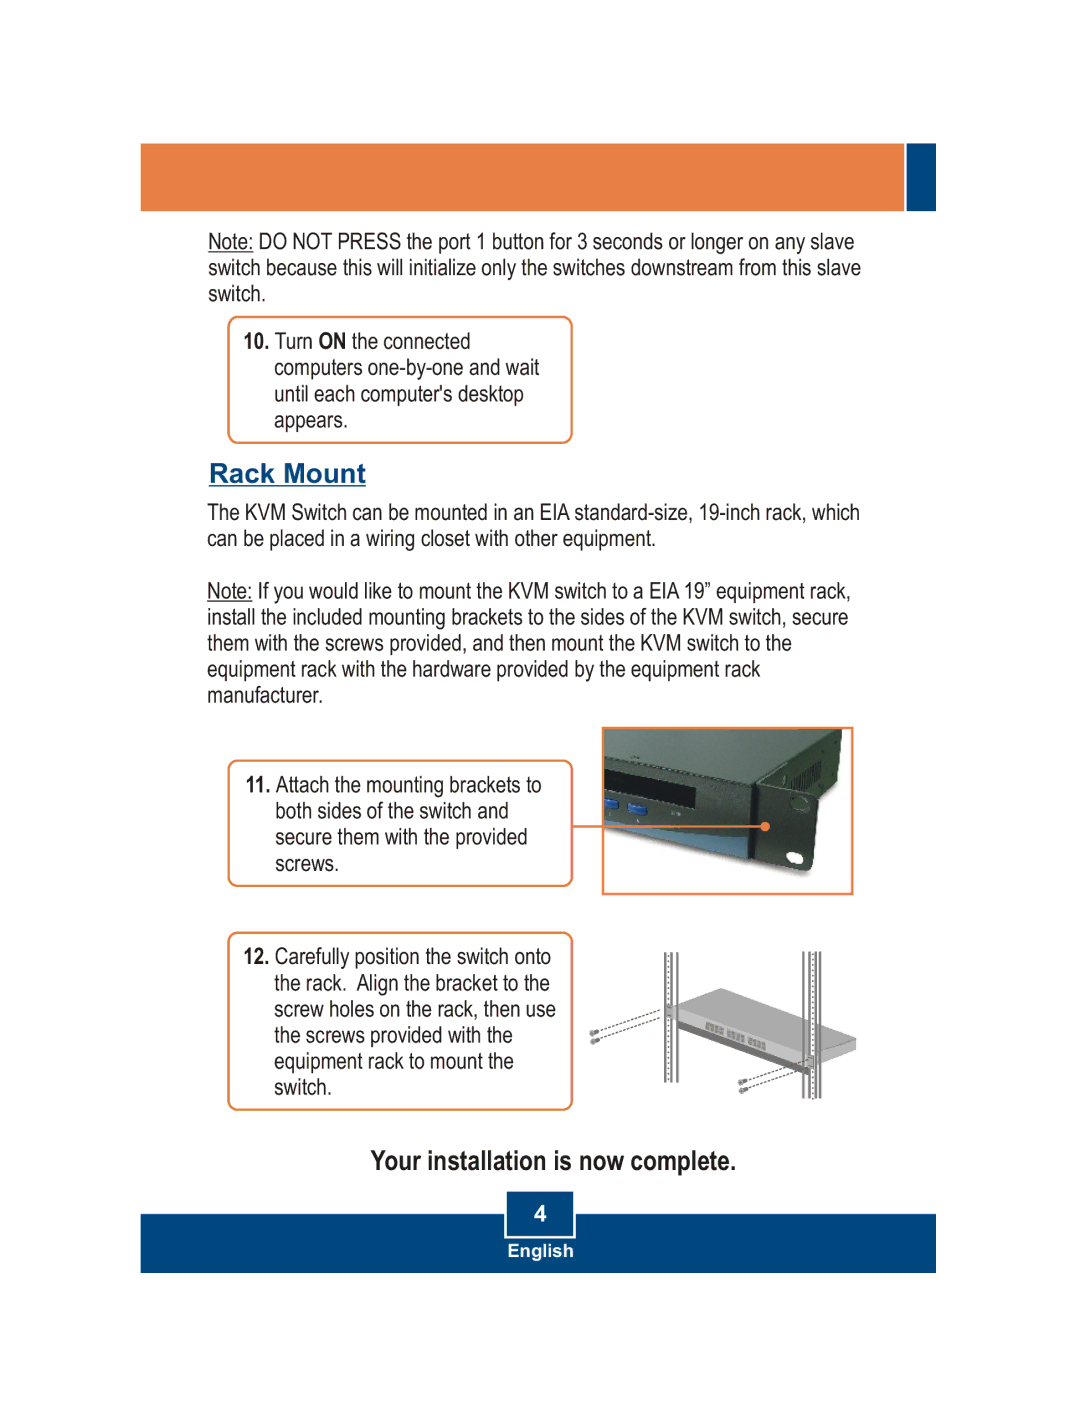
11.Attach the mounting brackets to both sides of the switch and secure them with the provided screws.
12. Carefully position the switch onto the rack. Align the bracket to the screw holes on the rack, then use the screws provided with the equipment rack to mount the switch.
Your installation is now complete.
4
English