MAINTENANCE AND CLEANING
Before any maintenance or cleaning work is carried out, DISCONNECT the appliance from the ELECTRICITY supply.
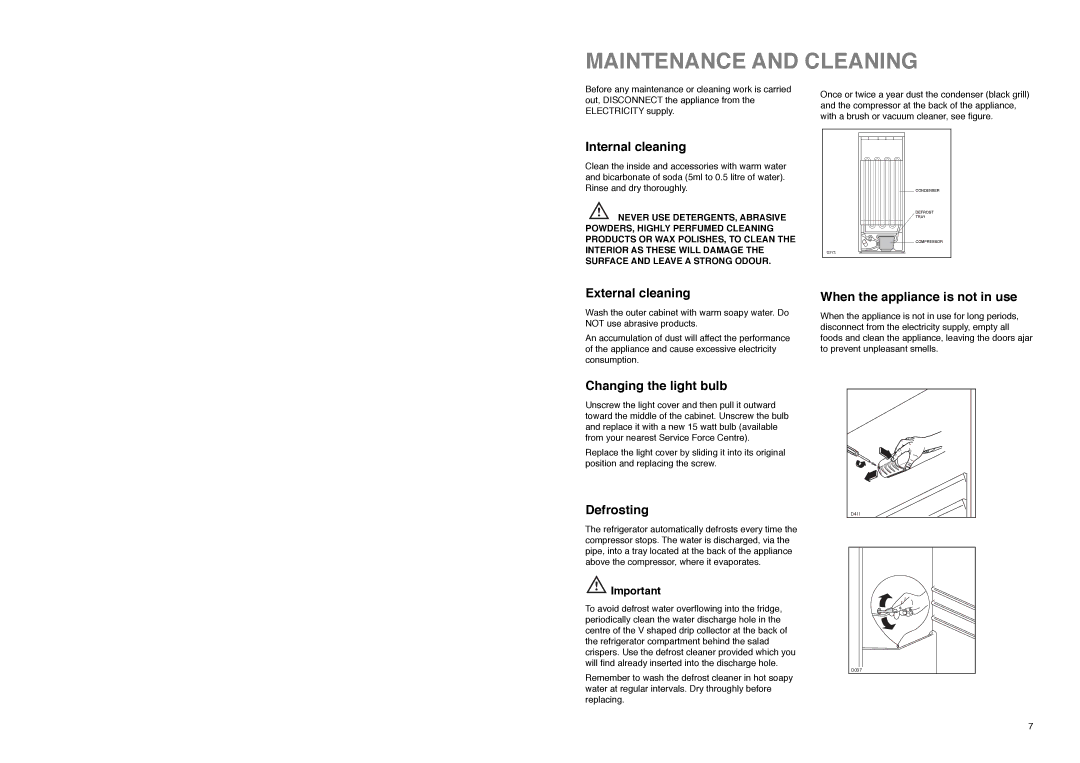
Once or twice a year dust the condenser (black grill) and the compressor at the back of the appliance, with a brush or vacuum cleaner, see figure.
Internal cleaning
Clean the inside and accessories with warm water and bicarbonate of soda (5ml to 0.5 litre of water). Rinse and dry thoroughly.
![]() NEVER USE DETERGENTS, ABRASIVE POWDERS, HIGHLY PERFUMED CLEANING PRODUCTS OR WAX POLISHES, TO CLEAN THE INTERIOR AS THESE WILL DAMAGE THE SURFACE AND LEAVE A STRONG ODOUR.
NEVER USE DETERGENTS, ABRASIVE POWDERS, HIGHLY PERFUMED CLEANING PRODUCTS OR WAX POLISHES, TO CLEAN THE INTERIOR AS THESE WILL DAMAGE THE SURFACE AND LEAVE A STRONG ODOUR.
D273
CONDENSER
DEFROST
TRAY
COMPRESSOR
External cleaning
Wash the outer cabinet with warm soapy water. Do NOT use abrasive products.
An accumulation of dust will affect the performance of the appliance and cause excessive electricity consumption.
Changing the light bulb
Unscrew the light cover and then pull it outward toward the middle of the cabinet. Unscrew the bulb and replace it with a new 15 watt bulb (available from your nearest Service Force Centre).
Replace the light cover by sliding it into its original position and replacing the screw.
Defrosting
The refrigerator automatically defrosts every time the compressor stops. The water is discharged, via the pipe, into a tray located at the back of the appliance above the compressor, where it evaporates.
![]() Important
Important
To avoid defrost water overflowing into the fridge, periodically clean the water discharge hole in the centre of the V shaped drip collector at the back of the refrigerator compartment behind the salad crispers. Use the defrost cleaner provided which you will find already inserted into the discharge hole.
Remember to wash the defrost cleaner in hot soapy water at regular intervals. Dry throughly before replacing.
When the appliance is not in use
When the appliance is not in use for long periods, disconnect from the electricity supply, empty all foods and clean the appliance, leaving the doors ajar to prevent unpleasant smells.
D411 |
D037 |
7
