
B004-DUA4-K-R specifications
The Tripp Lite B004-DUA4-K-R is a high-performance HDMI KVM switch designed to facilitate seamless control over multiple computers using a single set of keyboard, video display, and mouse. This device is particularly valuable for environments where space-saving and efficient multi-computer management are priorities, such as server rooms, data centers, or even home office setups.One of the central features of the B004-DUA4-K-R is its support for 4K resolutions at 60Hz, ensuring that users can enjoy high-quality video output from their connected devices. Featuring advanced HDMI technology, this KVM switch allows for the simultaneous connection of up to four computers, with the ability to switch between them effortlessly. The seamless transition between systems is facilitated by push-button controls on the device, providing a user-friendly interface for rapid access.
Another significant characteristic of the B004-DUA4-K-R is its USB connectivity, which enables it to support various USB peripherals in addition to the keyboard and mouse. This feature is beneficial for individuals requiring additional devices such as printers, scanners, or external storage, ensuring that all equipment can be easily managed through one coherent system.
The KVM switch is also equipped with audio support, allowing users to manage audio output alongside video output. This integration of audio and video makes it convenient for users who need to maintain high-quality audio alongside their visual content. The device supports multiple audio formats to ensure a versatile audio experience.
Reliability and durability are crucial factors in the design of the B004-DUA4-K-R. Tripp Lite is known for its rugged build quality, and this KVM switch is no exception. It is designed to withstand the rigors of continuous use in demanding environments, ensuring long-term performance.
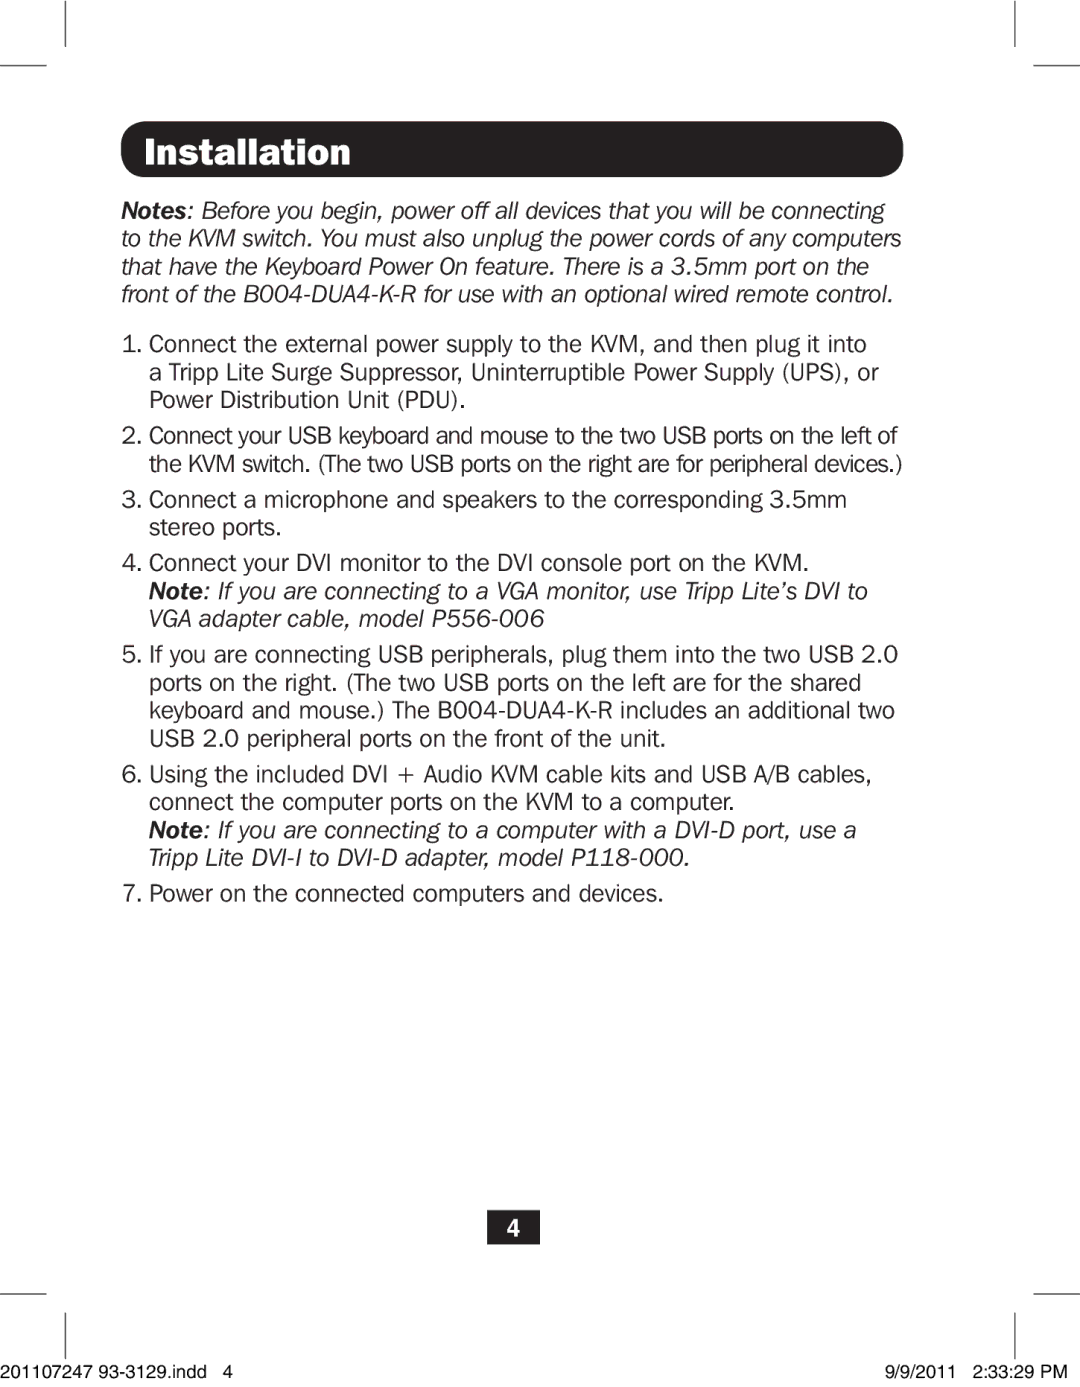
In terms of installation, the KVM switch is straightforward, typically requiring no additional software or drivers. Plug-and-play functionality allows users to set up their systems quickly and start switching between computers within minutes. Additionally, the compact size of the B004-DUA4-K-R makes it an ideal choice for users with limited workspace.
In summary, the Tripp Lite B004-DUA4-K-R KVM switch combines high-definition video support, seamless USB peripheral connectivity, audio management, and robust build quality to cater to a wide range of user needs, making it an essential tool for effective multi-computer management.