5. Rackmounting
Standard Rackmounting
The B021-000-19-SH can be mounted in a standard 1U system rack, or in a short-depth enclosure down to 19 in., using the included mounting brackets.
Install the mounting brackets to the sides of the module as shown.
Slide the module into the rack enclosure and secure it to the rack with screws.
Optional Rackmounting
The B021-000-19-SH can also be mounted in a 2-post rack installation using a 2-Post Rackmount Kit (Model B010-000), available separately from Tripp Lite. This kit includes mounting hardware that enables the console to
be extended with the drawer in any position. Heavy-duty 14-gauge steel provides stability and prevents the console frame from twisting.
6. Connection
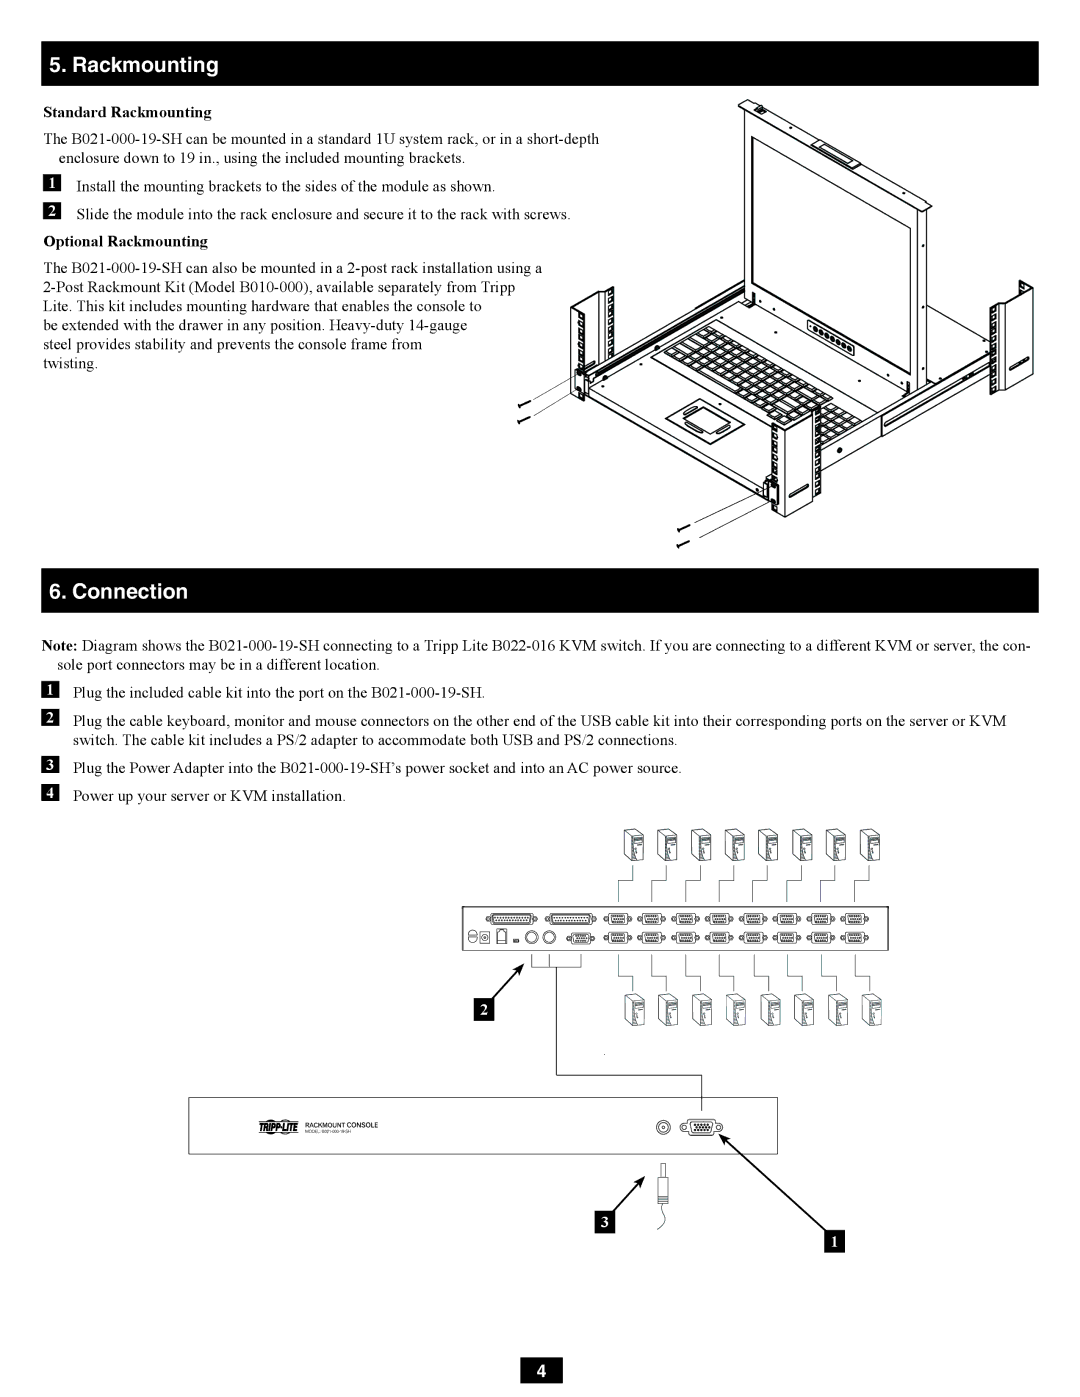
Note: Diagram shows the B021-000-19-SH connecting to a Tripp Lite B022-016 KVM switch. If you are connecting to a different KVM or server, the con- sole port connectors may be in a different location.
Plug the included cable kit into the port on the B021-000-19-SH.
Plug the cable keyboard, monitor and mouse connectors on the other end of the USB cable kit into their corresponding ports on the server or KVM switch. The cable kit includes a PS/2 adapter to accommodate both USB and PS/2 connections.
Plug the Power Adapter into the B021-000-19-SH’s power socket and into an AC power source. Power up your server or KVM installation.
2
3
1