Standard Installation
Note:
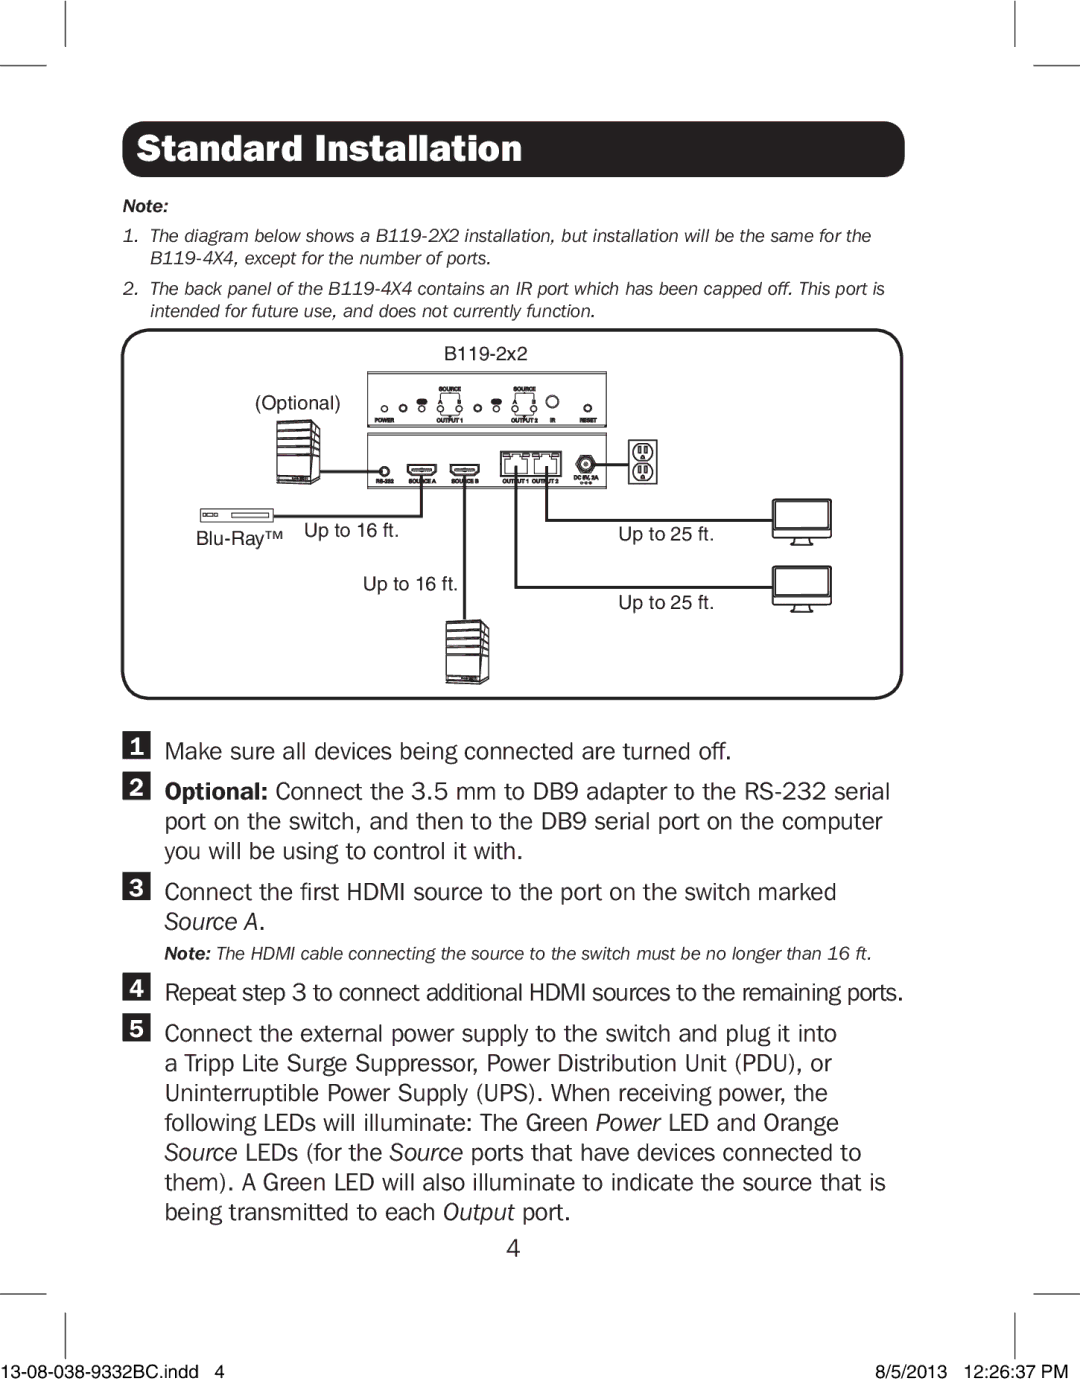
1.The diagram below shows a
2.The back panel of the
(Optional)
Up to 16 ft.
Up to 25 ft. |
Up to 25 ft.
1Make sure all devices being connected are turned off.
2Optional: Connect the 3.5 mm to DB9 adapter to the
3Connect the first HDMI source to the port on the switch marked
Source A.
Note: The HDMI cable connecting the source to the switch must be no longer than 16 ft.
4Repeat step 3 to connect additional HDMI sources to the remaining ports.
5Connect the external power supply to the switch and plug it into a Tripp Lite Surge Suppressor, Power Distribution Unit (PDU), or Uninterruptible Power Supply (UPS). When receiving power, the following LEDs will illuminate: The Green Power LED and Orange
Source LEDs (for the Source ports that have devices connected to them). A Green LED will also illuminate to indicate the source that is being transmitted to each Output port.
4
8/5/2013 12:26:37 PM |