RS-1215, RS-1215-RA, IBAR 12 ULTRA, DRS-1215, RS-0615-R specifications
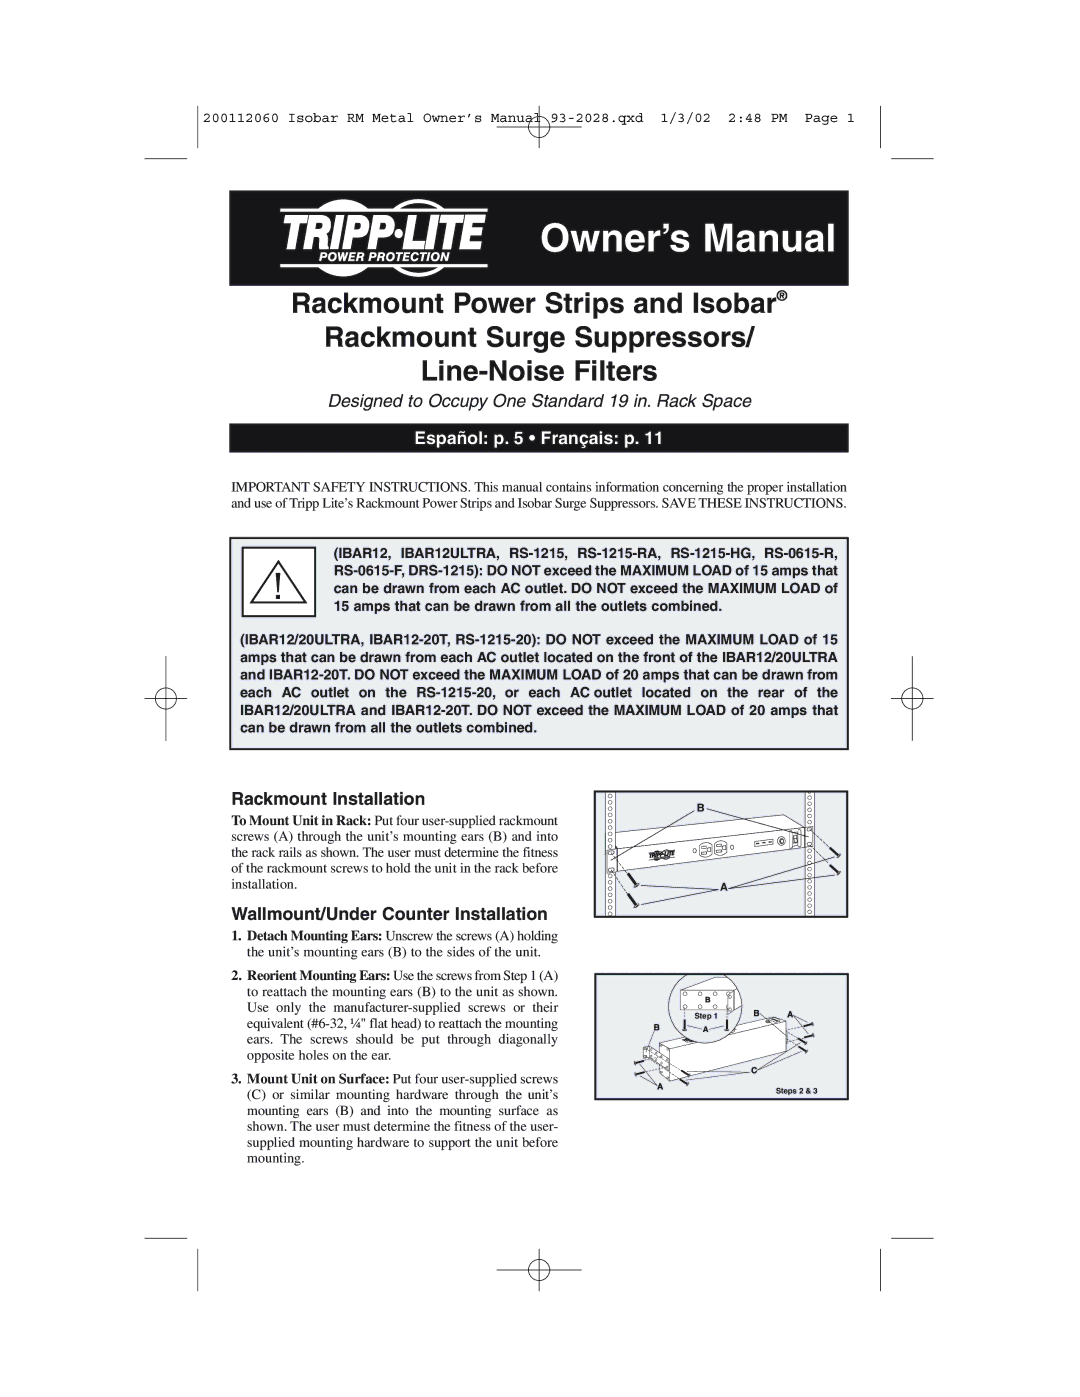
The Tripp Lite RS-1215-RA is a robust power distribution unit designed specifically for data centers and network environments. With its versatile features, it effectively manages and distributes power, ensuring reliable operation of critical equipment. The RS-1215-RA supports a wide range of electrical devices with an impressively designed layout that accommodates multiple configurations.Key features of the Tripp Lite RS-1215-RA include a heavy-duty metal housing that offers durability while maintaining a lightweight profile for easy installation. The unit is equipped with 12 AC outlets that are strategically spaced for the convenient connection of large power adapters and other devices. An integrated circuit breaker provides overload protection, safeguarding connected equipment from electrical surges and ensuring safety.
The technology behind the Tripp Lite RS-0615-R enhances its performance by incorporating advanced power monitoring capabilities. This allows users to track power consumption metrics, which can be critical for optimizing energy efficiency in environments with extensive IT infrastructure. The RS-0615-R is designed to facilitate efficient energy distribution, enabling businesses to manage their power usage effectively.
Additionally, the RS0615F model offers features such as a built-in LED indicator that provides real-time status updates on power conditions, making it easier for users to identify potential issues. Its compact design and mounting capabilities allow for flexible positioning within racks or wall-mounted setups, catering to various installation requirements.
The IBAR 12 ULTRA version further elevates the standard by introducing enhanced surge protection technology that defends against spikes and dips in electrical supply. This model is ideal for mission-critical applications, where continuous uptime is essential. With a focus on safety, the IBAR 12 ULTRA complies with UL standards, ensuring that it meets rigorous safety requirements for electrical equipment.
In summary, the Tripp Lite RS-1215-RA, RS-0615-R, RS0615F, and IBAR 12 ULTRA are essential components in modern data infrastructure. Together, they provide reliable power distribution, advanced monitoring, and superior protection against electrical disturbances. Their innovative design and cutting-edge technology enable them to support various applications in growing and demanding IT environments, making them a valuable investment for any organization.