4.Enclosure Installation (continued)
4.5Leveling
WARNING: Level the enclosure before attempting to install equipment. Install the enclosure in a structurally sound area with a level floor that is able to bear the weight of the enclosure, all equipment that will be installed in the enclosure and any other enclosures and/or equipment that will be installed nearby.
1After the enclosure has been moved to the installation location, use a carpenter's level to check the slope of the floor. If the floor slopes more than 1%, choose an alternate installation site.
1
2Use a 14 mm
FLOOR
![]()
![]() A
A
2
3After lowering each leveler, use the carpenter's level to confirm that the enclosure is level in all directions. Adjust the levelers as required until the enclosure is level.
3
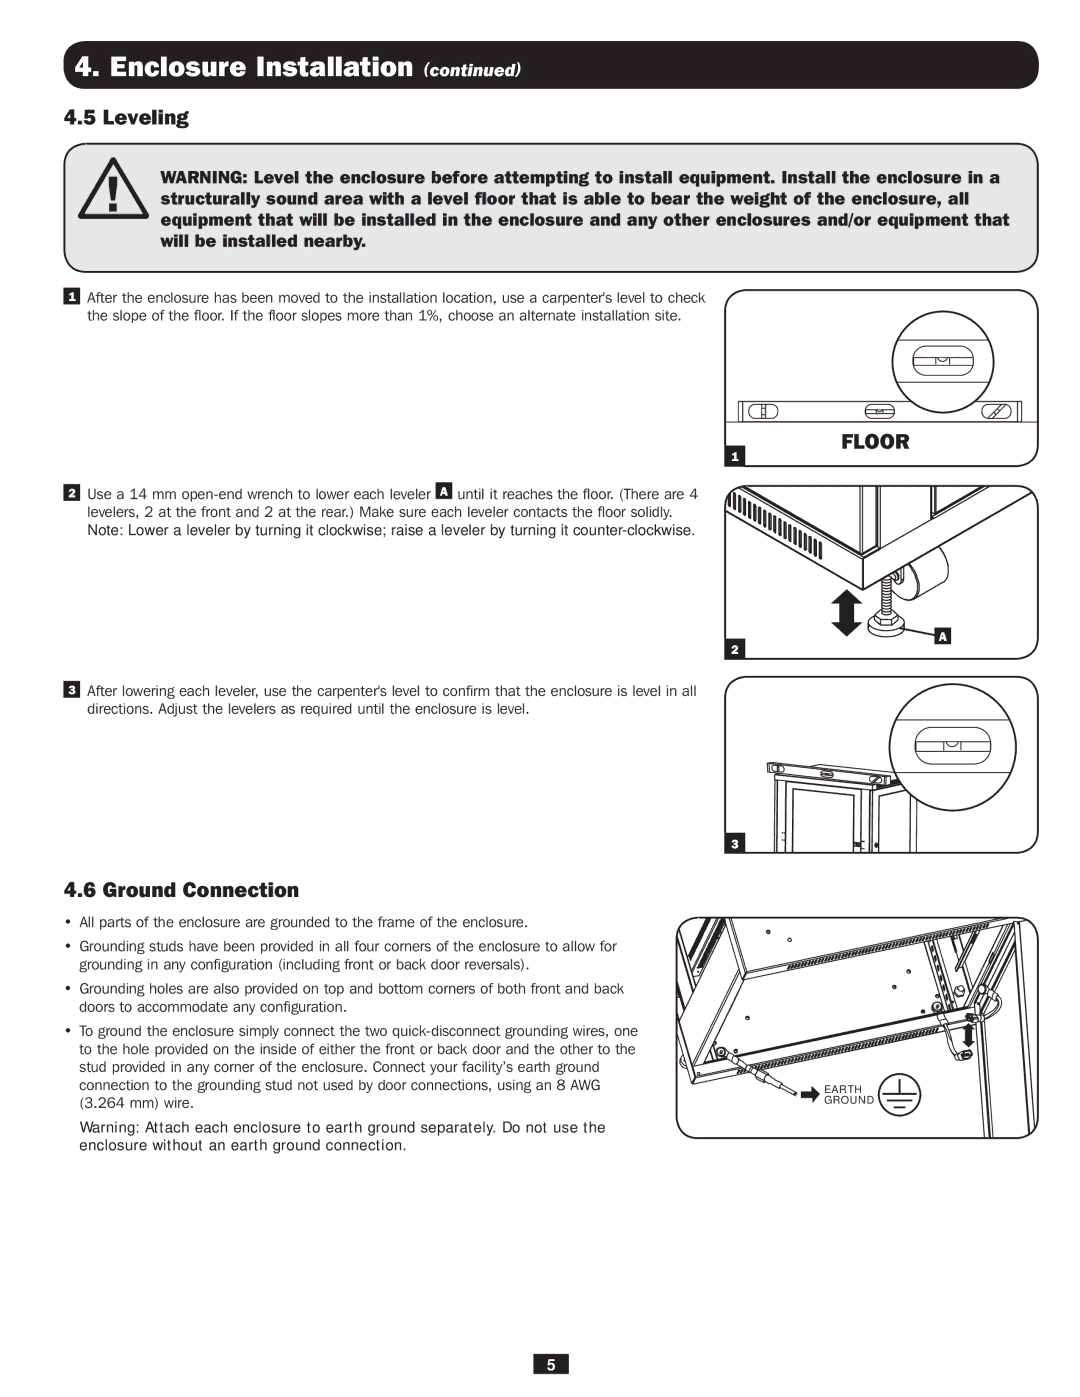
4.6 Ground Connection
•All parts of the enclosure are grounded to the frame of the enclosure.
•Grounding studs have been provided in all four corners of the enclosure to allow for grounding in any configuration (including front or back door reversals).
•Grounding holes are also provided on top and bottom corners of both front and back doors to accommodate any configuration.
•To ground the enclosure simply connect the two
Warning: Attach each enclosure to earth ground separately. Do not use the enclosure without an earth ground connection.
EARTH GROUND ![]()
5