
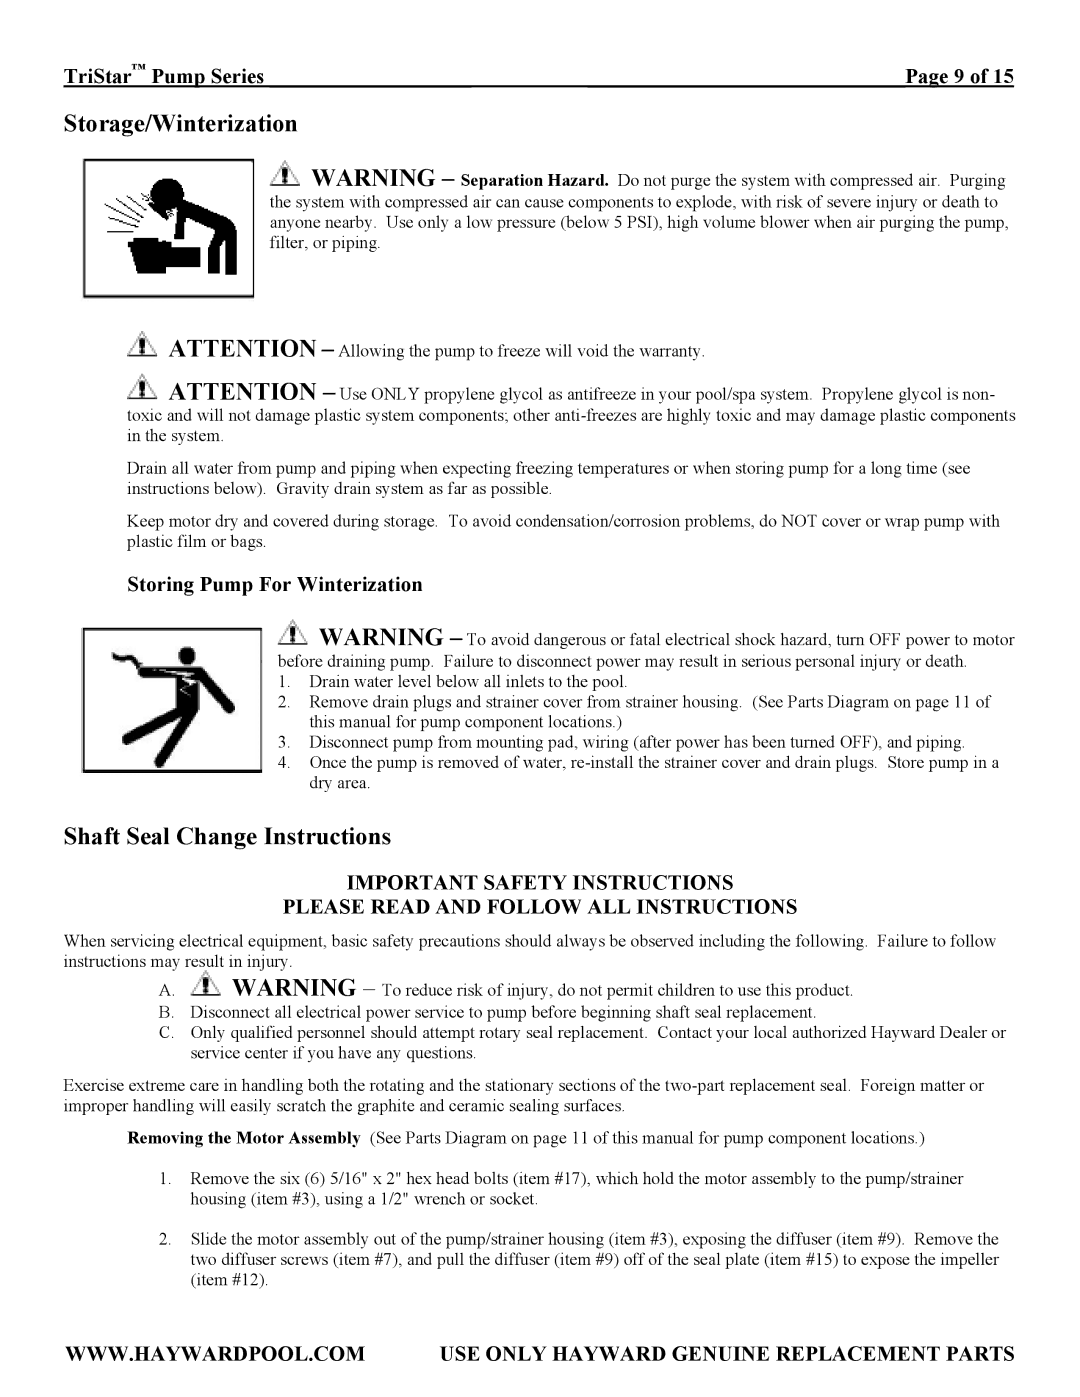
SP3010EEAZ, SP3210EE, SP3215X20, SP3015EEAZ, SP3210X15 specifications
The TriStar range of pressure and temperature transmitters, specifically the models SP3010EEAZ, SP3010X15AZ, SP3215X20, SP3207X10, and SP3210X15, showcases advanced technologies tailored for precision in industrial applications. These transmitters are engineered to provide accurate readings under a variety of conditions, enhancing the efficiency and reliability of processes.The SP3010EEAZ is designed for temperature measurement, utilizing a highly sensitive sensor that offers a wide temperature range. Its robust construction makes it ideal for harsh environments, ensuring durability and longevity. This model features advanced signal processing algorithms that minimize noise and improve measurement accuracy. Additionally, it supports multiple output options, allowing for versatile integration into existing systems.
Similarly, the SP3010X15AZ is a versatile pressure transmitter known for its compact design and high-performance characteristics. It employs piezoresistive sensing technology, which ensures quick response times and exceptional stability over time. The SP3010X15AZ is capable of measuring both gauge and absolute pressures, making it suitable for various applications across different industries. Its digital display provides real-time readings, enhancing operational oversight.
The SP3215X20 extends the range of capabilities with its dual functionality, measuring both pressure and temperature. Featuring an intuitive user interface, it allows for straightforward calibration and adjustment. This model incorporates advanced diagnostics, which can alert users to potential issues, ensuring that system integrity is maintained.
On the other hand, the SP3207X10 is a specialized transmitter with a focus on high-pressure applications. Equipped with reinforced housing and advanced sealing technologies, it offers unparalleled resistance to extreme conditions. Its design prioritizes safety, making it a reliable choice for critical processes.
Lastly, the SP3210X15 combines cutting-edge technology with user-friendly features. Its modular design allows for easy maintenance and upgrades, making it adaptable for evolving industrial needs. With high accuracy and a broad operational range, this model is perfect for applications requiring precise pressure and temperature monitoring.
In summary, the TriStar SP series transmitters exemplify innovation in pressure and temperature measurement. Their combination of advanced sensor technologies, user-centric designs, and robust construction positions them as ideal solutions for industrial applications, ensuring enhanced performance and reliability across various operational settings.