16Section 4: Operation
TILLING TIPS & TECHNIQUES (cont.)
Terrace Gardening (continued)
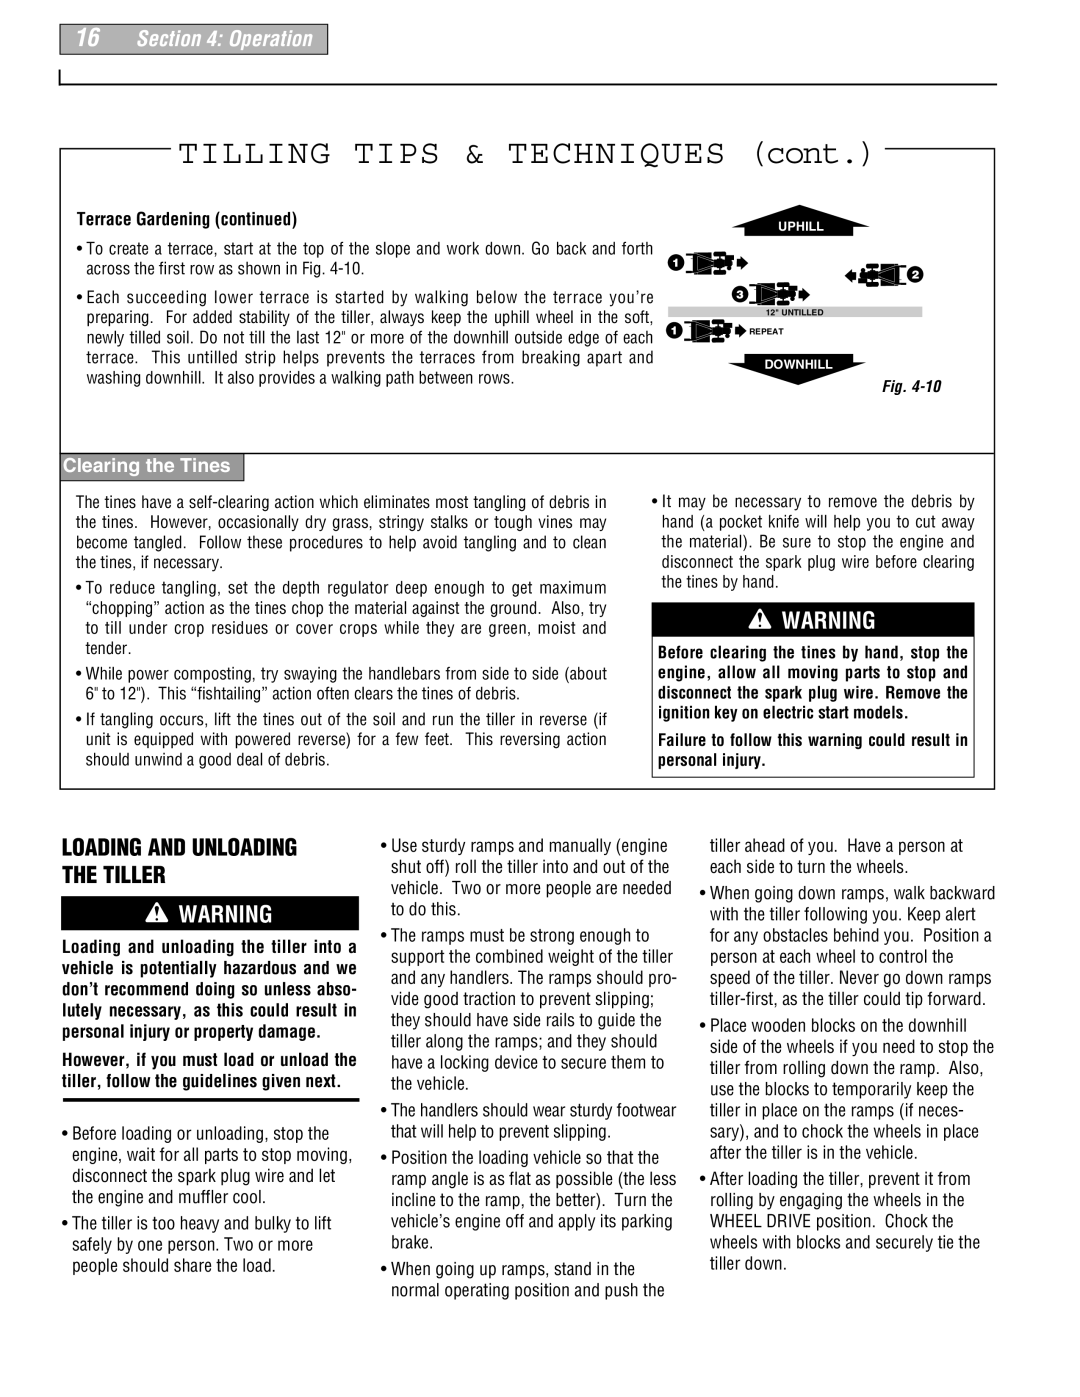
•To create a terrace, start at the top of the slope and work down. Go back and forth across the first row as shown in Fig.
•Each succeeding lower terrace is started by walking below the terrace you’re preparing. For added stability of the tiller, always keep the uphill wheel in the soft, newly tilled soil. Do not till the last 12" or more of the downhill outside edge of each terrace. This untilled strip helps prevents the terraces from breaking apart and washing downhill. It also provides a walking path between rows.
1
1
UPHILL
2
3
12" UNTILLED
![]() REPEAT
REPEAT
DOWNHILL
Fig.
Clearing the Tines
The tines have a
•To reduce tangling, set the depth regulator deep enough to get maximum “chopping” action as the tines chop the material against the ground. Also, try to till under crop residues or cover crops while they are green, moist and tender.
•While power composting, try swaying the handlebars from side to side (about 6" to 12"). This “fishtailing” action often clears the tines of debris.
•If tangling occurs, lift the tines out of the soil and run the tiller in reverse (if unit is equipped with powered reverse) for a few feet. This reversing action should unwind a good deal of debris.
•It may be necessary to remove the debris by hand (a pocket knife will help you to cut away the material). Be sure to stop the engine and disconnect the spark plug wire before clearing the tines by hand.
WARNING
Before clearing the tines by hand, stop the engine, allow all moving parts to stop and disconnect the spark plug wire. Remove the ignition key on electric start models.
Failure to follow this warning could result in personal injury.
LOADING AND UNLOADING THE TILLER
WARNING
Loading and unloading the tiller into a vehicle is potentially hazardous and we don’t recommend doing so unless abso- lutely necessary, as this could result in personal injury or property damage.
However, if you must load or unload the tiller, follow the guidelines given next.
•Before loading or unloading, stop the engine, wait for all parts to stop moving, disconnect the spark plug wire and let the engine and muffler cool.
•The tiller is too heavy and bulky to lift safely by one person. Two or more people should share the load.
•Use sturdy ramps and manually (engine shut off) roll the tiller into and out of the vehicle. Two or more people are needed to do this.
•The ramps must be strong enough to support the combined weight of the tiller and any handlers. The ramps should pro- vide good traction to prevent slipping; they should have side rails to guide the tiller along the ramps; and they should have a locking device to secure them to the vehicle.
•The handlers should wear sturdy footwear that will help to prevent slipping.
•Position the loading vehicle so that the ramp angle is as flat as possible (the less incline to the ramp, the better). Turn the vehicle’s engine off and apply its parking brake.
•When going up ramps, stand in the normal operating position and push the
tiller ahead of you. Have a person at each side to turn the wheels.
•When going down ramps, walk backward with the tiller following you. Keep alert for any obstacles behind you. Position a person at each wheel to control the speed of the tiller. Never go down ramps
•Place wooden blocks on the downhill side of the wheels if you need to stop the tiller from rolling down the ramp. Also, use the blocks to temporarily keep the tiller in place on the ramps (if neces- sary), and to chock the wheels in place after the tiller is in the vehicle.
•After loading the tiller, prevent it from rolling by engaging the wheels in the WHEEL DRIVE position. Chock the wheels with blocks and securely tie the tiller down.