
TB120BV specifications
The Troy-Bilt TB120BV is a versatile and efficient gas-powered leaf blower, designed to tackle yard cleanup with ease and power. With a focus on performance and user comfort, this model stands out in the realm of outdoor maintenance tools.One of the defining features of the TB120BV is its powerful 25cc 2-cycle engine. This engine is engineered for optimal performance, delivering a strong airflow that can reach speeds of up to 150 miles per hour. This capability allows users to quickly clear leaves, debris, and grass clippings from sidewalks, driveways, and yards, making yard work a less tedious task.
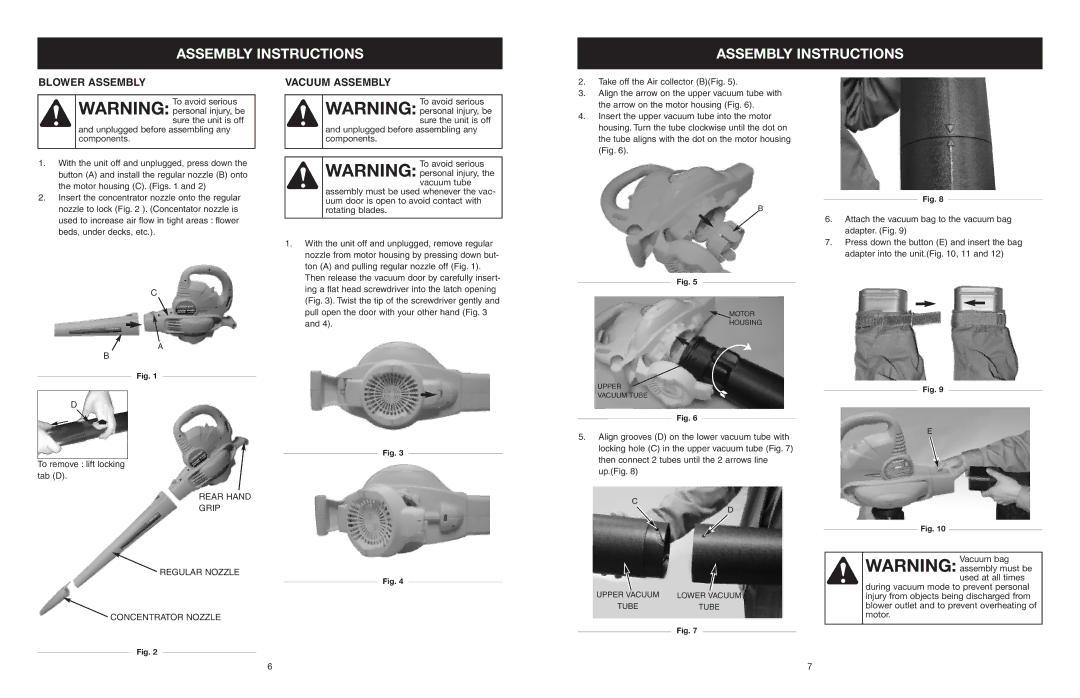
The TB120BV incorporates a unique vacuum and mulching feature, allowing users to not only blow leaves away but also collect and mulch them. This dual functionality is especially useful for those who want to keep their gardens tidy while also preparing nutrient-rich mulch for flower beds or gardens. The 10:1 mulching ratio ensures that collected debris is finely shredded, reducing the volume of waste and making disposal easier.
Comfort is a key aspect of the TB120BV, which features an ergonomic design. The lightweight construction, combined with a well-balanced design, minimizes user fatigue during extended use. The adjustable handle allows for personalized usage, while the easy-to-reach controls ensure that operations are seamless without straining the user's hands.
One of the standout technologies integrated into the TB120BV is the SpringAssist pull cord system, which simplifies starting the engine. This feature greatly reduces the effort required to start the blower, making the process hassle-free. Additionally, the blower is designed with low vibration technology, which enhances comfort and minimizes fatigue during prolonged use.
The TB120BV also features a quiet operational mode, which reduces noise levels compared to traditional gas-powered blowers. This is particularly beneficial for residential use where noise restrictions may apply.
With a fuel-efficient engine and robust build quality, the Troy-Bilt TB120BV is designed for durability and long-term use. Whether tackling autumn leaves or everyday yard debris, this leaf blower delivers power, efficiency, and comfort, making it a valuable tool for homeowners and landscaping professionals alike.