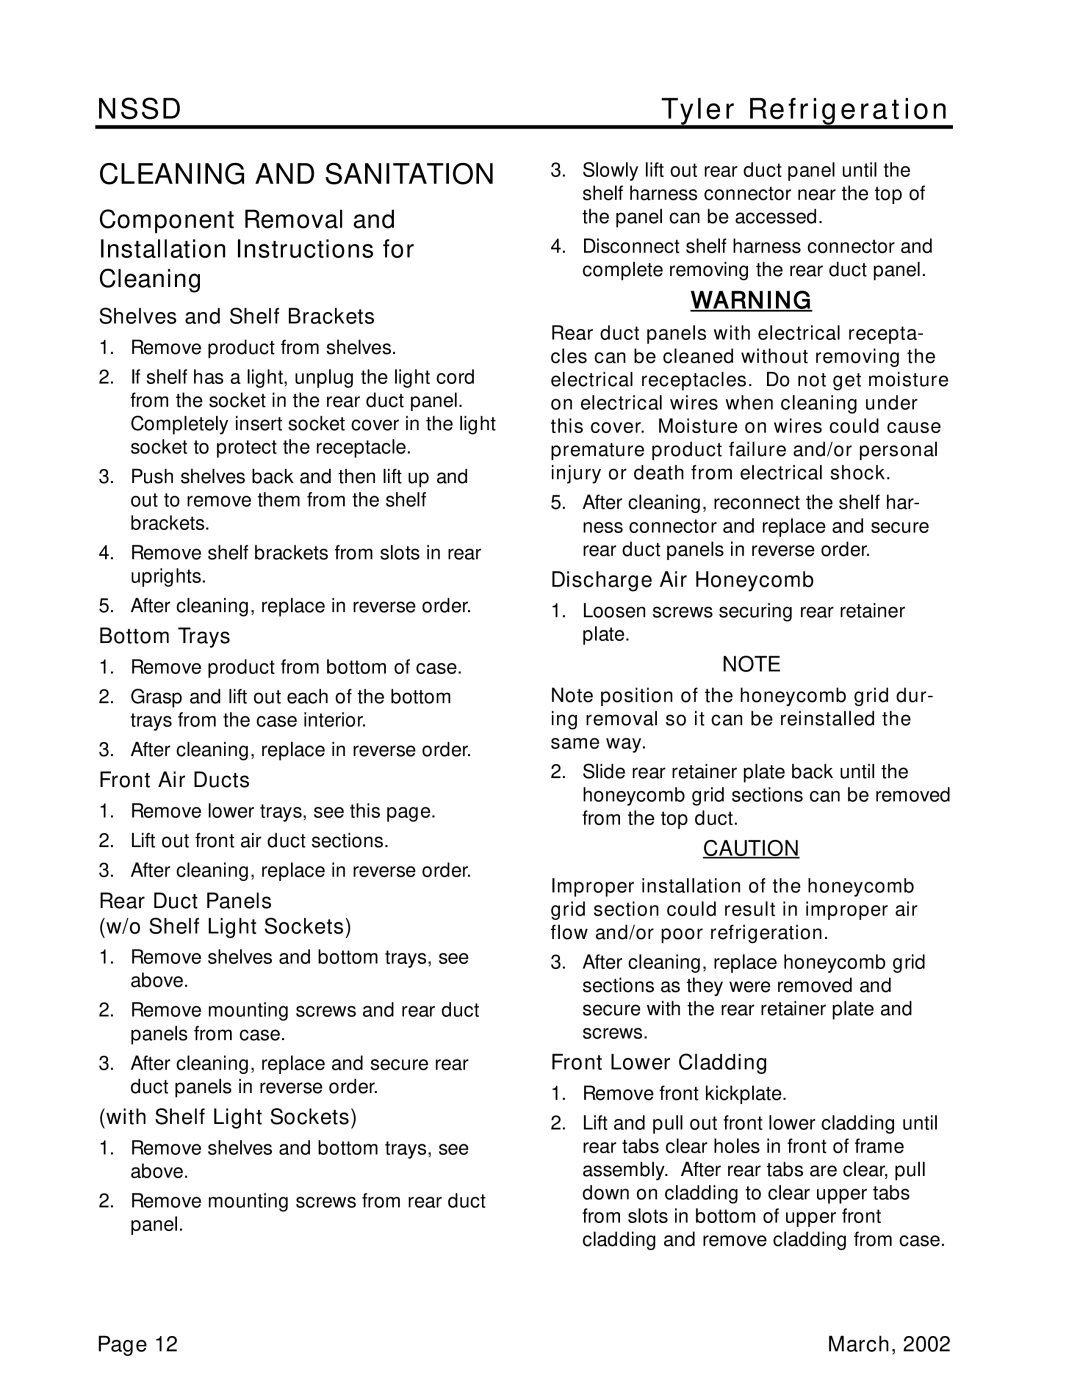
NSSD specifications
Tyler Refrigeration NSSD, a renowned name in the refrigeration industry, specializes in providing innovative solutions that meet the diverse needs of foodservice operators and retailers. The NSSD, or Non-Standard Size Display, is a product line designed to optimize product visibility and enhance merchandising capabilities while ensuring optimal temperature control for perishable items.One of the standout features of the Tyler Refrigeration NSSD is its customizable design, which allows businesses to select configurations that best fit their specific space requirements and merchandising needs. Whether it’s a grocery store, gas station, or convenience store, the NSSD can be tailored to accommodate various product sizes, ensuring maximum product display and accessibility.
The NSSD employs cutting-edge technology to maintain the ideal temperatures necessary for keeping food products fresh and safe. With advanced refrigeration systems, including microprocessor controls, businesses can achieve precise temperature regulation that adapts to fluctuating environmental conditions. This technology not only improves energy efficiency but also helps reduce operational costs, a critical consideration in today's competitive market.
Another key characteristic of Tyler Refrigeration NSSD is its user-friendly interface. Operators can easily monitor and adjust temperatures, and the system can provide alerts for any anomalies, ensuring that merchandise remains within safe temperature ranges at all times. This feature improves product safety and longevity, enhancing the customer experience.
Durability is another hallmark of the Tyler Refrigeration NSSD. Built with high-quality materials, these units are designed to withstand the rigors of a busy retail environment. This longevity minimizes the need for frequent replacements and repairs, thereby providing a valuable return on investment for businesses.
In summary, Tyler Refrigeration NSSD combines customization, advanced technology, user-friendly operation, and durability to deliver an exceptional refrigeration solution. Its ability to fit into various retail environments while maintaining optimal temperatures makes it an ideal choice for businesses focusing on efficiency and product visibility. As the demand for quality refrigeration solutions continues to grow, Tyler Refrigeration remains at the forefront, providing innovative products that cater to the evolving needs of the foodservice and retail sectors.
