9 Install the Unit
Installation of the BI-95
1.Open the water supply valve in the main water source.
2.Plug in the power cord.
3.Gently push the unit into position. Be careful not to kink the water supply line or entangle the electrical cord.
4.
Grille Installation
1.Locate and remove the grille screw from the cabinet, using a standard blade screwdriver (or a 1/4" nutdriver). See Figure 21.
Grille Screw |
Figure 21 |
2.Identify the grille screw hole on the grille itself. It is located toward the top of the middle recessed section of the grille.
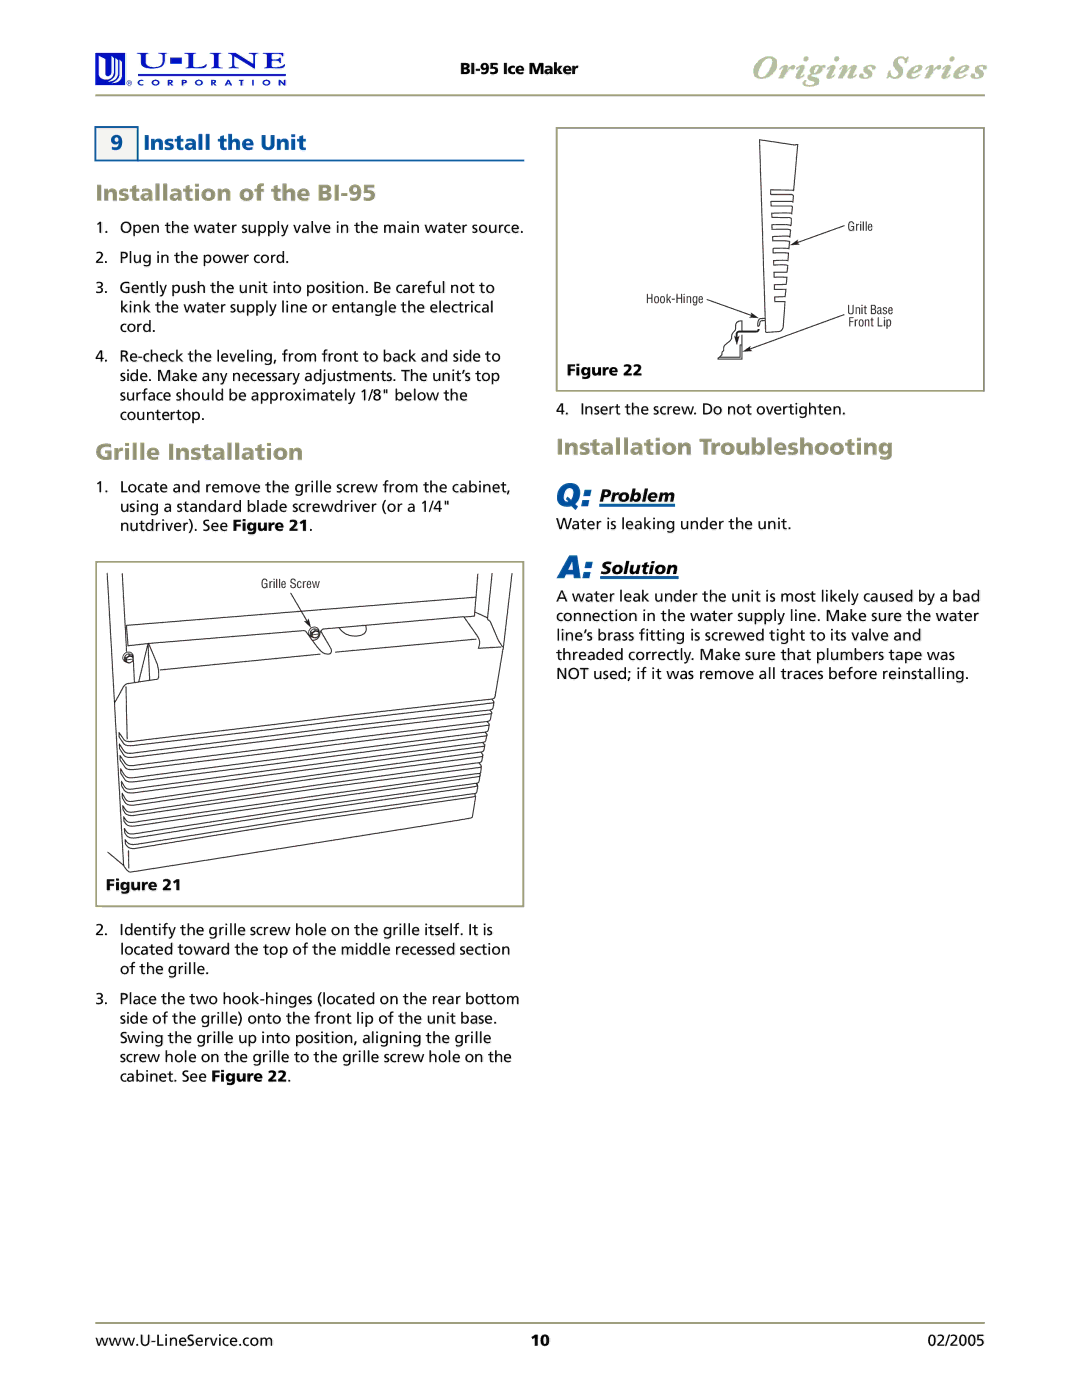
3.Place the two
![]() Grille
Grille
Unit Base
Front Lip
Figure 22
4. Insert the screw. Do not overtighten.
Installation Troubleshooting
Q: Problem
Water is leaking under the unit.
A: Solution
A water leak under the unit is most likely caused by a bad connection in the water supply line. Make sure the water line’s brass fitting is screwed tight to its valve and threaded correctly. Make sure that plumbers tape was NOT used; if it was remove all traces before reinstalling.
10 | 02/2005 |