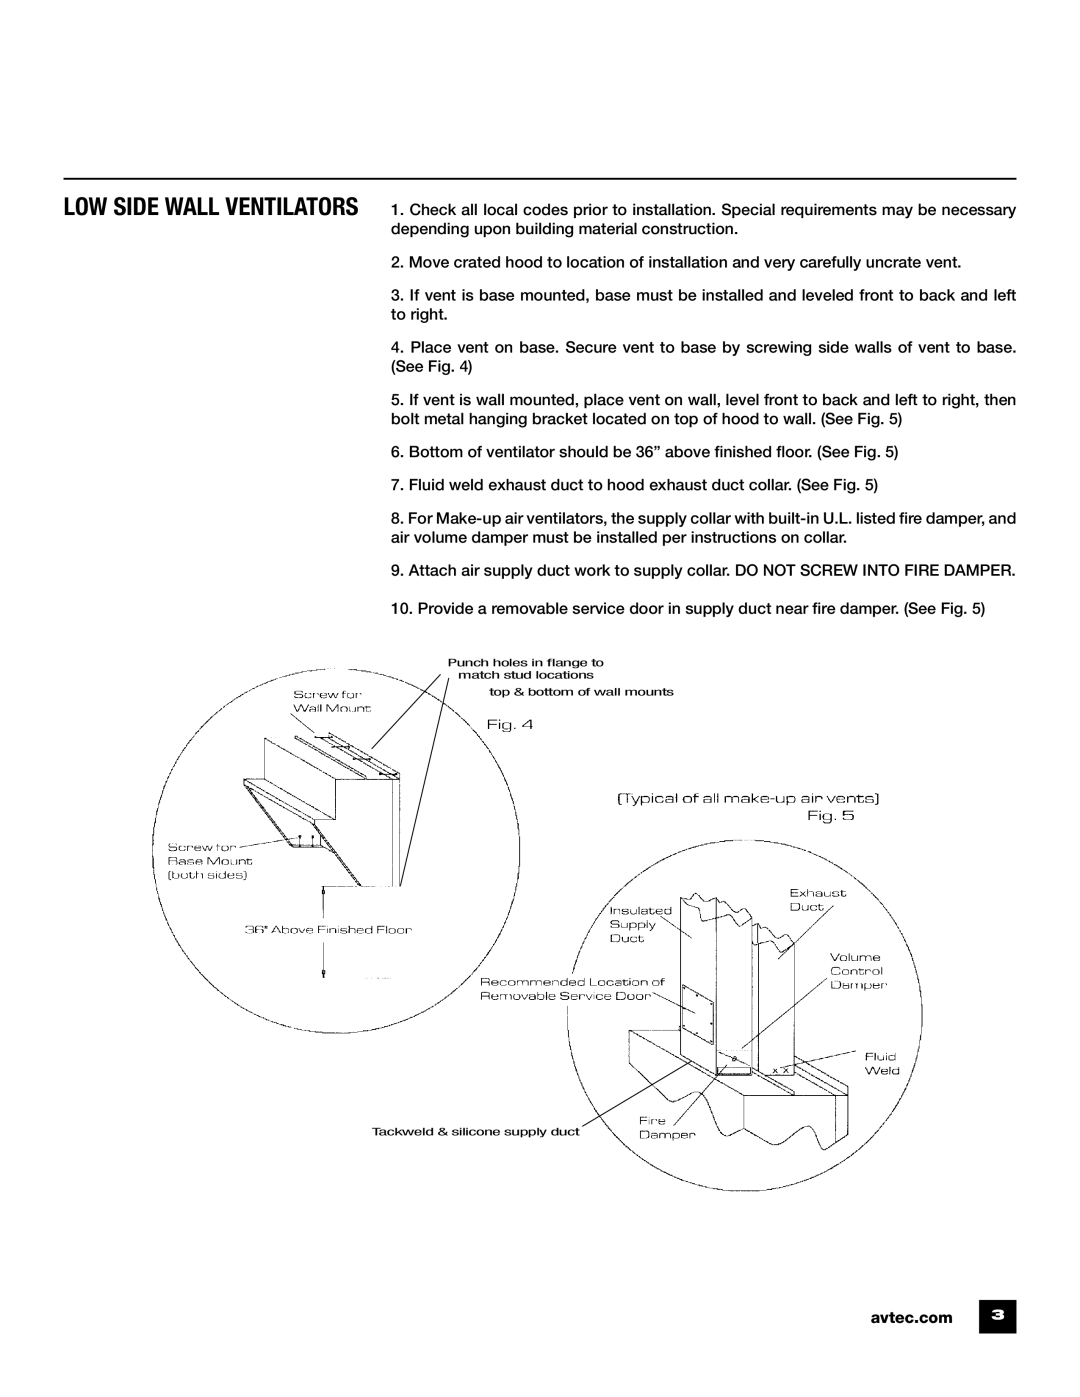
Kitchen Ventilation Systems specifications
Unified Brands Kitchen Ventilation Systems are designed to provide efficient and effective solutions for commercial kitchens, ensuring optimal performance and safety while addressing the critical need for air quality and energy efficiency. These systems cater to various types of foodservice establishments, including restaurants, hotels, and institutional kitchens, offering a range of features and technologies that enhance their functionality.One of the main features of Unified Brands Kitchen Ventilation Systems is their innovative design. The systems are engineered to accommodate a range of cooking methods, from fryers and grills to ovens and steamers. This versatility allows them to effectively capture and remove smoke, heat, and grease-laden vapors, ensuring a clean and safe working environment. Additionally, the systems are customizable, allowing operators to tailor their ventilation solutions to meet specific kitchen layouts and cooking processes.
Energy efficiency is a hallmark of Unified Brands' offerings. They incorporate advanced technologies such as variable speed fans and demand-controlled ventilation (DCV). These technologies adjust airflow based on real-time cooking activity, reducing energy consumption and costs while maintaining optimal ventilation. By effectively managing air exchange, these systems also help maintain comfortable working conditions for kitchen staff.
Another critical characteristic of Unified Brands Kitchen Ventilation Systems is their adherence to safety and health regulations. The systems are designed to minimize the risk of fire hazards associated with grease buildup, utilizing components like stainless steel hoods and fire suppression systems. These features not only enhance safety but also contribute to meeting local health and safety codes.
Furthermore, Unified Brands focuses on ease of maintenance and installation. Their systems are designed for simple access to filters and ductwork, allowing for routine cleaning and maintenance without significant downtime. This emphasis on maintainability extends the lifespan of the equipment and ensures ongoing compliance with health standards.
In summary, Unified Brands Kitchen Ventilation Systems are an essential investment for any commercial kitchen. With their innovative designs, energy-efficient technologies, safety features, and low-maintenance characteristics, they provide a comprehensive solution for enhancing air quality and operational efficiency in high-demand cooking environments.

