35 |
|
|
|
|
|
|
|
|
|
|
| 36 | |
NumbersCodeSetup |
| Recalling | Cloning Other RF20s |
|
|
|
|
| CloningOtherRF20s | ||||
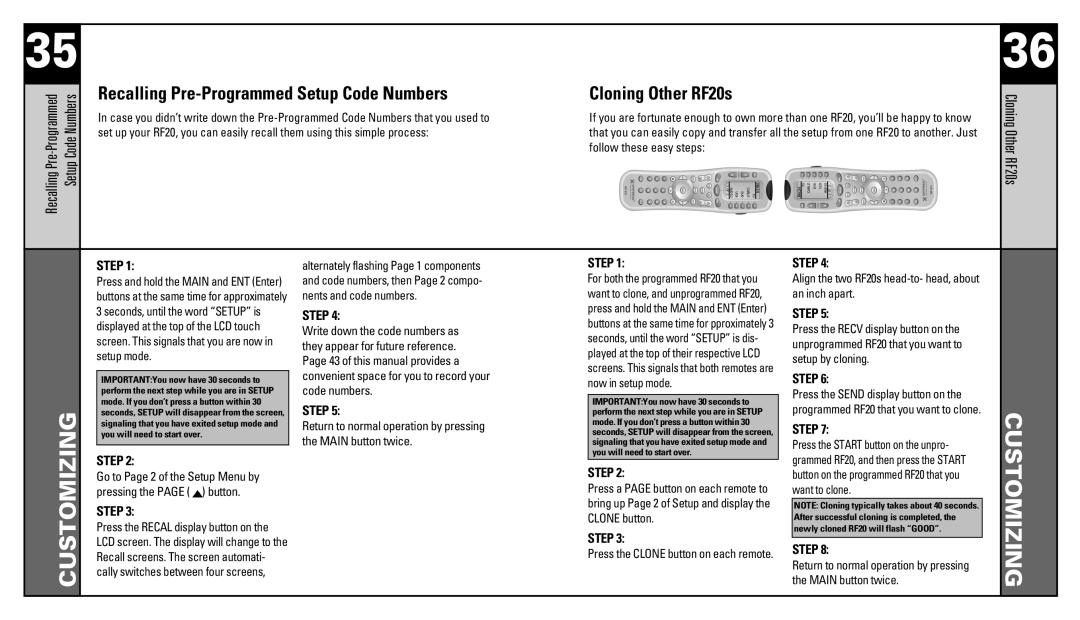
| In case you didn’t write down the | If you are fortunate enough to own more than one RF20, you’ll be happy to know | |||||||||||
|
|
|
| ||||||||||
|
|
| set up your RF20, you can easily recall them using this simple process: | that you can easily copy and transfer all the setup from one RF20 to another. Just |
| ||||||||
|
|
|
|
| follow these easy steps: |
|
|
|
|
|
| ||
|
|
|
|
|
|
|
|
|
|
|
|
|
|
|
|
|
|
|
|
|
|
|
|
|
|
|
|
|
|
|
|
|
|
|
|
|
|
|
|
|
|
|
|
| STEP 1: | alternately flashing Page 1 components | STEP 1: |
| STEP 4: |
| |||||
|
|
| Press and hold the MAIN and ENT (Enter) | and code numbers, then Page 2 compo- | For both the programmed RF20 that you |
| Align the two RF20s |
| |||||
|
|
| buttons at the same time for approximately | nents and code numbers. | want to clone, and unprogrammed RF20, |
| an inch apart. |
| |||||
|
|
| 3 seconds, until the word “SETUP” is | STEP 4: | press and hold the MAIN and ENT (Enter) |
| STEP 5: |
| |||||
|
|
| displayed at the top of the LCD touch | Write down the code numbers as | buttons at the same time for pproximately 3 |
| Press the RECV display button on the |
| |||||
|
|
| seconds, until the word “SETUP” is dis- |
|
| ||||||||
|
|
| screen. This signals that you are now in | they appear for future reference. |
| unprogrammed RF20 that you want to |
| ||||||
|
|
| played at the top of their respective LCD |
|
| ||||||||
|
|
| setup mode. | Page 43 of this manual provides a |
| setup by cloning. |
| ||||||
|
|
| screens. This signals that both remotes are |
|
| ||||||||
|
|
|
| convenient space for you to record your |
| STEP 6: |
| ||||||
|
|
| IMPORTANT:You now have 30 seconds to | now in setup mode. |
|
| |||||||
|
|
| perform the next step while you are in SETUP | code numbers. |
|
|
|
| Press the SEND display button on the |
| |||
|
|
| mode. If you don’t press a button within 30 | STEP 5: | IMPORTANT:You now have 30 seconds to |
| programmed RF20 that you want to clone. |
| |||||
| CUSTOMIZING |
| seconds, SETUP will disappear from the screen, | perform the next step while you are in SETUP |
| CUSTOMIZING | |||||||
|
| signaling that you have exited setup mode and | Return to normal operation by pressing | mode. If you don’t press a button within 30 |
| the MAIN button twice. | |||||||
|
|
| you will need to start over. | seconds, SETUP will disappear from the screen, |
| STEP 7: |
| ||||||
|
|
|
| the MAIN button twice. | signaling that you have exited setup mode and |
| Press the START button on the unpro- |
| |||||
|
|
| STEP 2: |
| you will need to start over. |
| grammed RF20, and then press the START |
| |||||
|
|
| Go to Page 2 of the Setup Menu by |
| STEP 2: |
| button on the programmed RF20 that you |
| |||||
|
|
| pressing the PAGE ( ) button. |
| Press a PAGE button on each remote to |
| want to clone. |
| |||||
|
|
| STEP 3: |
| bring up Page 2 of Setup and display the |
| NOTE: Cloning typically takes about 40 seconds. |
|
| ||||
|
|
|
| CLONE button. |
| After successful cloning is completed, the |
|
| |||||
|
|
| Press the RECAL display button on the |
|
|
|
| ||||||
|
|
|
| STEP 3: |
| newly cloned RF20 will flash “GOOD”. |
|
| |||||
|
|
| LCD screen. The display will change to the |
|
| STEP 8: |
|
| |||||
|
|
| Recall screens. The screen automati- |
| Press the CLONE button on each remote. |
|
| ||||||
|
|
|
|
| Return to normal operation by pressing |
| |||||||
|
|
| cally switches between four screens, |
|
|
|
|
|
| ||||
|
|
|
|
|
|
|
|
|
|
|
|
| |
|
|
|
|
|
|
|
|
|
|
|
|
|
|