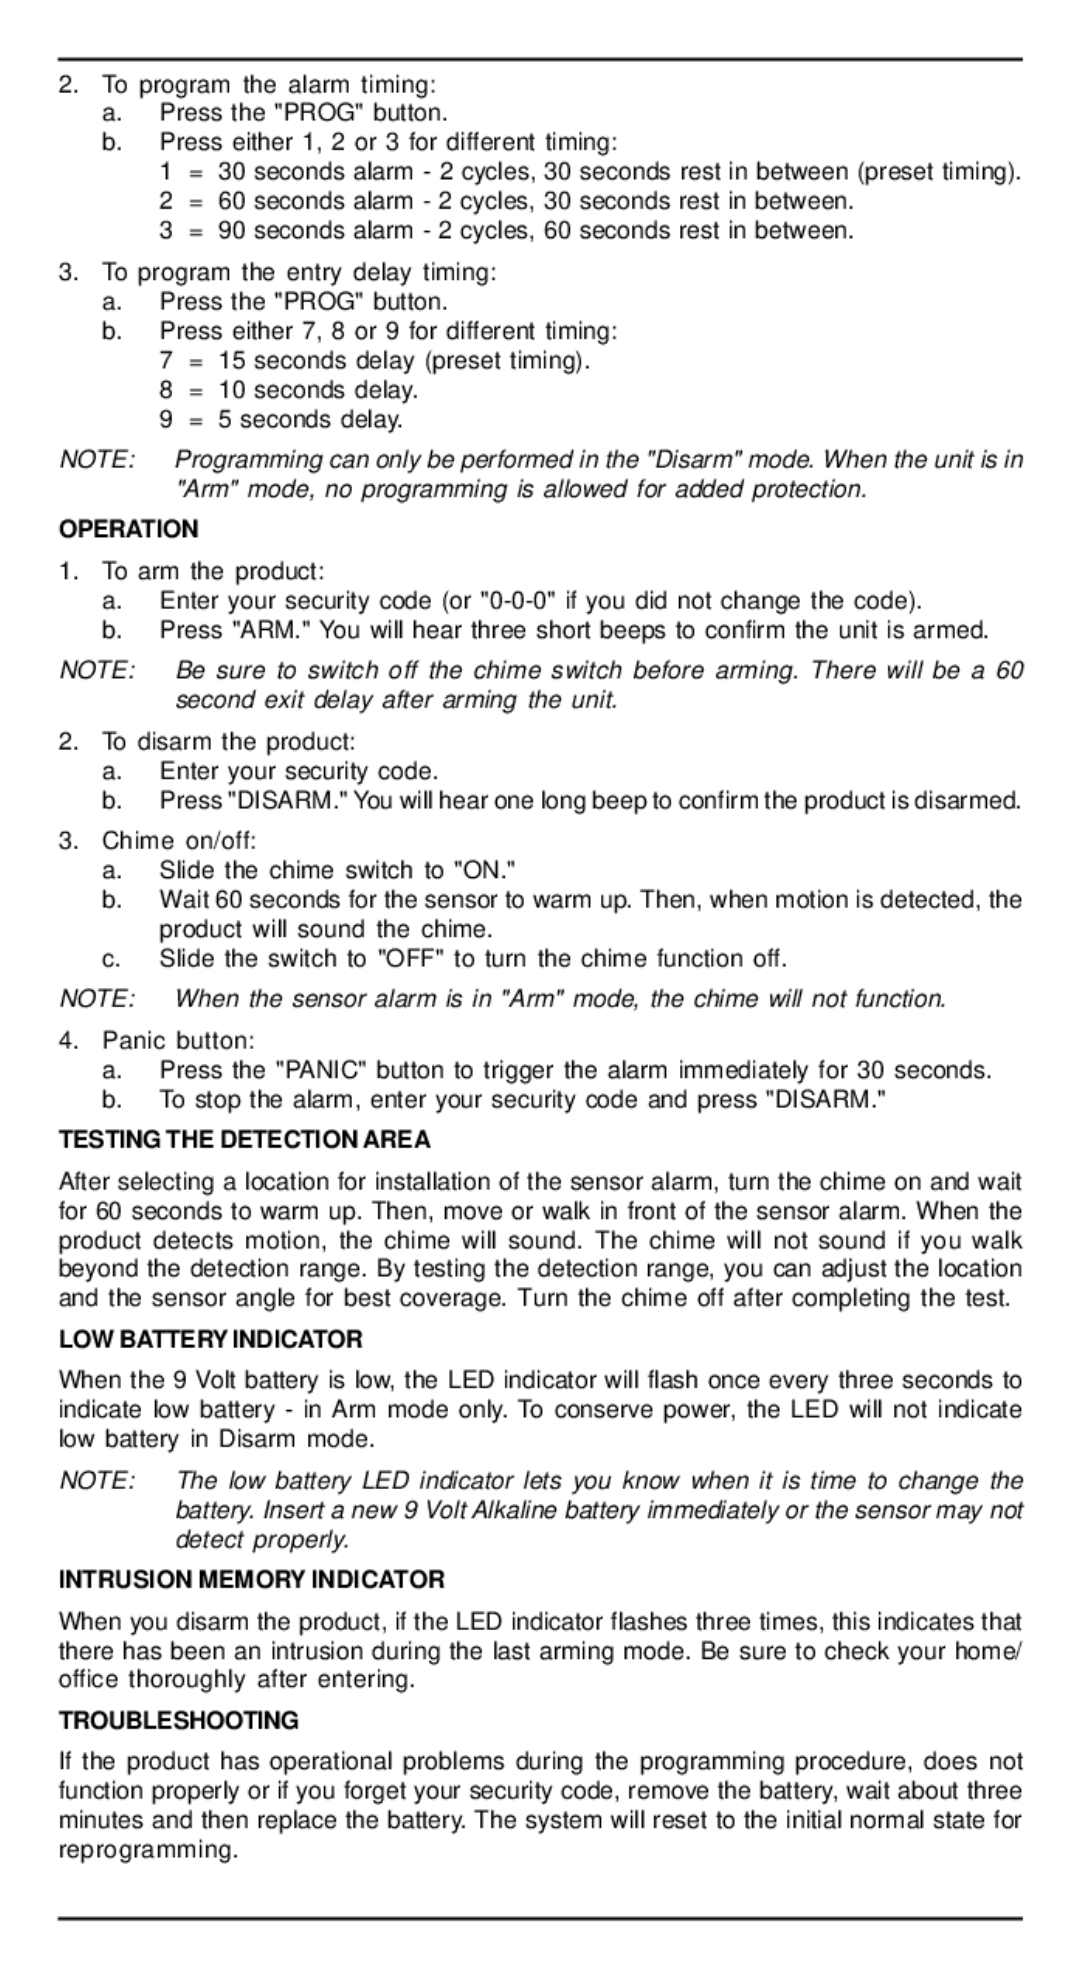
HS-5300 specifications
The Universal Security Instruments HS-5300 is a prominent product in the realm of home security systems, designed to enhance residential safety and offer peace of mind to homeowners. Known for its user-friendly features, the HS-5300 combines advanced security technologies with a compact form factor, making it an ideal choice for various living environments.One of the standout features of the HS-5300 is its dual-function capability, serving as both a smoke and carbon monoxide detector. This integration of two essential safety functions ensures that homeowners are alerted not only to fire hazards but also to the presence of potentially lethal carbon monoxide, a colorless and odorless gas that can pose serious health risks. The HS-5300 utilizes high-quality sensors for both functions, providing reliable detection and peace of mind.
The device is equipped with an advanced photoelectric sensor for smoke detection. Photoelectric sensors are known for their ability to detect smoldering fires, which can produce more smoke and less flame than traditional fires, offering an essential layer of early warning. Additionally, the HS-5300 includes an electrochemical sensor for carbon monoxide detection, which is acknowledged for its accuracy and speed in identifying dangerous CO levels.
Another significant characteristic of the HS-5300 is its user-friendly design. The unit features a simple installation process that allows homeowners to set it up quickly, even without prior technical knowledge. The low-profile design ensures it can blend seamlessly with home interiors, ensuring aesthetics are not compromised.
The HS-5300 also comes with a built-in test button, enabling users to easily check the functionality of the unit and ensure it is working as intended. This feature promotes regular maintenance, which is vital for any safety device in a home.
In conclusion, the Universal Security Instruments HS-5300 stands out in the market due to its dual functionality, advanced sensing technologies, and user-friendly characteristics. By providing reliable smoke and carbon monoxide detection within a compact design, the HS-5300 positions itself as a valuable investment in home safety, protecting not only property but also the well-being of occupants. Its combination of essential safety features ensures that it meets the demands of today’s homeowners, solidifying its role as a critical component of any comprehensive home security system.

