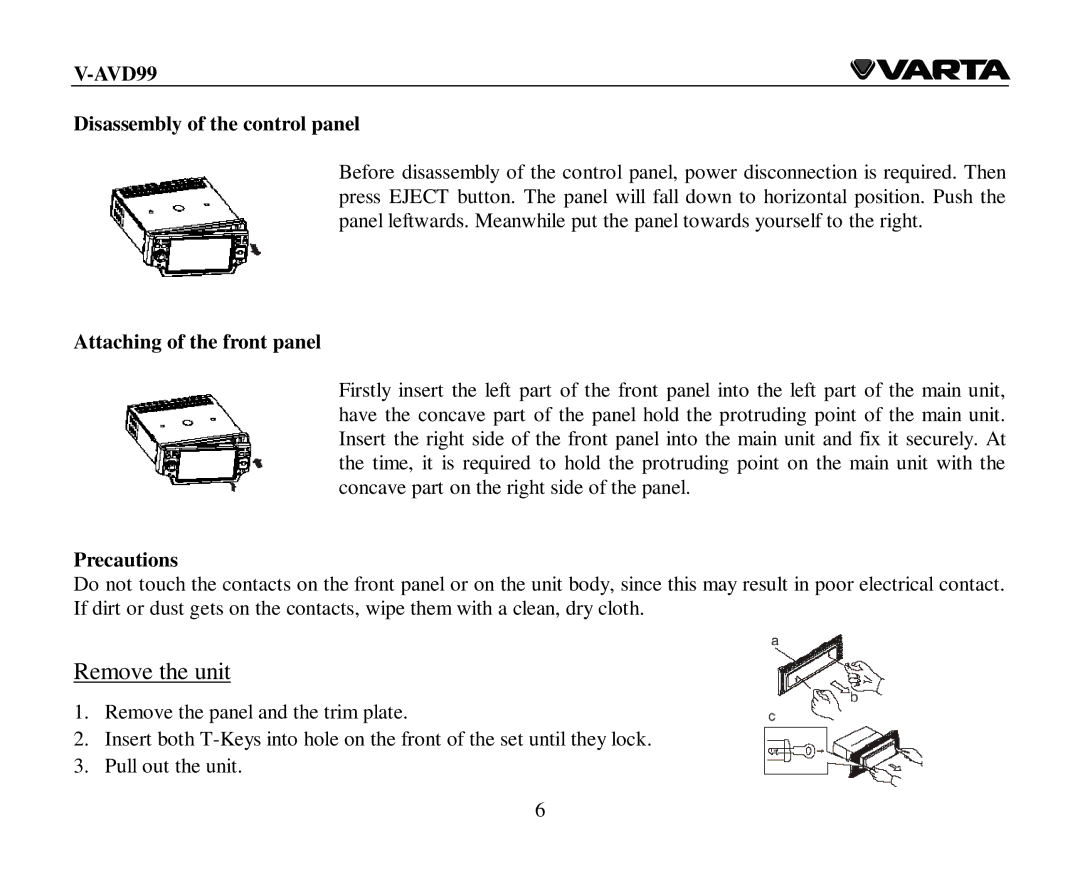
Disassembly of the control panel
Before disassembly of the control panel, power disconnection is required. Then press EJECT button. The panel will fall down to horizontal position. Push the panel leftwards. Meanwhile put the panel towards yourself to the right.
Attaching of the front panel
Firstly insert the left part of the front panel into the left part of the main unit, have the concave part of the panel hold the protruding point of the main unit. Insert the right side of the front panel into the main unit and fix it securely. At the time, it is required to hold the protruding point on the main unit with the concave part on the right side of the panel.
Precautions
Do not touch the contacts on the front panel or on the unit body, since this may result in poor electrical contact. If dirt or dust gets on the contacts, wipe them with a clean, dry cloth.
Remove the unit
1.Remove the panel and the trim plate.
2.Insert both
3.Pull out the unit.
6
