5. INSTALL THE ADAPTER/DAMPER (CONT’D)
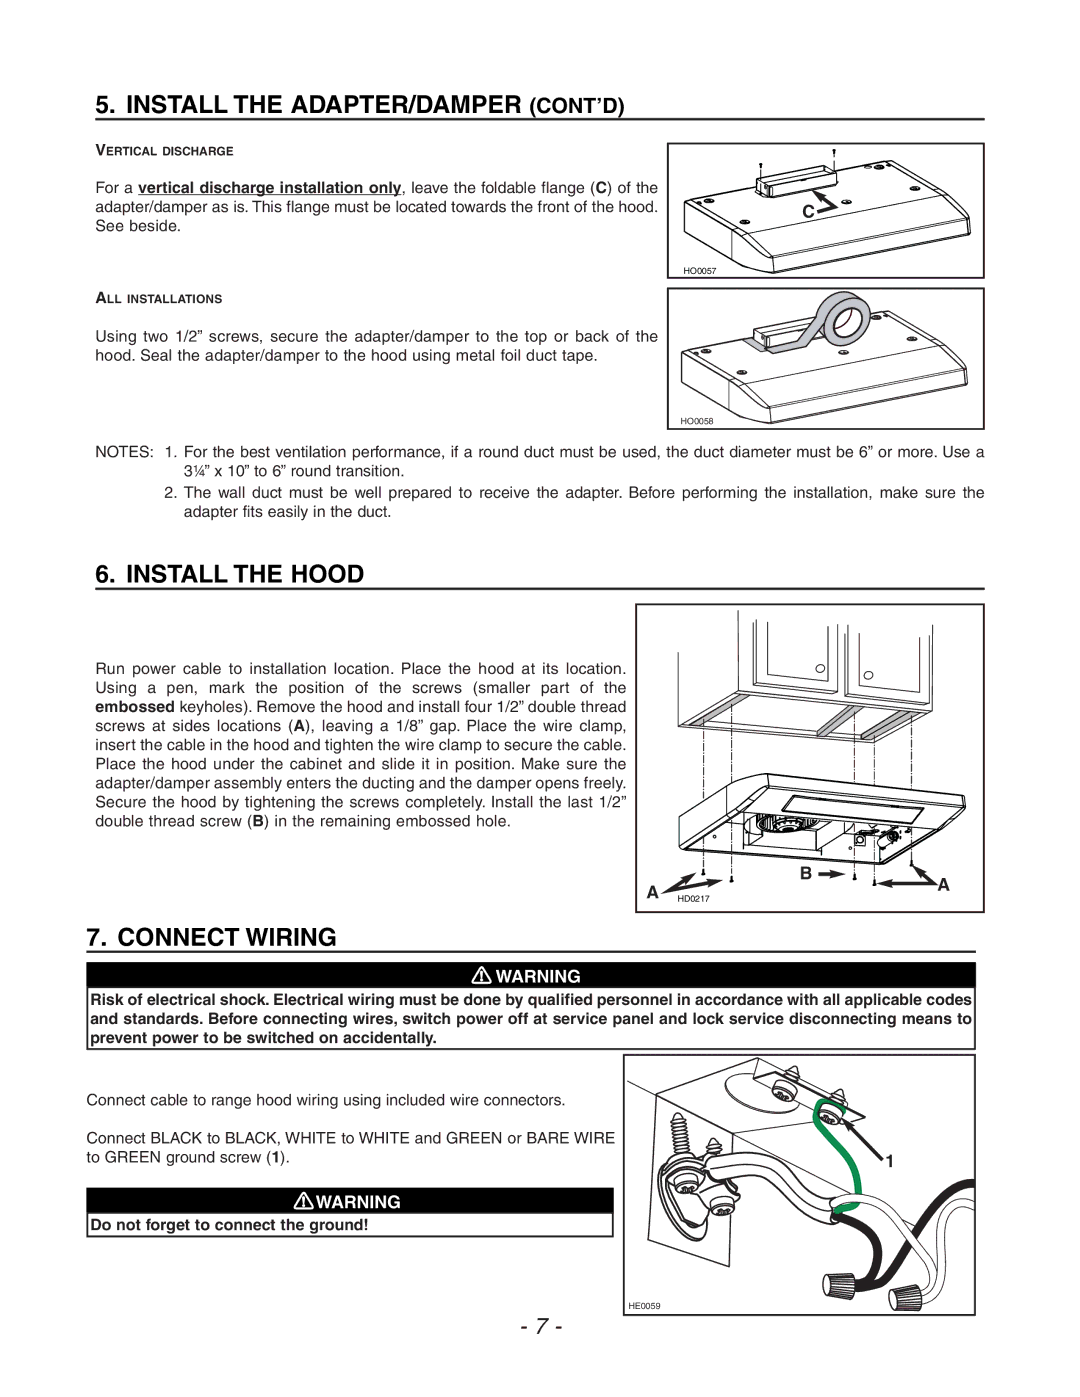
VERTICAL DISCHARGE
For a vertical discharge installation only, leave the foldable flange (C) of the adapter/damper as is. This flange must be located towards the front of the hood. See beside.
ALL INSTALLATIONS
Using two 1/2” screws, secure the adapter/damper to the top or back of the hood. Seal the adapter/damper to the hood using metal foil duct tape.
C![]()
HO0057 |
HO0058 |
NOTES: 1. For the best ventilation performance, if a round duct must be used, the duct diameter must be 6” or more. Use a 3¼” x 10” to 6” round transition.
2.The wall duct must be well prepared to receive the adapter. Before performing the installation, make sure the adapter fits easily in the duct.
6.INSTALL THE HOOD
Run power cable to installation location. Place the hood at its location. Using a pen, mark the position of the screws (smaller part of the embossed keyholes). Remove the hood and install four 1/2” double thread screws at sides locations (A), leaving a 1/8” gap. Place the wire clamp, insert the cable in the hood and tighten the wire clamp to secure the cable. Place the hood under the cabinet and slide it in position. Make sure the adapter/damper assembly enters the ducting and the damper opens freely. Secure the hood by tightening the screws completely. Install the last 1/2” double thread screw (B) in the remaining embossed hole.
A | B | A | |
HD0217 | |||
|
7. CONNECT WIRING
!WARNING
Risk of electrical shock. Electrical wiring must be done by qualified personnel in accordance with all applicable codes and standards. Before connecting wires, switch power off at service panel and lock service disconnecting means to prevent power to be switched on accidentally.
Connect cable to range hood wiring using included wire connectors.
Connect BLACK to BLACK, WHITE to WHITE and GREEN or BARE WIRE to GREEN ground screw (1).
!WARNING
Do not forget to connect the ground!
1 |
HE0059 |
- 7 -