TV SETUP
TV Channel Setting
1.Press the TV MENU button.
2.Use the ![]() or
or ![]() button to select TV CHANNEL SETTING.
button to select TV CHANNEL SETTING.
3.Use the ![]() or
or ![]() button to select the options (Antenna /
button to select the options (Antenna /
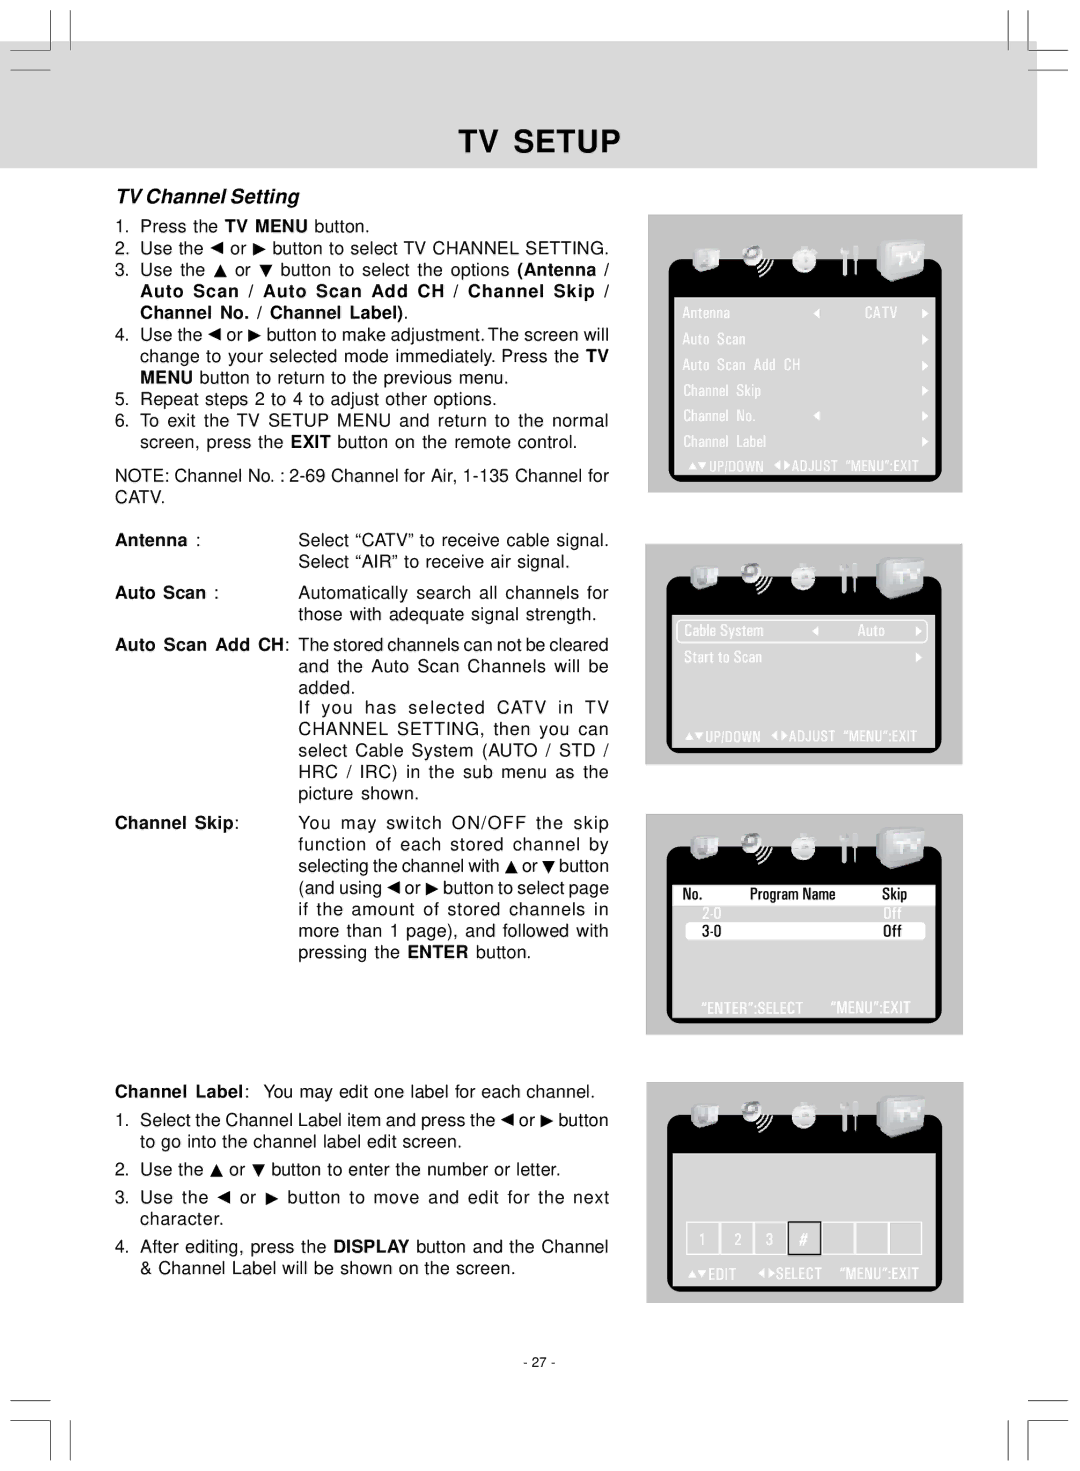
Auto Scan / Auto Scan Add CH / Channel Skip / Channel No. / Channel Label).
4.Use the ![]() or
or ![]() button to make adjustment. The screen will change to your selected mode immediately. Press the TV MENU button to return to the previous menu.
button to make adjustment. The screen will change to your selected mode immediately. Press the TV MENU button to return to the previous menu.
5.Repeat steps 2 to 4 to adjust other options.
6.To exit the TV SETUP MENU and return to the normal screen, press the EXIT button on the remote control.
NOTE: Channel No. :
Antenna :Select “CATV” to receive cable signal. Select “AIR” to receive air signal.
Auto Scan : Automatically search all channels for those with adequate signal strength.
Auto Scan Add CH: The stored channels can not be cleared and the Auto Scan Channels will be added.
If you has selected CATV in TV CHANNEL SETTING, then you can select Cable System (AUTO / STD / HRC / IRC) in the sub menu as the picture shown.
Channel Skip: You may switch ON/OFF the skip function of each stored channel by selecting the channel with ![]() or
or ![]() button (and using
button (and using ![]() or
or ![]() button to select page if the amount of stored channels in more than 1 page), and followed with pressing the ENTER button.
button to select page if the amount of stored channels in more than 1 page), and followed with pressing the ENTER button.
AntennaCATV
Auto Scan
Auto Scan Add CH
Channel Skip
Channel No.
Channel Label
![]()
![]() UP/DOWN
UP/DOWN ![]()
![]() ADJUST “MENU”:EXIT
ADJUST “MENU”:EXIT
Channel Label: You may edit one label for each channel.
1.Select the Channel Label item and press the ![]() or
or ![]() button to go into the channel label edit screen.
button to go into the channel label edit screen.
2.Use the ![]() or
or ![]() button to enter the number or letter.
button to enter the number or letter.
3.Use the ![]() or
or ![]() button to move and edit for the next character.
button to move and edit for the next character.
4.After editing, press the DISPLAY button and the Channel & Channel Label will be shown on the screen.
- 27 -