6000, 8000 Series Gas Grill
Assembly Instructions Chapter 2
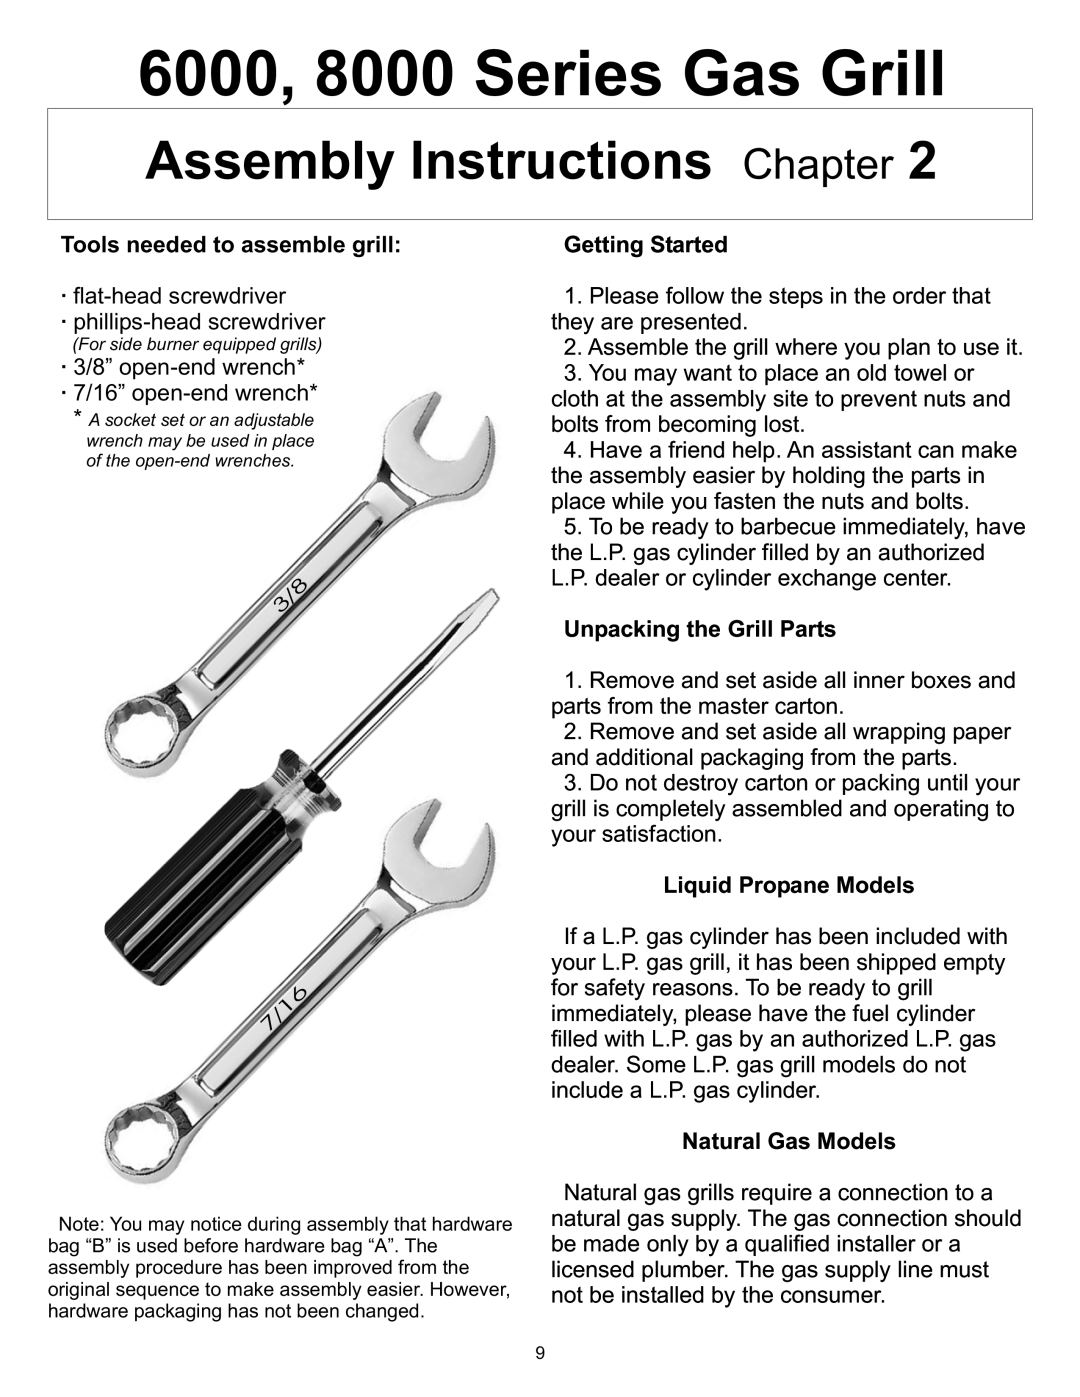
Tools needed to assemble grill:
·
·
(For side burner equipped grills)
·3/8”
·7/16”
* A socket set or an adjustable wrench may be used in place of the
3/8
7/16
Note: You may notice during assembly that hardware bag “B” is used before hardware bag “A”. The assembly procedure has been improved from the original sequence to make assembly easier. However, hardware packaging has not been changed.
Getting Started
1.Please follow the steps in the order that they are presented.
2.Assemble the grill where you plan to use it.
3.You may want to place an old towel or
cloth at the assembly site to prevent nuts and bolts from becoming lost.
4.Have a friend help. An assistant can make the assembly easier by holding the parts in place while you fasten the nuts and bolts.
5.To be ready to barbecue immediately, have the L.P. gas cylinder filled by an authorized L.P. dealer or cylinder exchange center.
Unpacking the Grill Parts
1.Remove and set aside all inner boxes and parts from the master carton.
2.Remove and set aside all wrapping paper and additional packaging from the parts.
3.Do not destroy carton or packing until your grill is completely assembled and operating to your satisfaction.
Liquid Propane Models
If a L.P. gas cylinder has been included with your L.P. gas grill, it has been shipped empty for safety reasons. To be ready to grill immediately, please have the fuel cylinder filled with L.P. gas by an authorized L.P. gas dealer. Some L.P. gas grill models do not include a L.P. gas cylinder.
Natural Gas Models
Natural gas grills require a connection to a natural gas supply. The gas connection should be made only by a qualified installer or a licensed plumber. The gas supply line must not be installed by the consumer.
9