Addison Electric Stove
Service Instructions
WARNING: Disconnect power before attempting any maintenance or cleaning to reduce the risk of fire, electrical shock or personal injury
Firebox Removal
1.Unplug the electrical supply to the unit.
2.Let the stove cool if it has been operating.
3.Move the stove away from wall to gain access to the rear of the unit.
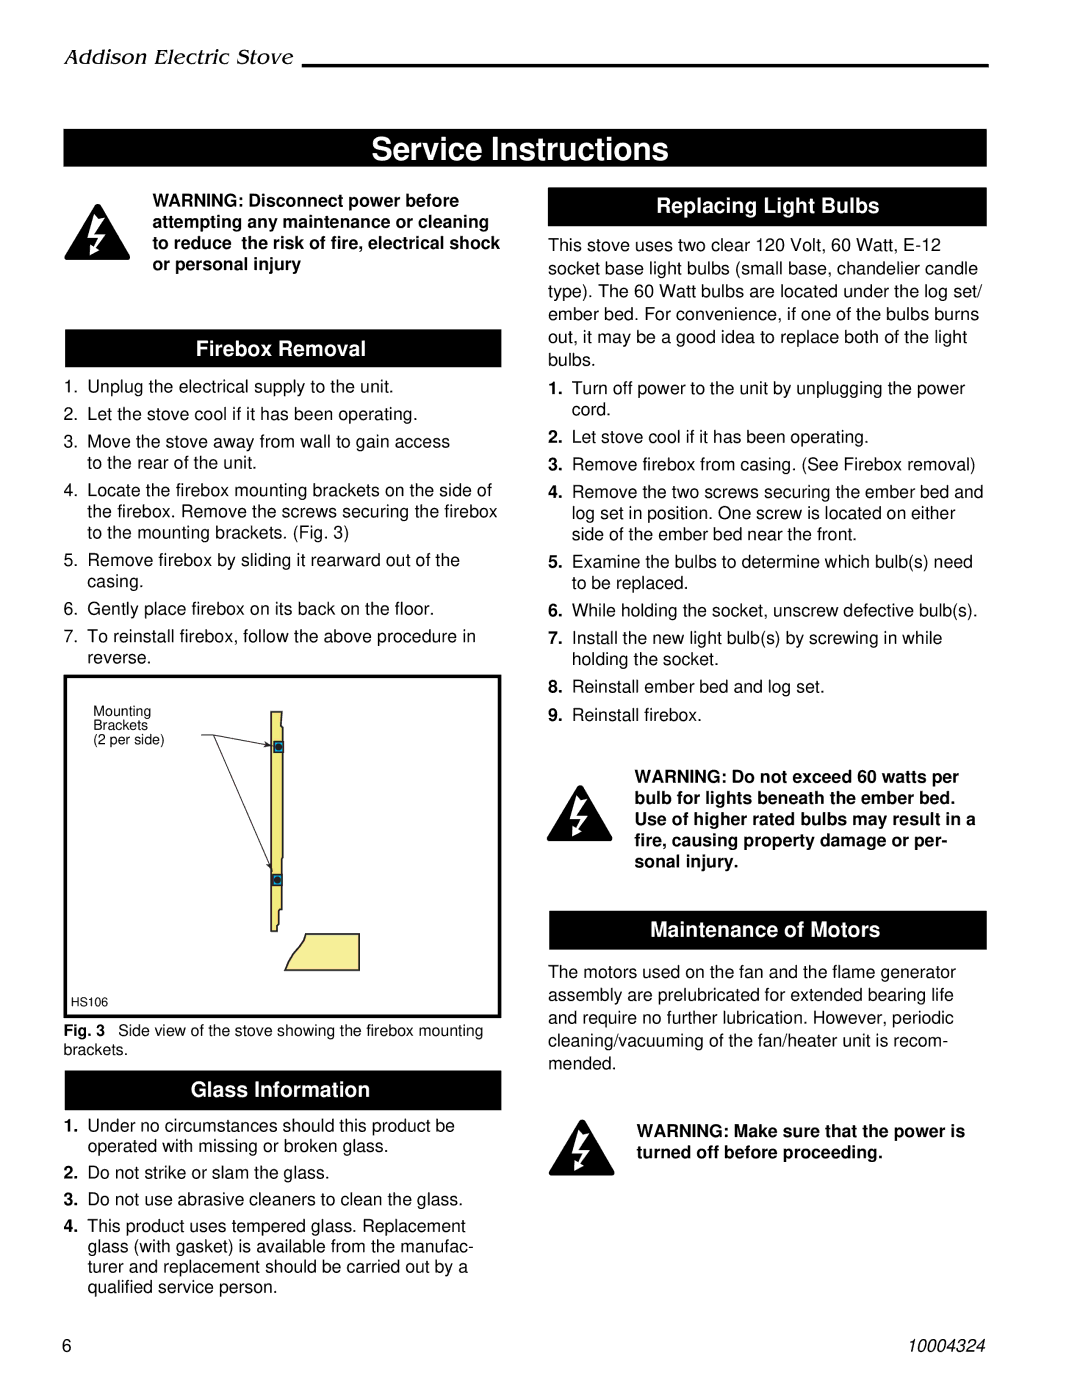
4.Locate the firebox mounting brackets on the side of the firebox. Remove the screws securing the firebox to the mounting brackets. (Fig. 3)
5.Remove firebox by sliding it rearward out of the casing.
6.Gently place firebox on its back on the floor.
7.To reinstall firebox, follow the above procedure in reverse.
Mounting Brackets (2 per side)
HS106
Fig. 3 Side view of the stove showing the firebox mounting brackets.
Glass Information
1.Under no circumstances should this product be operated with missing or broken glass.
2.Do not strike or slam the glass.
3.Do not use abrasive cleaners to clean the glass.
4.This product uses tempered glass. Replacement glass (with gasket) is available from the manufac- turer and replacement should be carried out by a qualified service person.
Replacing Light Bulbs
This stove uses two clear 120 Volt, 60 Watt,
1.Turn off power to the unit by unplugging the power cord.
2.Let stove cool if it has been operating.
3.Remove firebox from casing. (See Firebox removal)
4.Remove the two screws securing the ember bed and log set in position. One screw is located on either side of the ember bed near the front.
5.Examine the bulbs to determine which bulb(s) need to be replaced.
6.While holding the socket, unscrew defective bulb(s).
7.Install the new light bulb(s) by screwing in while holding the socket.
8.Reinstall ember bed and log set.
9.Reinstall firebox.
WARNING: Do not exceed 60 watts per bulb for lights beneath the ember bed. Use of higher rated bulbs may result in a fire, causing property damage or per- sonal injury.
Maintenance of Motors
The motors used on the fan and the flame generator assembly are prelubricated for extended bearing life and require no further lubrication. However, periodic cleaning/vacuuming of the fan/heater unit is recom- mended.
WARNING: Make sure that the power is turned off before proceeding.
6 | 10004324 |
