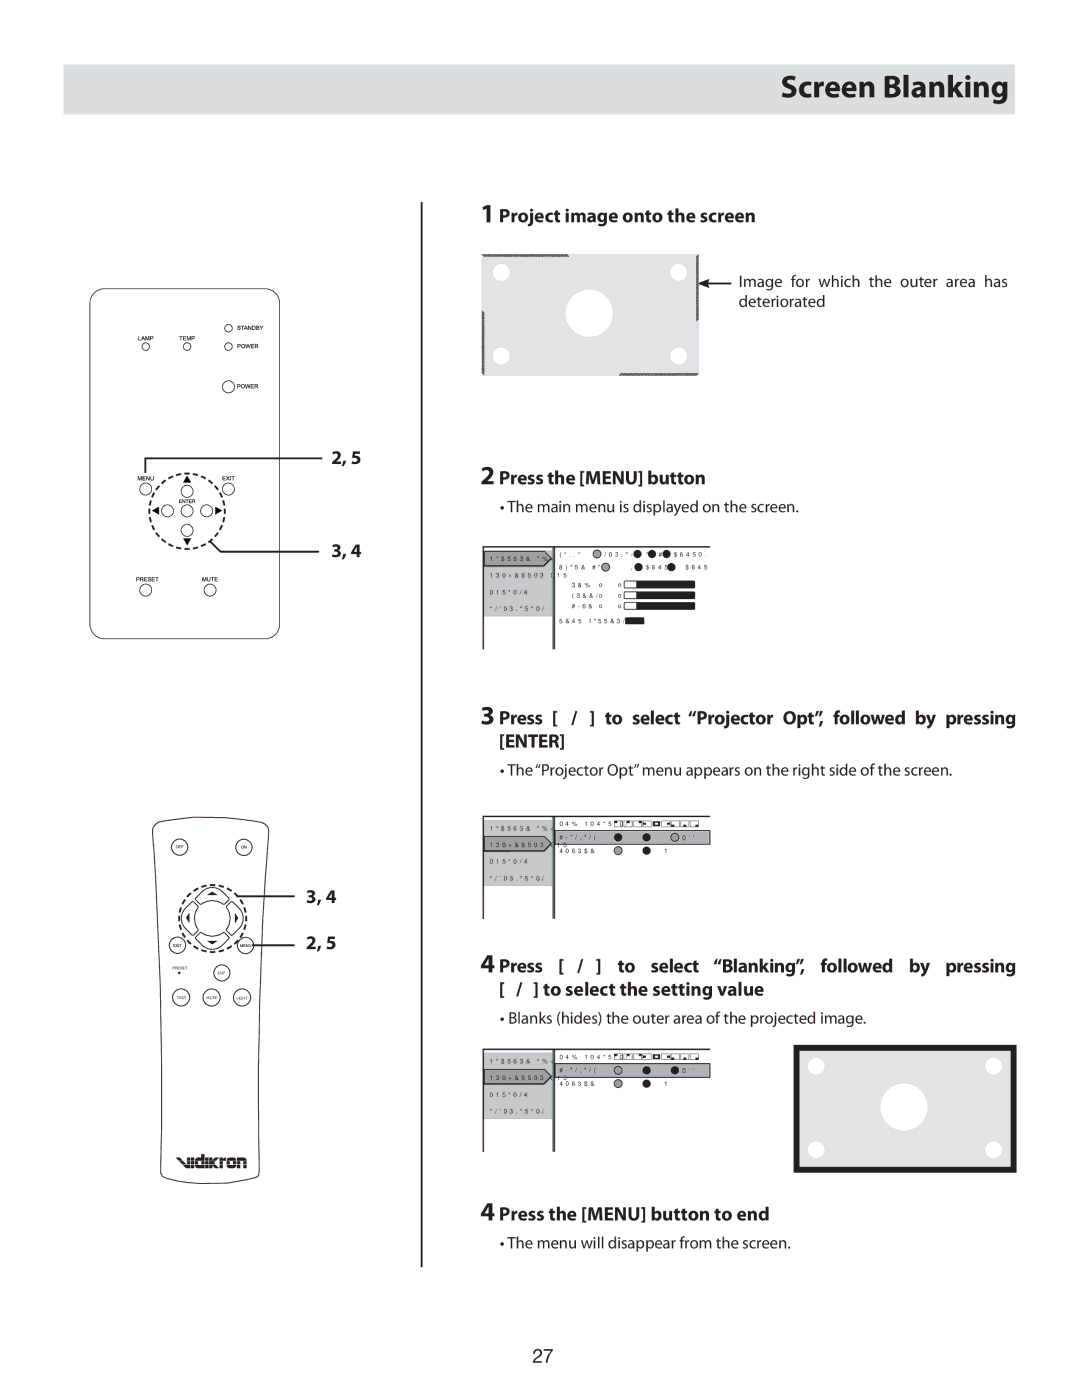
80 specifications
The Vidikron 80 is a cutting-edge display technology that has redefined home entertainment with its exceptional visual performance and advanced features. Designed for the modern cinema enthusiast, the Vidikron 80 is known for its stunning image quality, sleek design, and user-friendly interface, making it an attractive addition to any home theater setup.One of the standout features of the Vidikron 80 is its high-resolution panel, which supports 4K Ultra HD content. This resolution delivers four times the detail of standard Full HD, ensuring that viewers experience images with incredible clarity and lifelike colors. The display utilizes advanced color processing technology, allowing for a wider color gamut and improved color accuracy. This makes it ideal for everything from watching movies to playing video games, as colors pop off the screen with vibrant intensity.
Another significant technological advancement incorporated into the Vidikron 80 is its dynamic contrast ratio. This feature enhances the depth of black levels while providing bright highlights, resulting in a more immersive viewing experience. The display employs local dimming technology, which means that specific zones of the backlight can be adjusted to improve contrast without sacrificing brightness. This is particularly effective for dark scenes in films, where detail is crucial.
The Vidikron 80 also boasts an impressive refresh rate, allowing for smoother motion during fast-paced scenes. This is particularly beneficial for sports and action films, where frame tearing and motion blur can detract from the viewing experience. With a refresh rate of 120Hz or higher, users can enjoy fluid motion without interruptions.
In terms of connectivity, the Vidikron 80 comes equipped with multiple HDMI ports, ensuring compatibility with a plethora of devices, including gaming consoles, Blu-ray players, and streaming devices. Additionally, the display supports various audio formats and integrates seamlessly with home audio systems, enhancing the overall cinematic experience.
The user interface of the Vidikron 80 is designed with simplicity in mind. It features an intuitive remote control and smart features that allow users to navigate their favorite content easily. With built-in streaming capabilities, viewers can access popular services such as Netflix, Amazon Prime Video, and more, all from a single device.
Overall, the Vidikron 80 exemplifies the perfect blend of cutting-edge technology and user-friendly design, making it a top choice for anyone looking to elevate their home entertainment experience to new heights. Whether for movie nights, gaming, or streaming, the Vidikron 80 delivers unparalleled performance that will leave a lasting impression.

