
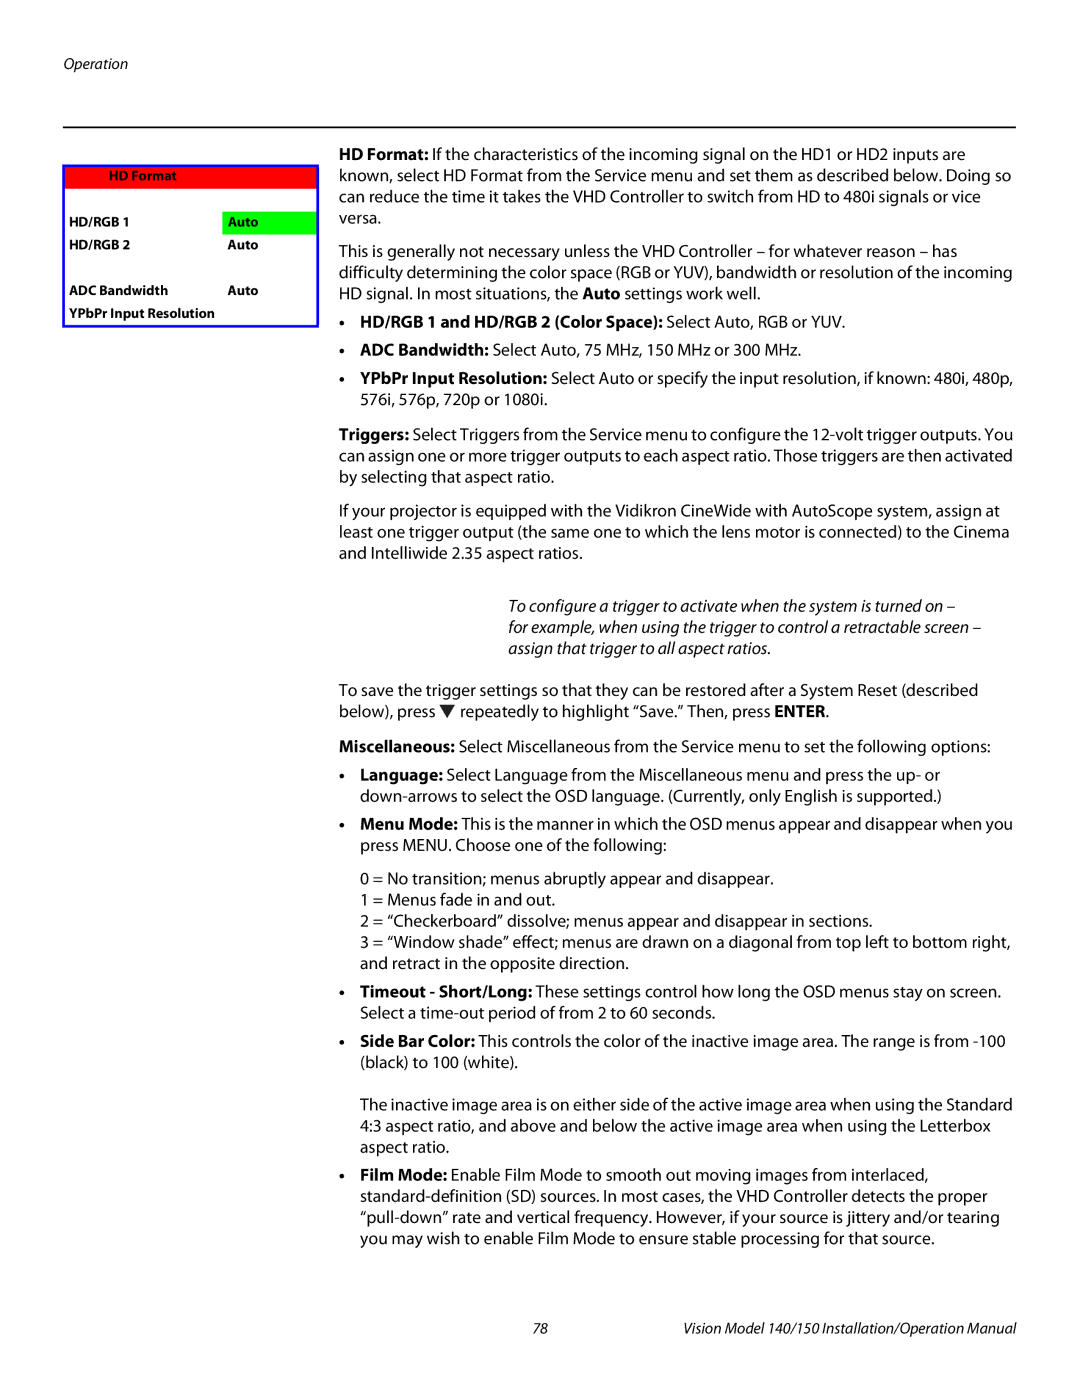
Vision 140, Vision 150 specifications
The Vidikron Vision 150 and Vision 140 are two exceptional high-definition home theater projectors that have garnered attention for their impressive performance and innovative features. Designed for cinema enthusiasts, these models bring the big screen experience into the comfort of one’s living room, delivering outstanding picture quality and an immersive viewing experience.At the heart of the Vidikron Vision series is a state-of-the-art DLP (Digital Light Processing) projection technology which provides sharp images and vibrant colors. Both projectors utilize a high-contrast 1080p resolution, ensuring that content looks lifelike and detailed. The Vision 150, particularly, stands out for its ability to reproduce deep blacks and luminous whites, thanks to its advanced dynamic iris functionality, which optimizes light output in real time.
One of the standout features of the Vision 150 is its color accuracy, achieved through a specialized color management system. This system enhances the projector's capability to reproduce various color gamuts, allowing users to experience films, sports, and games exactly as the content creators intended. The Vision 140, while slightly less feature-rich, still offers remarkable color fidelity, making it a strong competitor in the mid-range projector market.
Both models boast a generous array of connectivity options, accommodating various devices effortlessly. Each projector is equipped with multiple HDMI ports, component video inputs, and RS-232 connections, facilitating seamless integration with home theater systems. This versatility ensures that users can easily switch between gaming consoles, Blu-ray players, and streaming devices without hassle.
The Vidikron Vision projectors also feature efficient cooling systems, designed for quiet operation without compromising performance. This aspect is particularly vital during long movie marathons or intense gaming sessions, allowing users to immerse themselves in content without distractions from fan noise.
In terms of installation, both models are relatively user-friendly, featuring lens shift and zoom capabilities that facilitate flexible placement options. This allows for optimal image size and position depending on the dimensions of the viewing room.
In summary, the Vidikron Vision 150 and Vision 140 projectors represent a perfect blend of cutting-edge technology, stunning visuals, and user-friendly functionality. Their commitment to color accuracy and detailed imagery makes them a top choice for those seeking an enthralling home cinema experience. Whether it’s for movie nights with family or gaming marathons with friends, these projectors are poised to elevate any home entertainment setup.