•Save Settings: For each input and supported resolution, the DView lets you save image quality settings as presets that you can recall at a later time. You can create up to three presets – designated “Custom,” “ISF Day” and “ISF Night” – per input and resolution.
You should save changes to any of the following settings to a preset; otherwise they will be lost when a new input source or resolution is selected:
•Brightness
•Contrast
•Color saturation
•Tint
•Sharpness
•Gamma
•Color temperature and white balance
To save image settings to a preset, select Save Settings from the ISF Calibration menu and select “Custom,“ “ISF Day” or “ISF Night.”
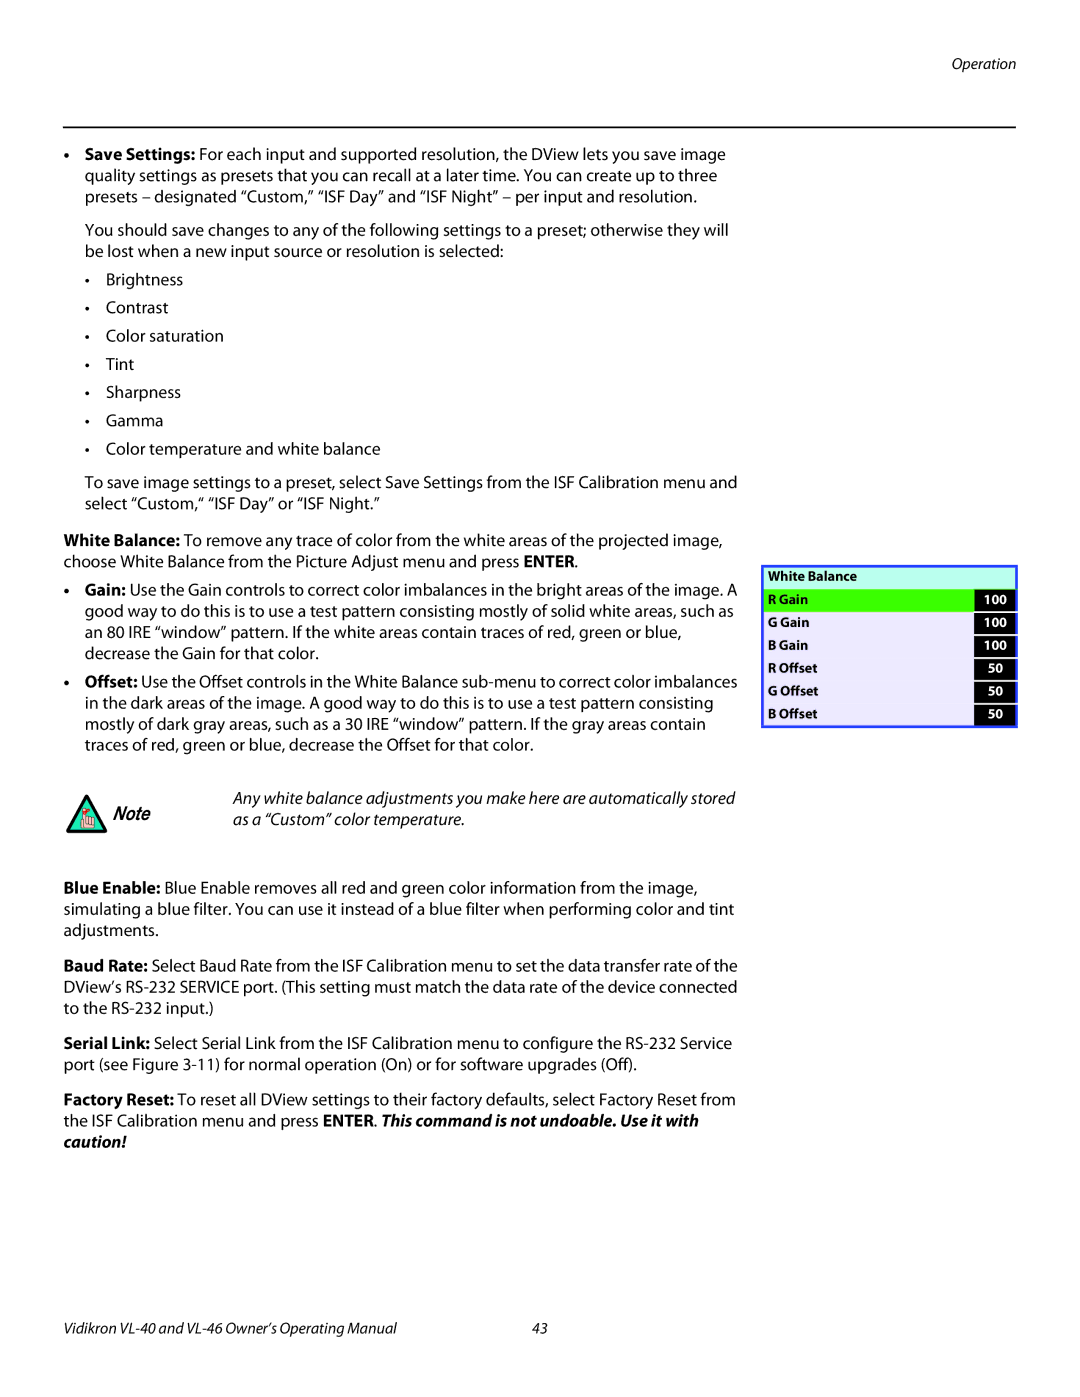
White Balance: To remove any trace of color from the white areas of the projected image, choose White Balance from the Picture Adjust menu and press ENTER.
•Gain: Use the Gain controls to correct color imbalances in the bright areas of the image. A good way to do this is to use a test pattern consisting mostly of solid white areas, such as an 80 IRE “window” pattern. If the white areas contain traces of red, green or blue, decrease the Gain for that color.
•Offset: Use the Offset controls in the White Balance
Any white balance adjustments you make here are automatically stored
Note | as a “Custom” color temperature. |
|
White Balance
R Gain | 100 | |
G Gain | 100 | |
B Gain | 100 | |
R Offset | 50 | |
G Offset | 50 | |
B Offset | 50 | |
|
|
Blue Enable: Blue Enable removes all red and green color information from the image, simulating a blue filter. You can use it instead of a blue filter when performing color and tint adjustments.
Baud Rate: Select Baud Rate from the ISF Calibration menu to set the data transfer rate of the DView’s
Serial Link: Select Serial Link from the ISF Calibration menu to configure the
Factory Reset: To reset all DView settings to their factory defaults, select Factory Reset from the ISF Calibration menu and press ENTER. This command is not undoable. Use it with caution!
Vidikron | 43 |
