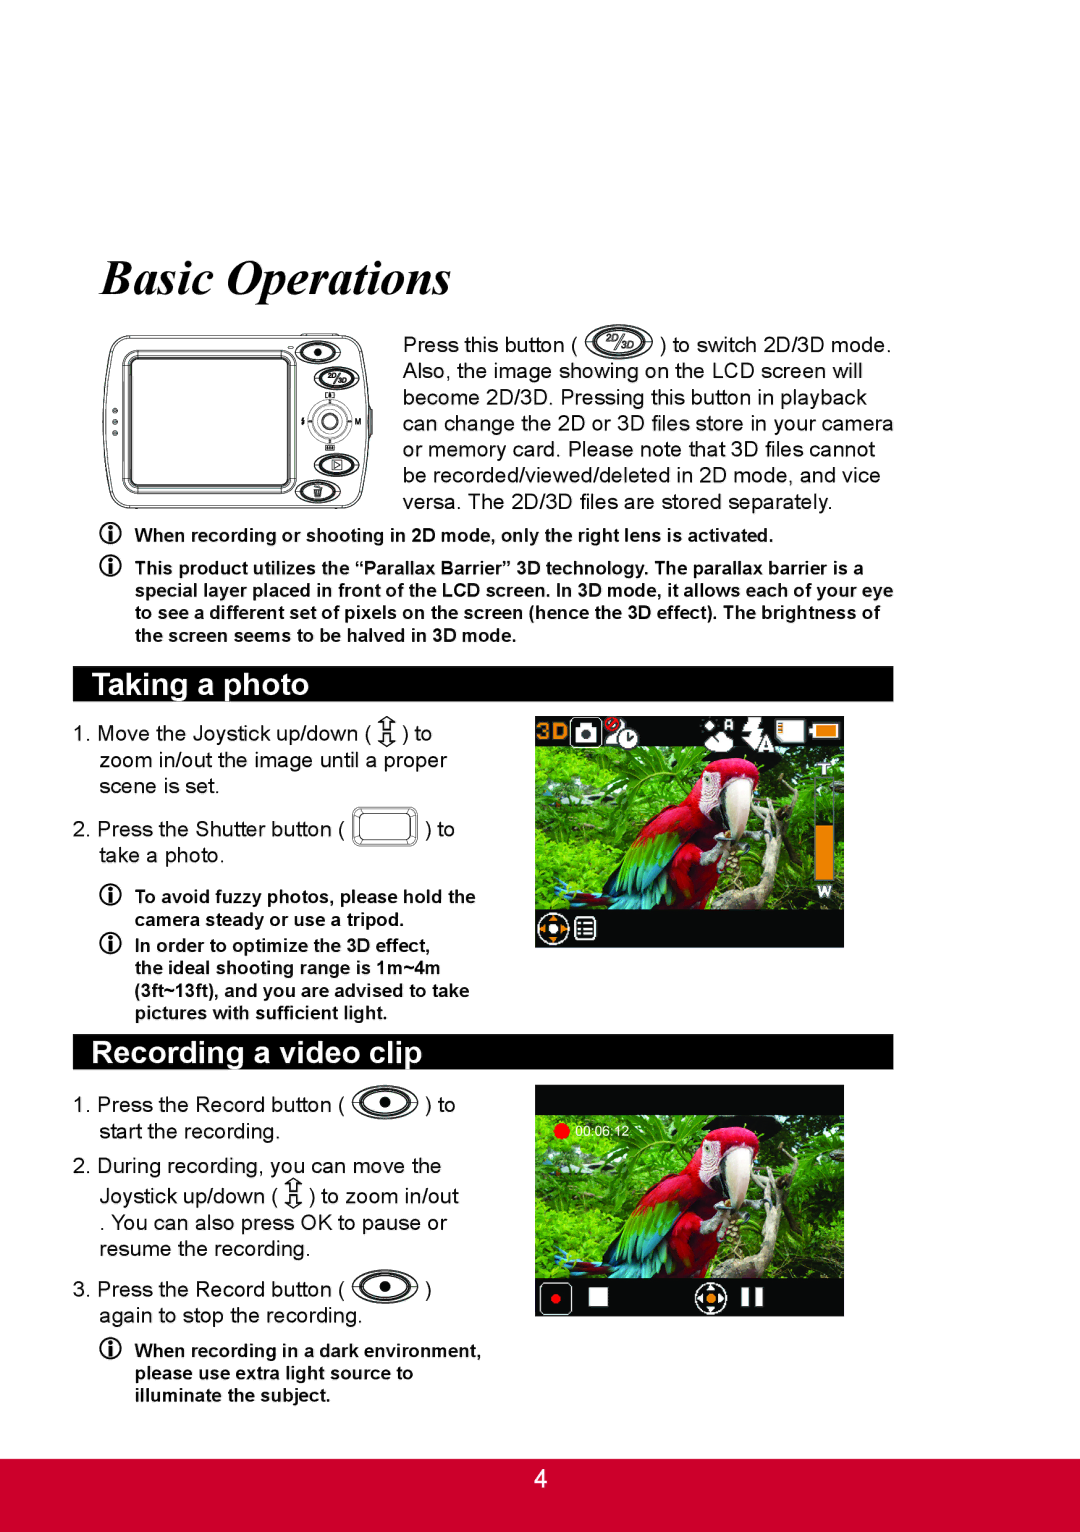
Basic Operations
Press this button ( ![]() ) to switch 2D/3D mode. Also, the image showing on the LCD screen will become 2D/3D. Pressing this button in playback can change the 2D or 3D files store in your camera or memory card. Please note that 3D files cannot be recorded/viewed/deleted in 2D mode, and vice versa. The 2D/3D files are stored separately.
) to switch 2D/3D mode. Also, the image showing on the LCD screen will become 2D/3D. Pressing this button in playback can change the 2D or 3D files store in your camera or memory card. Please note that 3D files cannot be recorded/viewed/deleted in 2D mode, and vice versa. The 2D/3D files are stored separately.
![]() When recording or shooting in 2D mode, only the right lens is activated.
When recording or shooting in 2D mode, only the right lens is activated.
![]() This product utilizes the “Parallax Barrier” 3D technology. The parallax barrier is a special layer placed in front of the LCD screen. In 3D mode, it allows each of your eye to see a different set of pixels on the screen (hence the 3D effect). The brightness of the screen seems to be halved in 3D mode.
This product utilizes the “Parallax Barrier” 3D technology. The parallax barrier is a special layer placed in front of the LCD screen. In 3D mode, it allows each of your eye to see a different set of pixels on the screen (hence the 3D effect). The brightness of the screen seems to be halved in 3D mode.
Taking a photo
1.Move the Joystick up/down ( ![]() ) to zoom in/out the image until a proper scene is set.
) to zoom in/out the image until a proper scene is set.
2.Press the Shutter button ( ![]()
![]() ) to take a photo.
) to take a photo.
![]() To avoid fuzzy photos, please hold the camera steady or use a tripod.
To avoid fuzzy photos, please hold the camera steady or use a tripod.
![]() In order to optimize the 3D effect, the ideal shooting range is 1m~4m (3ft~13ft), and you are advised to take pictures with sufficient light.
In order to optimize the 3D effect, the ideal shooting range is 1m~4m (3ft~13ft), and you are advised to take pictures with sufficient light.
Recording a video clip
1.Press the Record button ( ![]() ) to start the recording.
) to start the recording.
2.During recording, you can move the
Joystick up/down ( ![]() ) to zoom in/out
) to zoom in/out
. You can also press OK to pause or resume the recording.
3.Press the Record button ( ![]() ) again to stop the recording.
) again to stop the recording.
![]() When recording in a dark environment, please use extra light source to illuminate the subject.
When recording in a dark environment, please use extra light source to illuminate the subject.
4