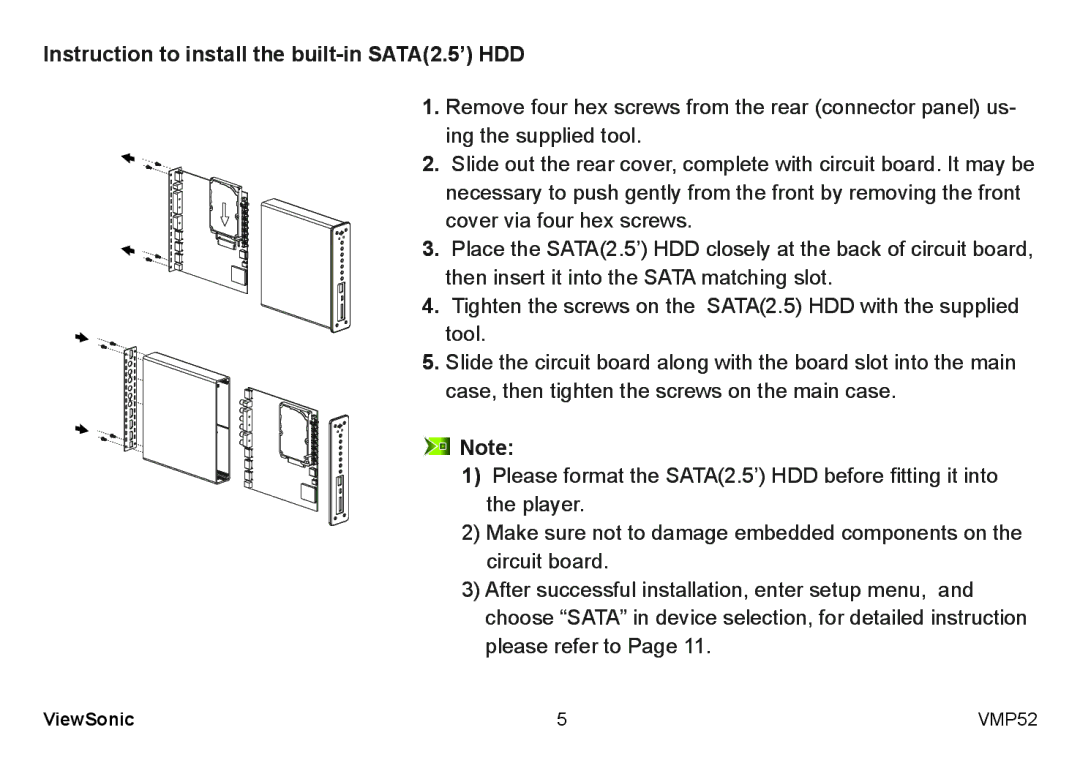
Instruction to install the built-in SATA(2.5’) HDD
1.Remove four hex screws from the rear (connector panel) us- ing the supplied tool.
2. Slide out the rear cover, complete with circuit board. It may be necessary to push gently from the front by removing the front cover via four hex screws.
3. Place the SATA(2.5’) HDD closely at the back of circuit board, then insert it into the SATA matching slot.
4. Tighten the screws on the SATA(2.5) HDD with the supplied tool.
5. Slide the circuit board along with the board slot into the main case, then tighten the screws on the main case.
![]()
![]() Note:
Note:
1) Please format the SATA(2.5’) HDD before fitting it into the player.
2) Make sure not to damage embedded components on the circuit board.
3)After successful installation, enter setup menu, and choose “SATA” in device selection, for detailed instruction please refer to Page 11.
ViewSonic | VMP52 |
