
Freestanding Side-by-Side Refrigerator/Freezer, Freestanding specifications
The Viking Freestanding Side-by-Side Refrigerator/Freezer is a stunning testament to modern kitchen technology, blending style with functionality to meet the needs of contemporary lifestyles. Known for its exceptional quality and performance, Viking has positioned itself as a top choice for homeowners seeking premium appliances.One of the standout features of this refrigerator/freezer is its spacious interior. With ample storage compartments, it is designed to accommodate a variety of food items, from large trays of leftovers to tall beverage containers. The adjustable shelves allow for customization, enabling users to organize their food items efficiently based on personal preferences. The side-by-side configuration means easy access to both refrigerated and frozen items, streamlining meal preparation processes.
The Viking refrigerator/freezer boasts advanced cooling technologies that ensure optimal temperature control and humidity levels. Utilizing a dual compressor system provides individual cooling for both the fridge and freezer compartments. This technology helps maintain food freshness longer by preventing odor transfer and ensuring consistent temperatures throughout.
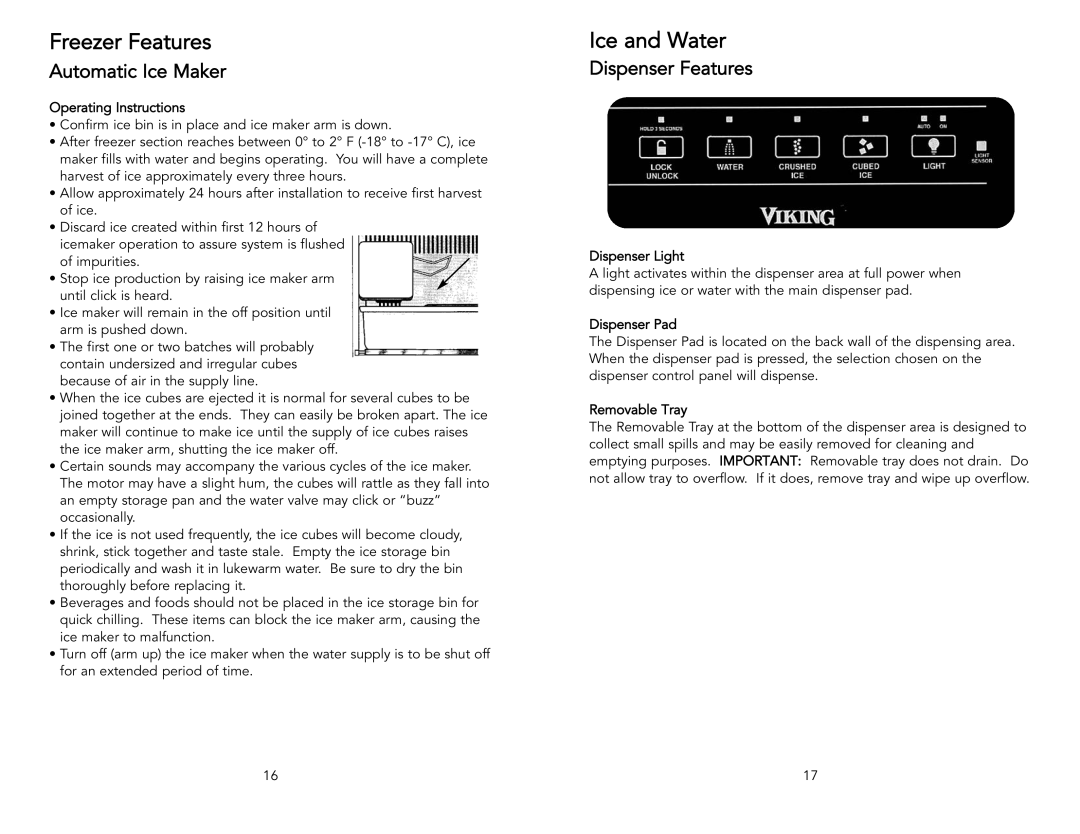
Another key feature is the built-in water and ice dispenser. This convenient addition offers chilled, filtered water and crushed or cubed ice at the push of a button, making it easier than ever to stay hydrated. Moreover, the filtration system enhances water quality by removing impurities, ensuring that every glass is crisp and refreshing.
Energy efficiency is also a significant consideration in modern appliances, and the Viking refrigerator/freezer is Energy Star certified. This not only helps reduce energy consumption but also translates into lower utility bills over time, making it a considerate choice for environmentally conscious consumers.
Additionally, the Viking appliance is engineered with robust construction materials, which contributes to its durability and longevity. The stainless-steel finish adds a touch of elegance, complementing any kitchen décor, while the easy-to-clean surface ensures that maintaining its appearance requires minimal effort.
The Viking Freestanding Side-by-Side Refrigerator/Freezer offers several customization options, including panel-ready designs that allow homeowners to seamlessly integrate the appliance into their cabinetry. This versatility ensures that it fits perfectly within any kitchen design aesthetic.
In summary, the Viking Freestanding Side-by-Side Refrigerator/Freezer is an embodiment of luxury and practicality. With its spacious design, advanced cooling technologies, user-friendly features, and energy-efficient operation, it is a premier choice for anyone looking to enhance their kitchen experience while ensuring their food stays fresh and easily accessible.