5.1.1 Saving your Images to Disk -
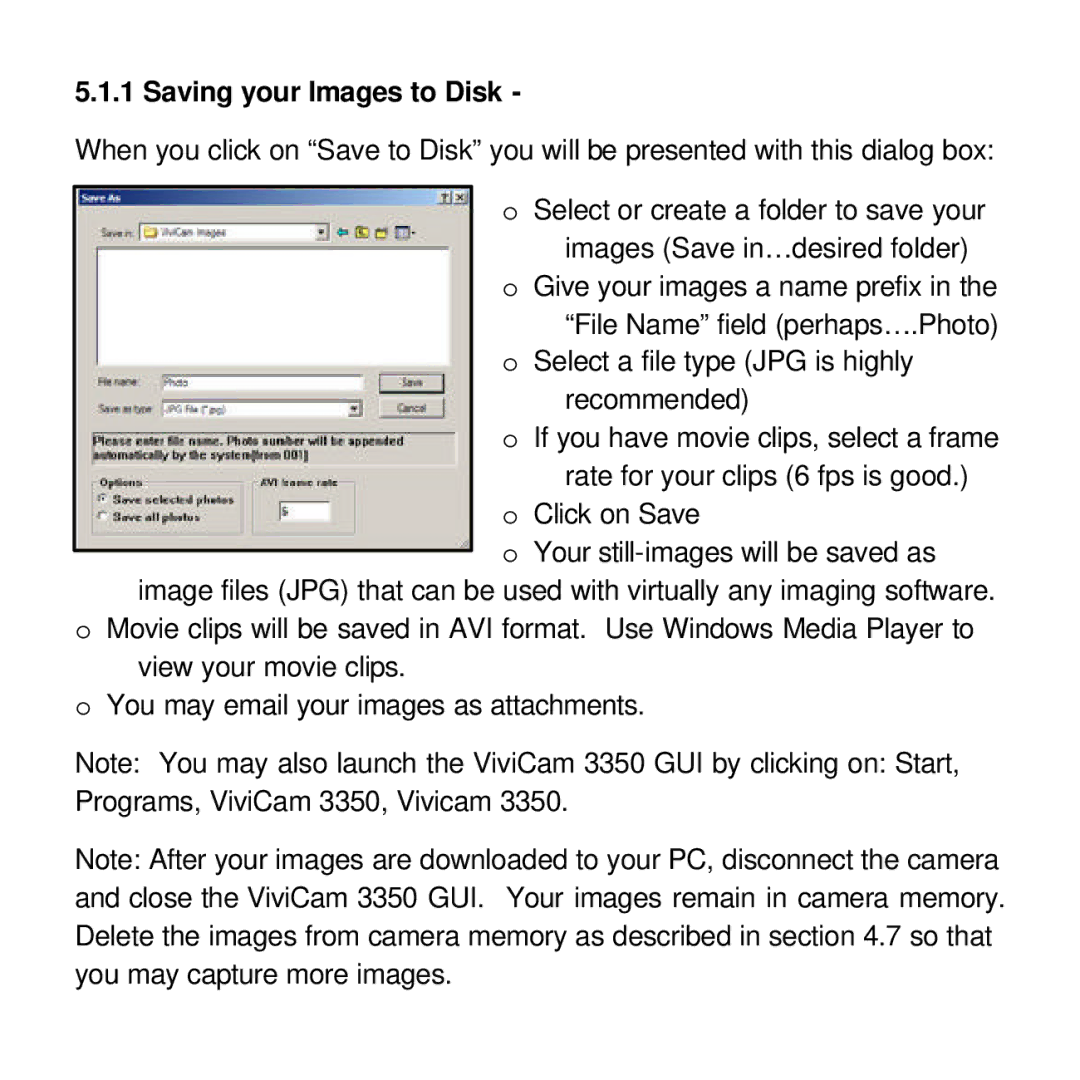
When you click on “Save to Disk” you will be presented with this dialog box:
oSelect or create a folder to save your images (Save in…desired folder)
oGive your images a name prefix in the
“File Name” field (perhaps….Photo)
oSelect a file type (JPG is highly
recommended)
oIf you have movie clips, select a frame
rate for your clips (6 fps is good.)
oClick on Save
oYour
image files (JPG) that can be used with virtually any imaging software.
oMovie clips will be saved in AVI format. Use Windows Media Player to view your movie clips.
oYou may email your images as attachments.
Note: You may also launch the ViviCam 3350 GUI by clicking on: Start, Programs, ViviCam 3350, Vivicam 3350.
Note: After your images are downloaded to your PC, disconnect the camera and close the ViviCam 3350 GUI. Your images remain in camera memory. Delete the images from camera memory as described in section 4.7 so that you may capture more images.
