MAINTENANCE
WARNING: HOT FRYING COMPOUND AND PARTS CAN CAUSE BURNS. USE CARE WHEN OPERATING, CLEANING OR SERVICING THE FRYER. USE CARE WHEN FILTERING.
WARNING: SPILLING HOT FRYING COMPOUND CAN CAUSE SEVERE BURNS. DO NOT MOVE THE FRYER WITHOUT DRAINING ALL FRYING COMPOUND FROM THE TANK.
WARNING: DISCONNECT THE ELECTRICAL POWER TO THE MACHINE AND FOLLOW LOCKOUT/ TAGOUT PROCEDURES.
CLEANING THE FILTER DRAWER
1.Pull the filter drawer out and remove the filter tank cover.
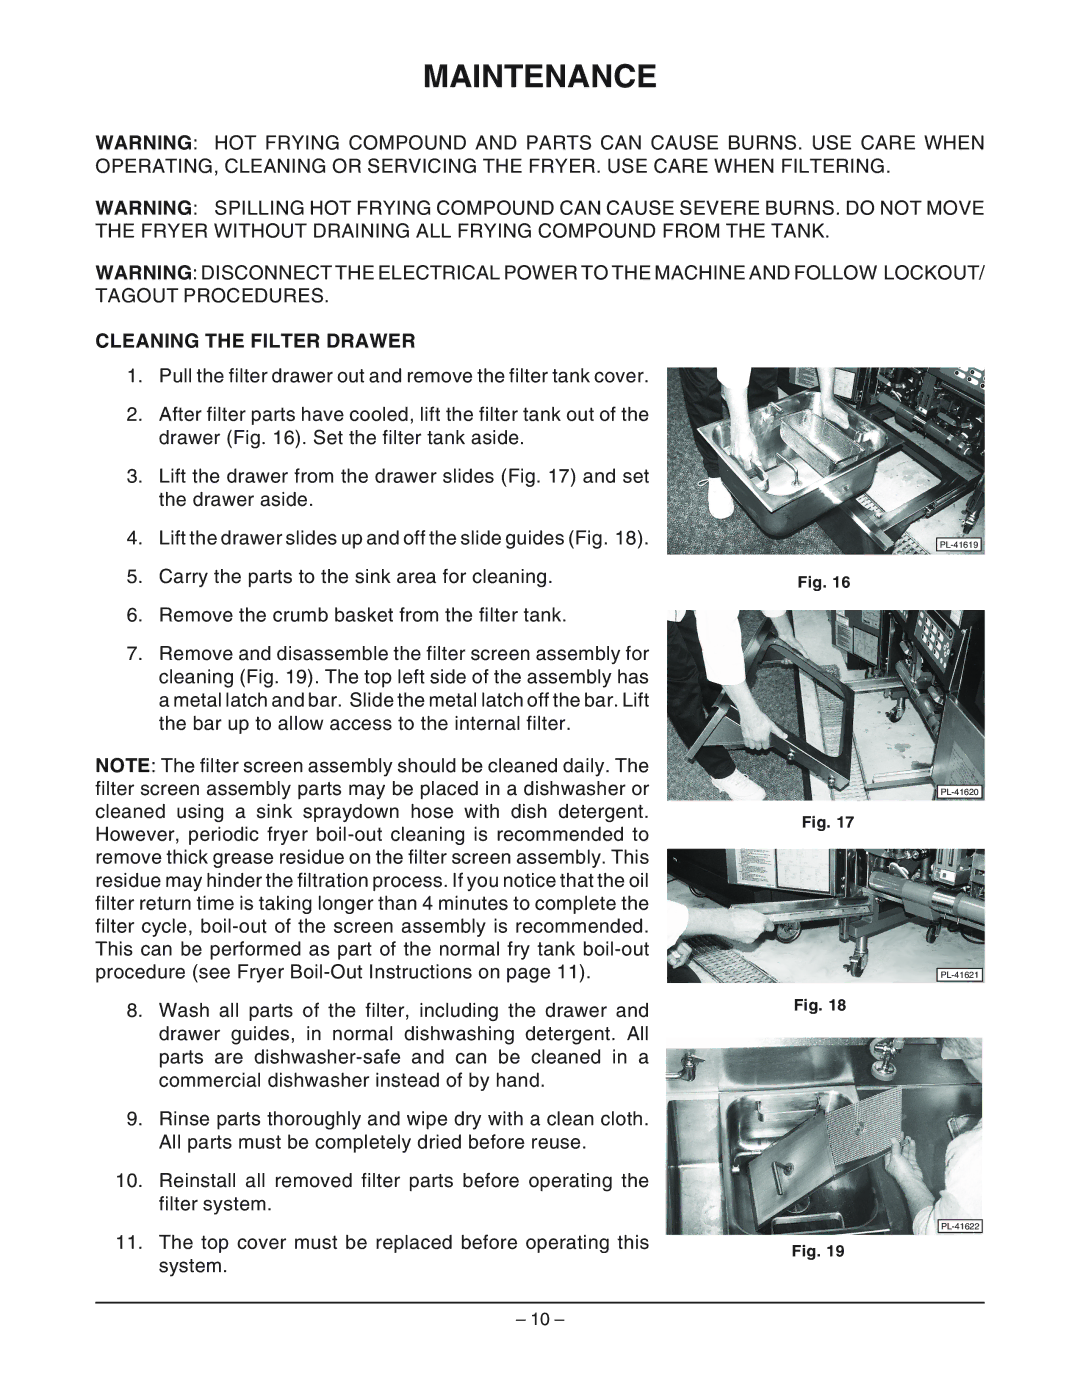
2.After filter parts have cooled, lift the filter tank out of the drawer (Fig. 16). Set the filter tank aside.
3.Lift the drawer from the drawer slides (Fig. 17) and set the drawer aside.
4.Lift the drawer slides up and off the slide guides (Fig. 18).
5.Carry the parts to the sink area for cleaning.
6.Remove the crumb basket from the filter tank.
7.Remove and disassemble the filter screen assembly for cleaning (Fig. 19). The top left side of the assembly has a metal latch and bar. Slide the metal latch off the bar. Lift the bar up to allow access to the internal filter.
NOTE: The filter screen assembly should be cleaned daily. The filter screen assembly parts may be placed in a dishwasher or cleaned using a sink spraydown hose with dish detergent. However, periodic fryer
8.Wash all parts of the filter, including the drawer and drawer guides, in normal dishwashing detergent. All parts are
9.Rinse parts thoroughly and wipe dry with a clean cloth. All parts must be completely dried before reuse.
10.Reinstall all removed filter parts before operating the filter system.
Fig. 16
Fig. 17
Fig. 18
11. The top cover must be replaced before operating this | Fig. 19 | |
system. | ||
|
– 10 –
