MG800 specifications
The Waring MG800 is a high-performance commercial-grade meat grinder designed to meet the needs of busy kitchens and food establishments. Known for its durability and reliability, the MG800 combines power with user-friendly features that make it a must-have for chefs and restaurant owners who require efficient meat processing.One of the standout characteristics of the Waring MG800 is its powerful 1.5 HP motor, which facilitates the grinding of large quantities of meat quickly and effortlessly. This motor ensures consistent performance and can handle tough cuts of meat, making it suitable for various applications, from creating fresh ground beef for burgers to preparing specialty sausages.
The MG800 is engineered with a heavy-duty stainless steel housing, providing both strength and ease of cleaning. The unit’s stainless steel construction resists corrosion and wear, ensuring a long-lasting investment for any kitchen. Additionally, the grinder features a large feed tube that accommodates larger cuts of meat, reducing preparation time and minimizing the need for excessive slicing.
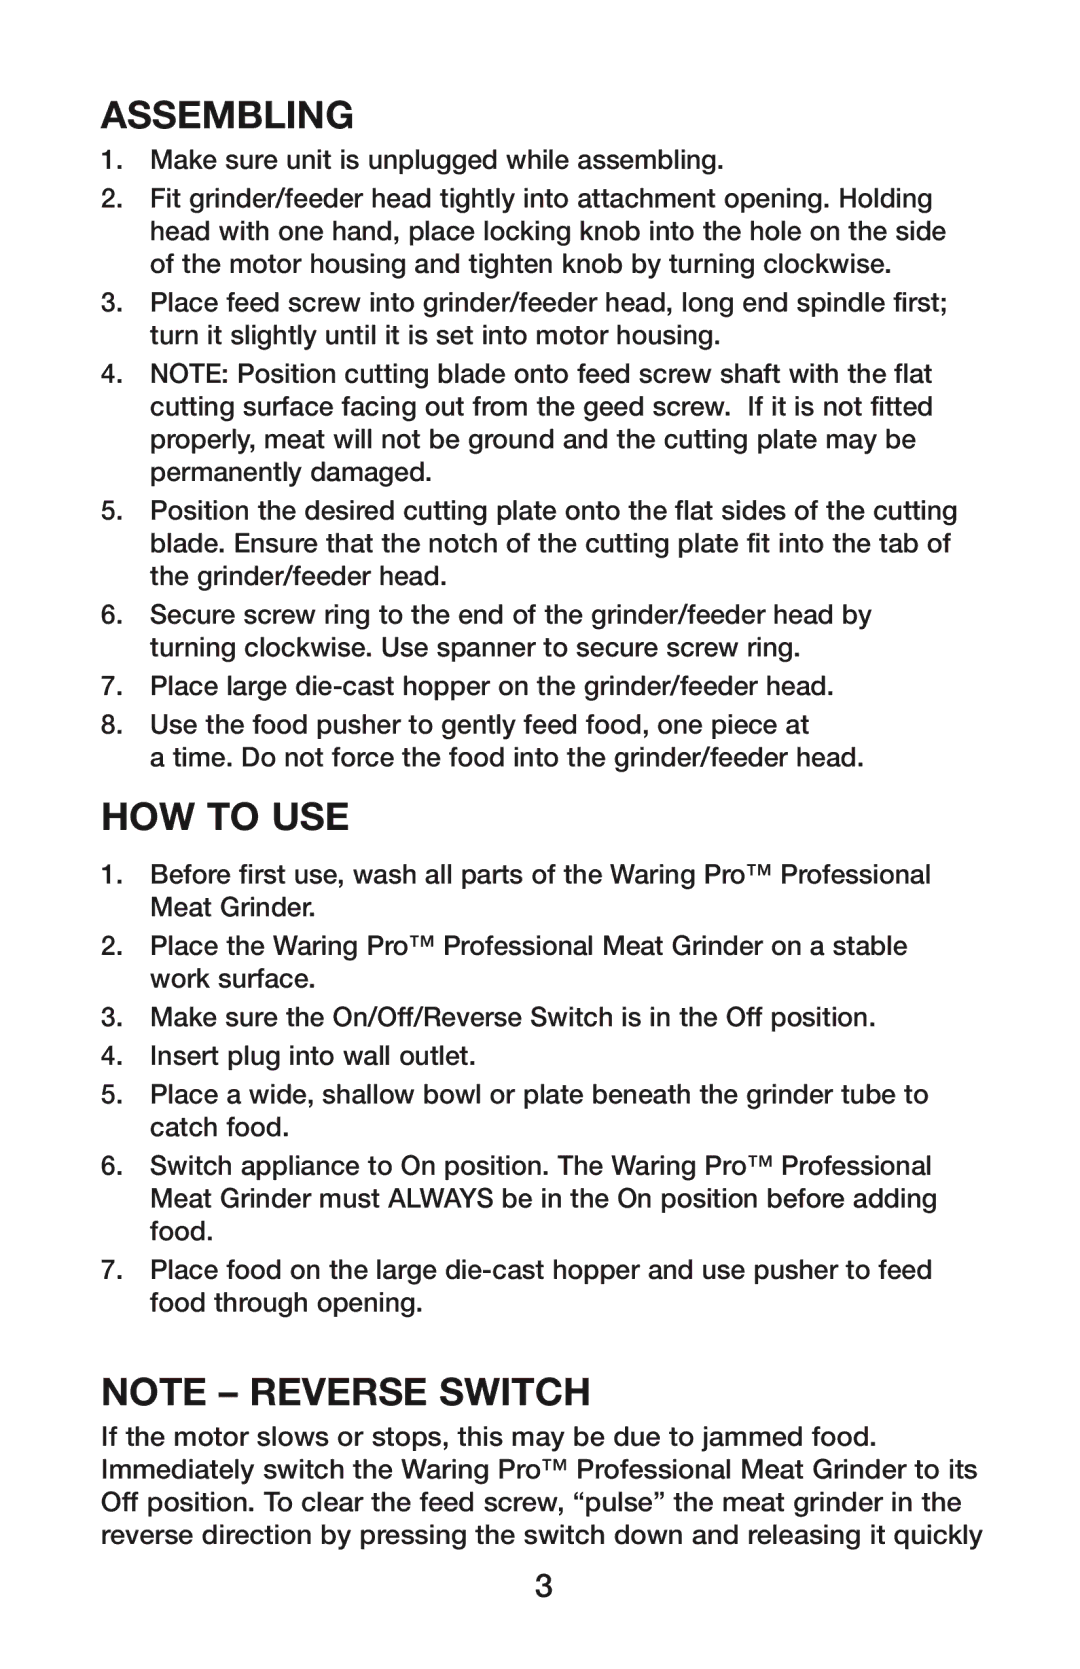
Safety is another priority with the Waring MG800. The machine includes a reverse switch that helps clear jams, enhancing both safety and efficiency during operation. This feature is particularly beneficial in busy kitchens where time is of the essence. The grinder also comes equipped with a secure, easy-to-remove pusher, allowing for hands-free operation while keeping fingers safely away from the grinding area.
The Waring MG800 offers multiple grinding plates, enabling users to choose the desired grind size, from coarse to fine. This versatility allows for a variety of meat processing applications, giving chefs the flexibility to create customized blends according to their recipes and personal preferences. Whether it’s making homemade sausages, meatballs, or ground meat for various dishes, the MG800 delivers consistent results every time.
In terms of maintenance, the Waring MG800 is designed for easy assembly and disassembly, making cleanup a hassle-free process. All detachable parts can be easily washed, promoting hygiene and food safety in any food establishment.
Overall, the Waring MG800 stands out as a powerful and reliable meat grinder that prioritizes efficiency, safety, and versatility. Its robust design and advanced features make it an ideal choice for professionals looking for a dependable solution for their meat processing needs.