9600, 9100, 9900, 9200 specifications
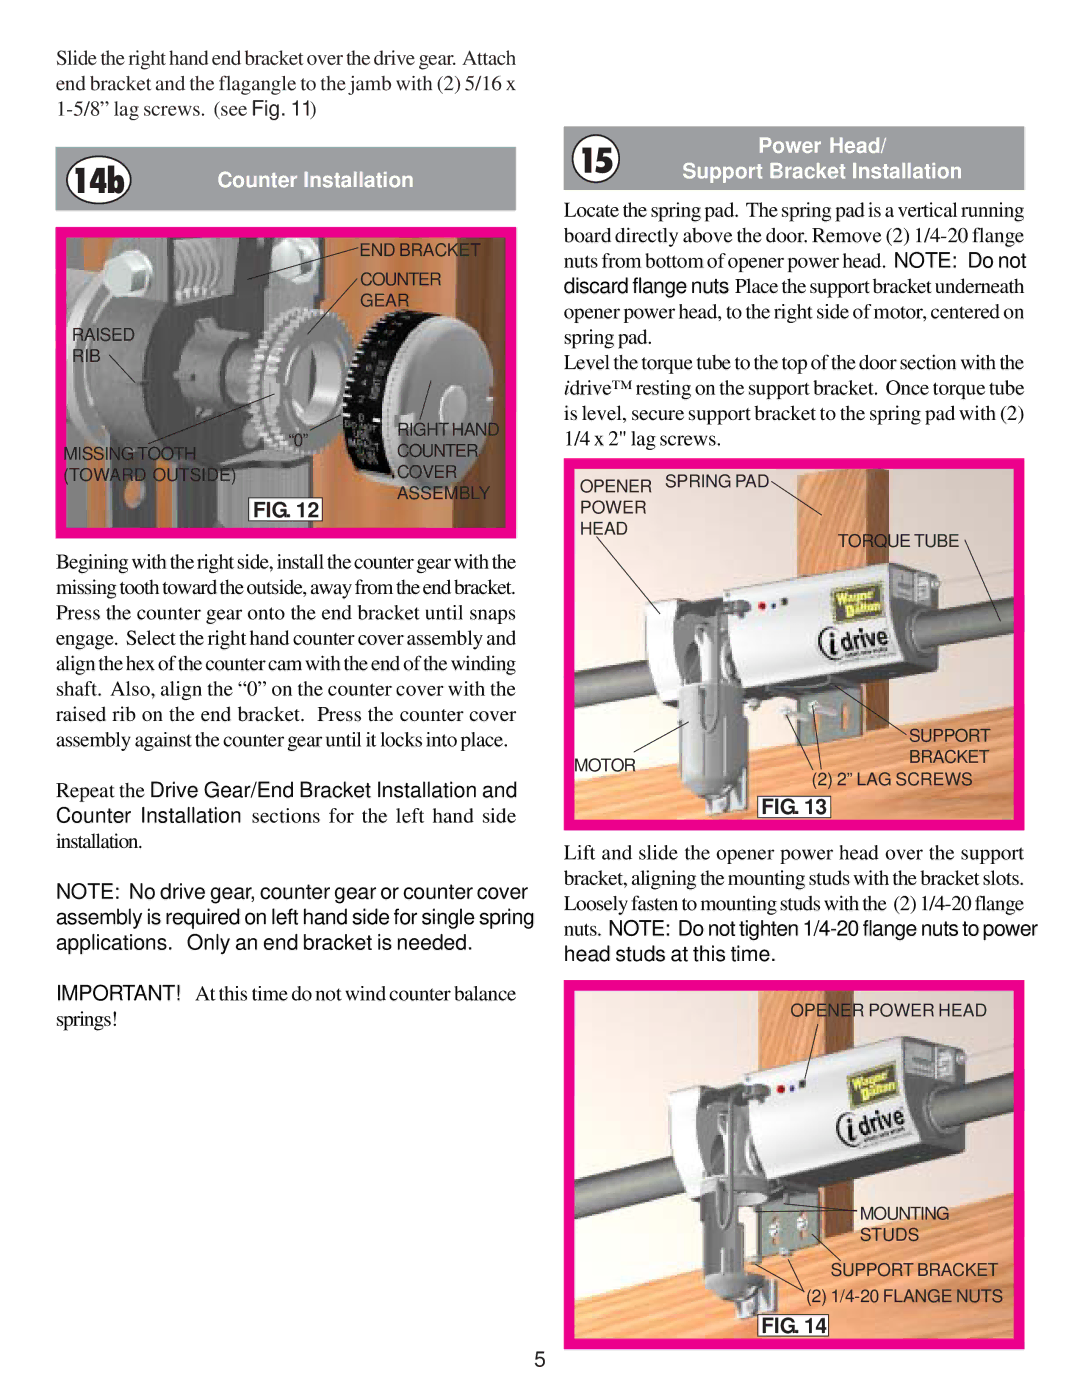
Wayne-Dalton is a renowned name in the garage door industry, and its series of garage doors, namely the 9600, 9400, and 9100, stand out for their exceptional quality, durability, and aesthetic appeal. Each series is designed to meet various needs, offering a range of features and technologies that enhance functionality and performance.The Wayne-Dalton 9600 series is known for its energy efficiency and robust construction. These doors are insulated with a foamed-in-place polyurethane core, which provides an exceptional R-value, making them ideal for regions with extreme temperature fluctuations. The 9600 series features high-quality steel construction, ensuring durability and resistance to dents and damage. This series also offers a variety of design options, including wood grain textures and multiple color finishes, allowing homeowners to match their garage doors with their home’s exterior.
Moving to the Wayne-Dalton 9400 series, this line is recognized for its versatility and premium insulation. Like the 9600 series, the 9400 features a polyurethane core foamed between two layers of steel for superior thermal performance. Moreover, it offers a wider selection of panel designs, from traditional to contemporary finishes. The 9400 doors come equipped with a weather seal, enhancing protection against the elements and keeping the garage environment comfortable year-round.
Lastly, the Wayne-Dalton 9100 series combines affordability with functionality. It also offers insulated construction, although with a polystyrene core, making it an excellent choice for homeowners seeking a budget-friendly option without sacrificing quality. The 9100 series provides a good range of design options and customizable accessories such as decorative hardware, windows, and color choices to suit individual preferences.
All three series benefit from advanced technology, such as Wayne-Dalton's innovative design features for smooth operation and increased safety. They are equipped with sectional door designs, reducing the risk of pinch points and enhancing user safety. Additionally, Wayne-Dalton offers a variety of remote access and control technologies, ensuring convenience and peace of mind for users.
In summary, the Wayne-Dalton 9600, 9400, and 9100 series are distinguished by their superior insulation, durability, and stylish design options. Whether prioritizing energy efficiency, versatility, or budget considerations, these garage doors cater to a spectrum of consumer needs, thereby continuing Wayne-Dalton's legacy of excellence in design and functionality.

