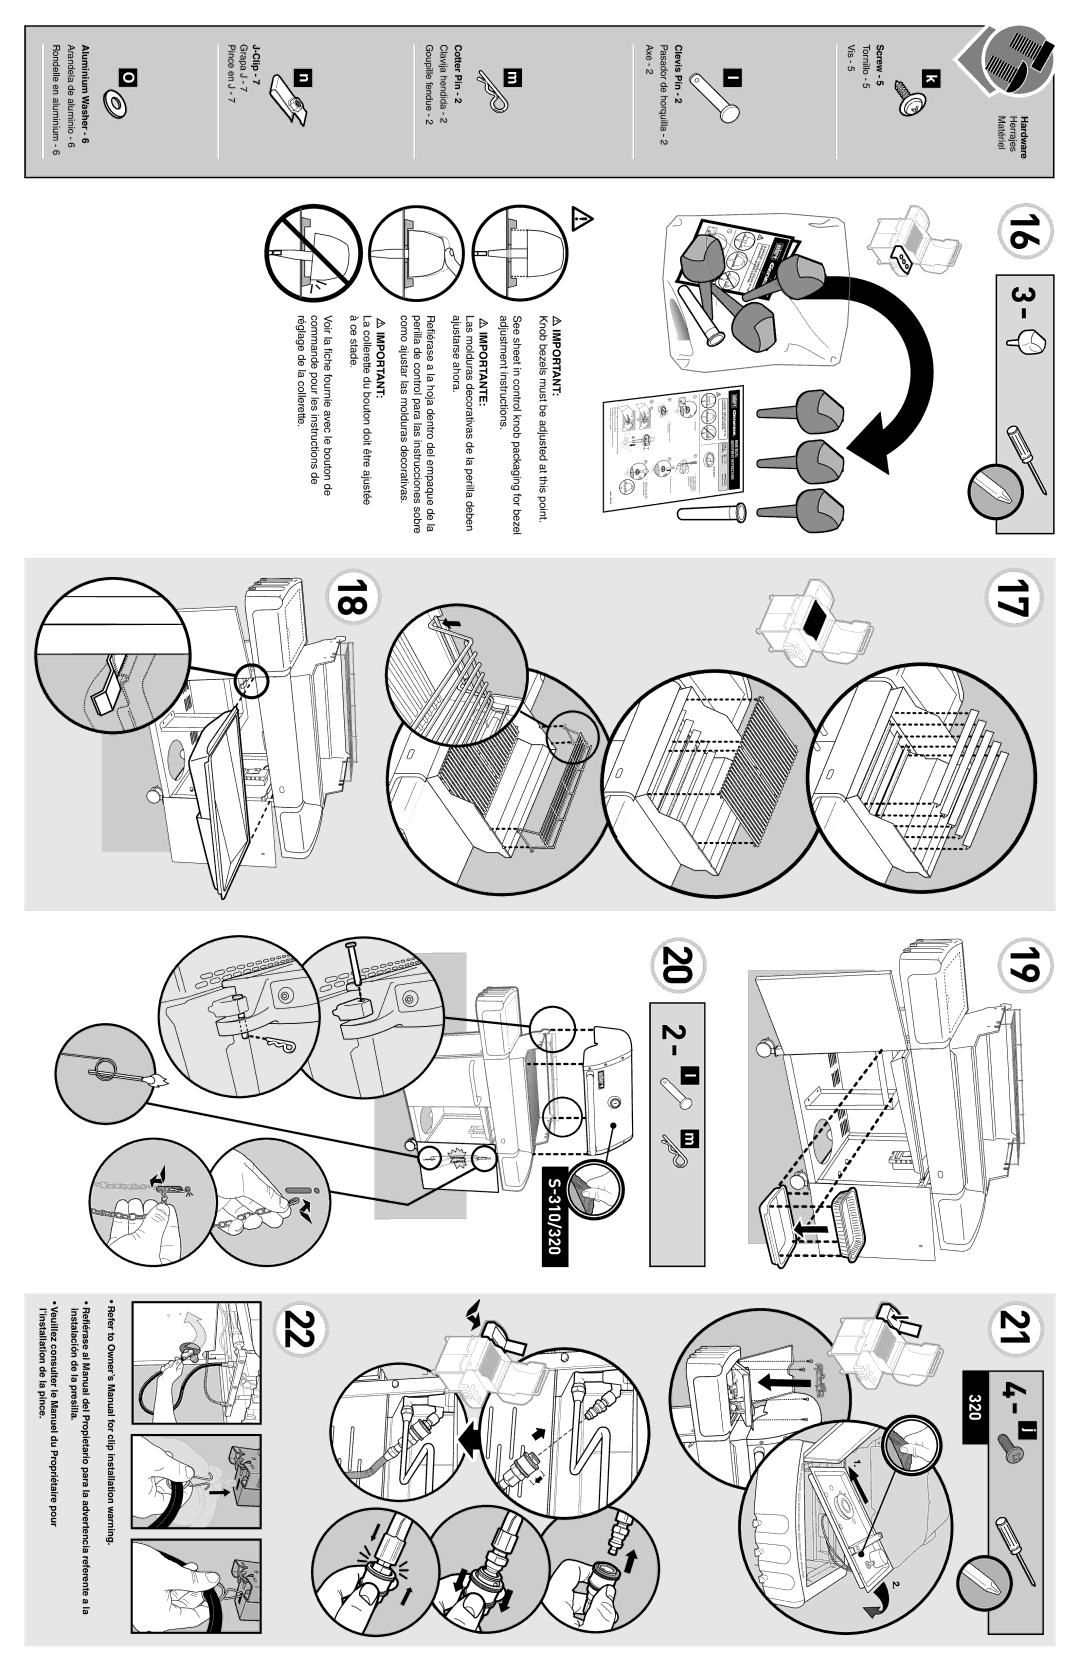
320, 310 specifications
The Weber 310,210 series is one of the most popular choices among grilling enthusiasts, offering a blend of excellent craftsmanship and innovative technology. Designed for both casual grillers and serious barbecue aficionados, the Weber 310,210 delivers on performance, durability, and versatility.At the core of the Weber 310,210 is its robust cooking system, which includes three stainless steel burners capable of delivering up to 32,000 BTUs of heat. This powerful burner configuration allows for precise temperature control, enabling users to execute a range of culinary techniques, from searing steaks to slow-roasting vegetables. Additionally, the grill features an electronic ignition system that ensures quick and reliable start-ups, eliminating the frustration often associated with traditional lighter methods.
One of the standout features of the Weber 310,210 is its generous cooking area, which provides ample space for grilling multiple items simultaneously. With a total cooking area of 529 square inches, it comfortably accommodates everything from large cuts of meat to an assortment of side dishes, making it ideal for family gatherings or parties.
The grill also boasts a durable construction, with a porcelain-enameled cast iron cooking grates that not only offer excellent heat retention and distribution but also make clean-up a breeze. The porcelain exterior helps resist rust and fading, ensuring that your grill maintains its aesthetic appeal over time.
In terms of technology, the Weber 310,210 is equipped with a built-in thermometer, allowing for precise monitoring of internal temperatures without having to lift the lid. This feature helps to retain heat and minimizes the risk of overcooking food. Furthermore, the grill includes side tables that provide additional workspace, perfect for placing ingredients, utensils, or platters.
Safety is also a priority, as evidenced by the grill's sturdy construction and stability. It comes with secure wheels for easy mobility, allowing users to move the grill around their outdoor space with ease.
In summary, the Weber 310,210 series combines performance, technology, and durability in an aesthetically pleasing package. Its features make it an excellent choice for anyone looking to elevate their grilling experience, whether they are just starting or have years of experience. With its focus on quality and user-friendly design, the Weber 310,210 stands out as a reliable option in the competitive market of outdoor grilling.

