
5500 specifications
The Weber 5500 is a standout grill in the realm of outdoor cooking, combining innovative technology with user-friendly features that cater to both novice grillers and seasoned barbecue aficionados. Its construction is robust, making it a reliable companion for outdoor gatherings, family cookouts, or even just a weekend dinner. The grill is designed to deliver exceptional performance while ensuring ease of use and maintenance.One of the main features of the Weber 5500 is its powerful burners, which provide high heat output and even cooking across the entire grilling surface. With multiple stainless steel burners, users can achieve precise temperature control, making it easier to cook different types of food simultaneously. The ability to create distinct heat zones allows for versatile grilling methods such as direct searing or indirect cooking.
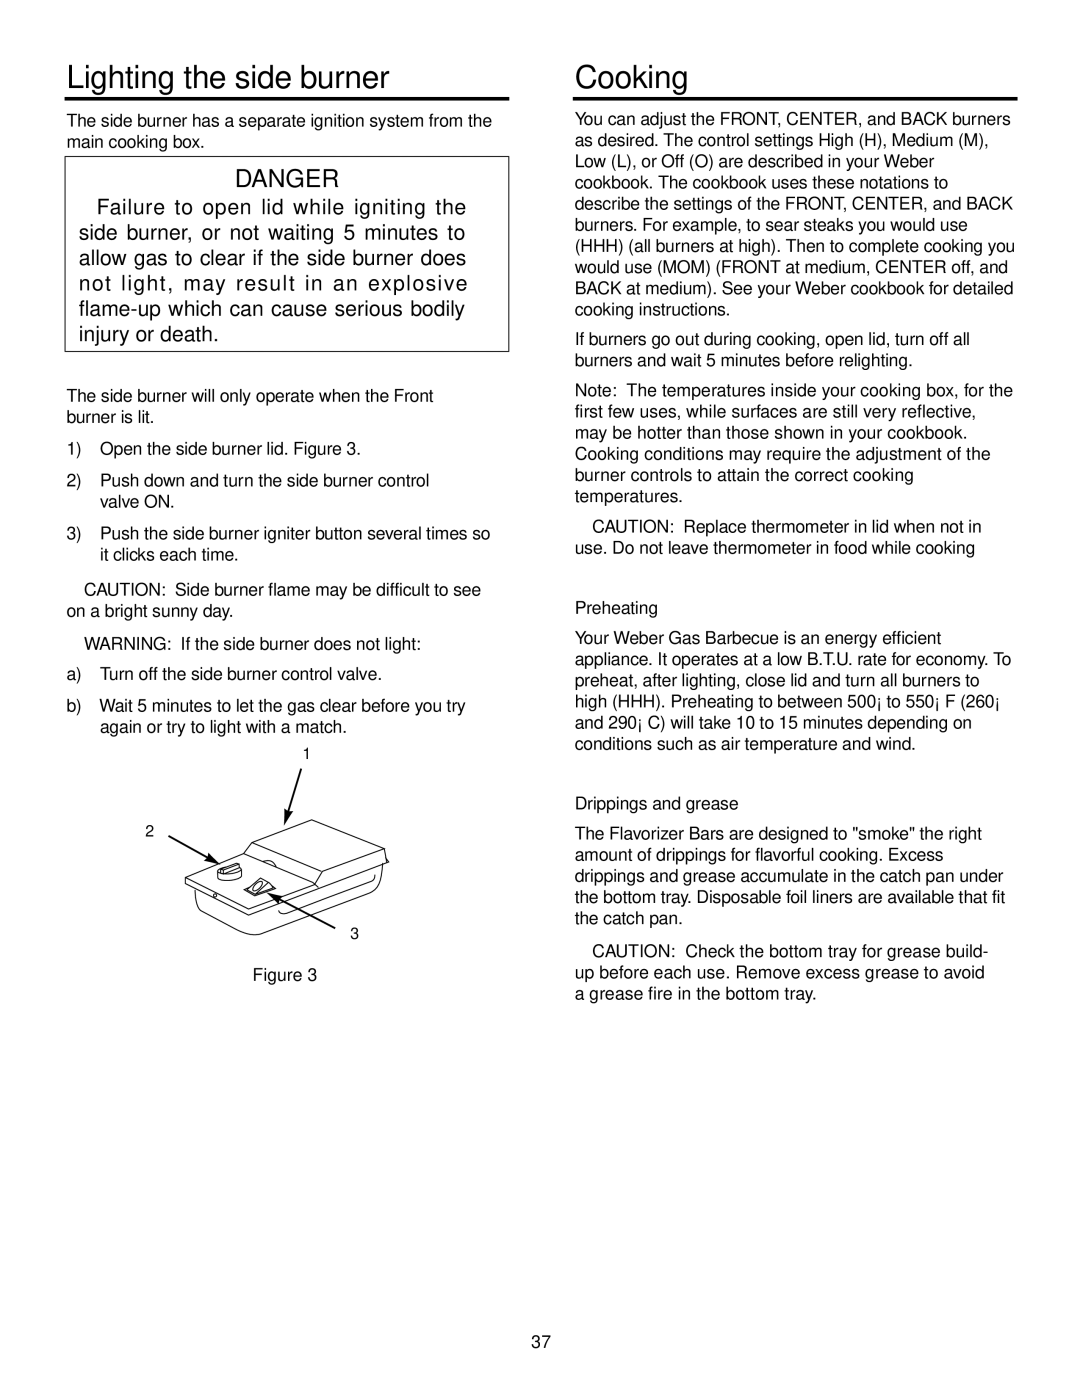
In addition to its efficient burners, the Weber 5500 boasts advanced ignition technology, ensuring a quick and reliable start-up every time. The electronic ignition system minimizes the hassle often associated with traditional match-light methods, making it safer and easier to begin grilling.
The grill is also equipped with a spacious cooking area, allowing for ample space to cook multiple items at once. The porcelain-enameled cooking grates retain heat exceptionally well, providing perfect grill marks and flavor infusion, while also being easy to clean.
Another noteworthy characteristic is the Weber 5500's built-in smoke box, which allows users to infuse their dishes with rich smoky flavors. This feature is perfect for those who enjoy the taste of smoked meats but may lack the space or equipment for a dedicated smoker.
Furthermore, the grill is designed with durability in mind. The high-quality materials used in its construction not only enhance its longevity but also ensure that it withstands the rigors of outdoor exposure. The rust-resistant finish promotes a clean and professional appearance, even after extended use.
The Weber 5500 also emphasizes safety, featuring heat-resistant handles and an integrated thermometer that enables users to monitor cooking temperatures without having to open the lid, thus preserving heat and preventing flare-ups.
In summary, the Weber 5500 is a powerful, versatile grill that incorporates modern technology, robust construction, and user-focused features. With its emphasis on performance, ease of use, and safety, it stands out as an essential tool for anyone looking to elevate their outdoor cooking experience. Whether for everyday meals or special occasions, the Weber 5500 consistently delivers results that impress.