1 Insert the key fully into the console.
Inserting the key will not turn on the displays. The displays will turn on when the ON/RESET button is pressed or when the walking belt is started.
Note: If batteries were just installed, the displays will already be on.
2 Resetbelt. the speed control and start the walking
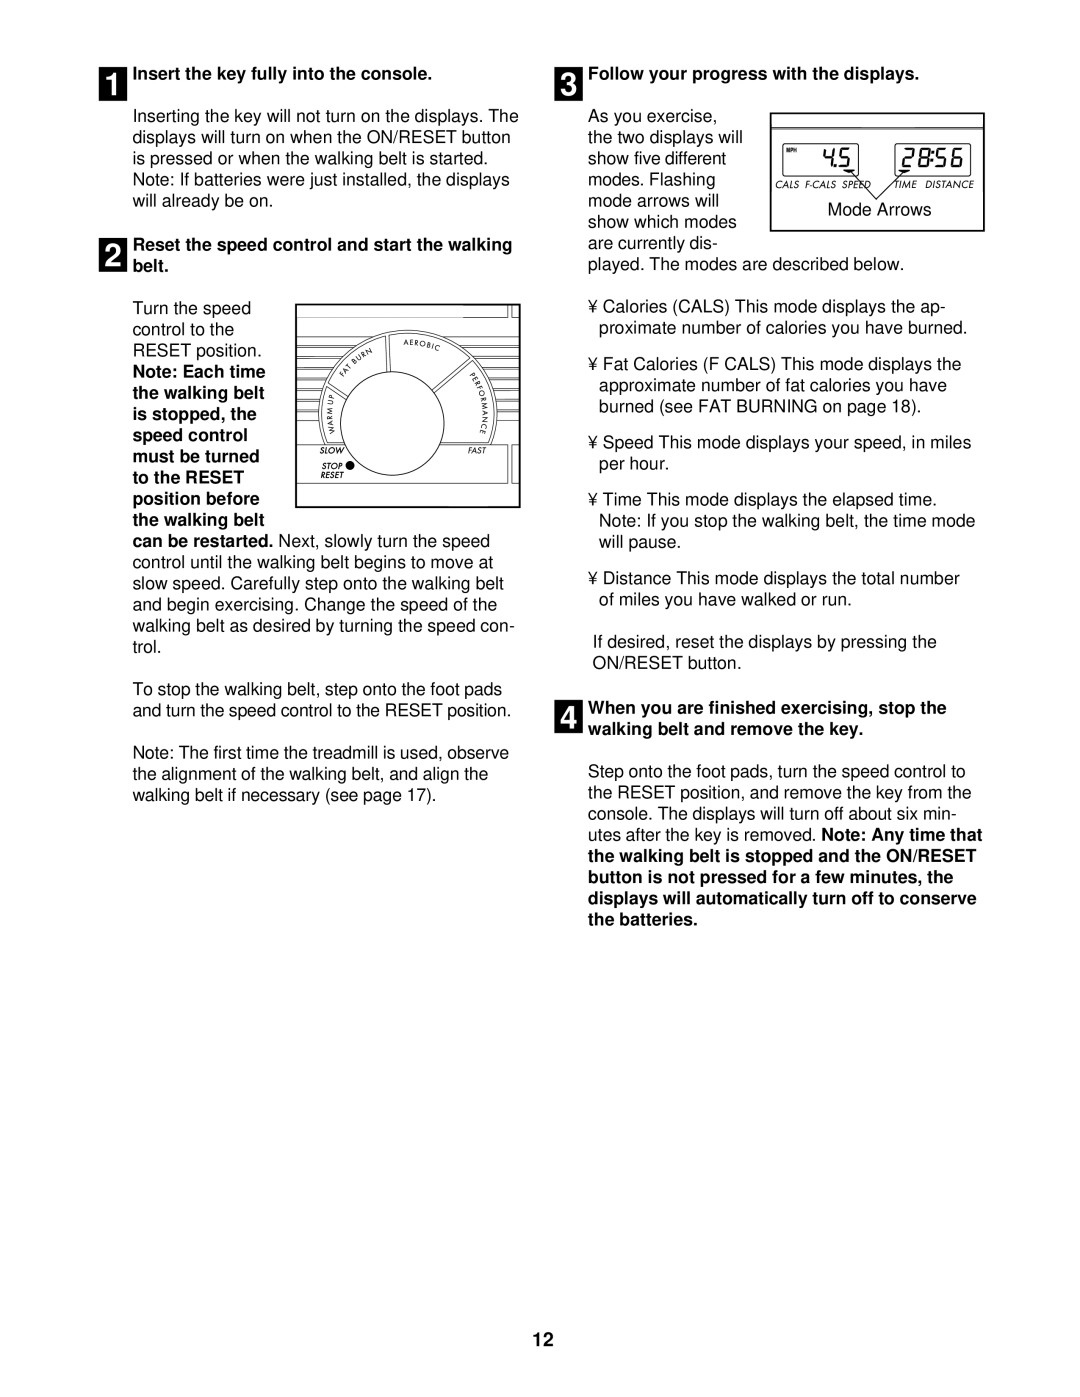
Turn the speed control to the RESET position.
Note: Each time the walking belt is stopped, the speed control must be turned to the RESET position before the walking belt
can be restarted. Next, slowly turn the speed control until the walking belt begins to move at slow speed. Carefully step onto the walking belt and begin exercising. Change the speed of the walking belt as desired by turning the speed con- trol.
To stop the walking belt, step onto the foot pads and turn the speed control to the RESET position.
Note: The first time the treadmill is used, observe the alignment of the walking belt, and align the walking belt if necessary (see page 17).
3 Follow your progress with the displays.
As you exercise, the two displays will
show five different modes. Flashing mode arrows will
show which modes are currently dis-
played. The modes are described below.
•Calories
•Fat Calories (F
•
•
•
If desired, reset the displays by pressing the ON/RESET button.
4 When you are finished exercising, stop the walking belt and remove the key.
Step onto the foot pads, turn the speed control to the RESET position, and remove the key from the console. The displays will turn off about six min- utes after the key is removed. Note: Any time that the walking belt is stopped and the ON/RESET button is not pressed for a few minutes, the displays will automatically turn off to conserve the batteries.
12
