Westinghouse 62204 owner manual Mounting and Wiring Instructions, Fixture Assembly Instructions

Models: 62204

1 12
Download 12 pages 5.55 Kb
Page 4
Image 4

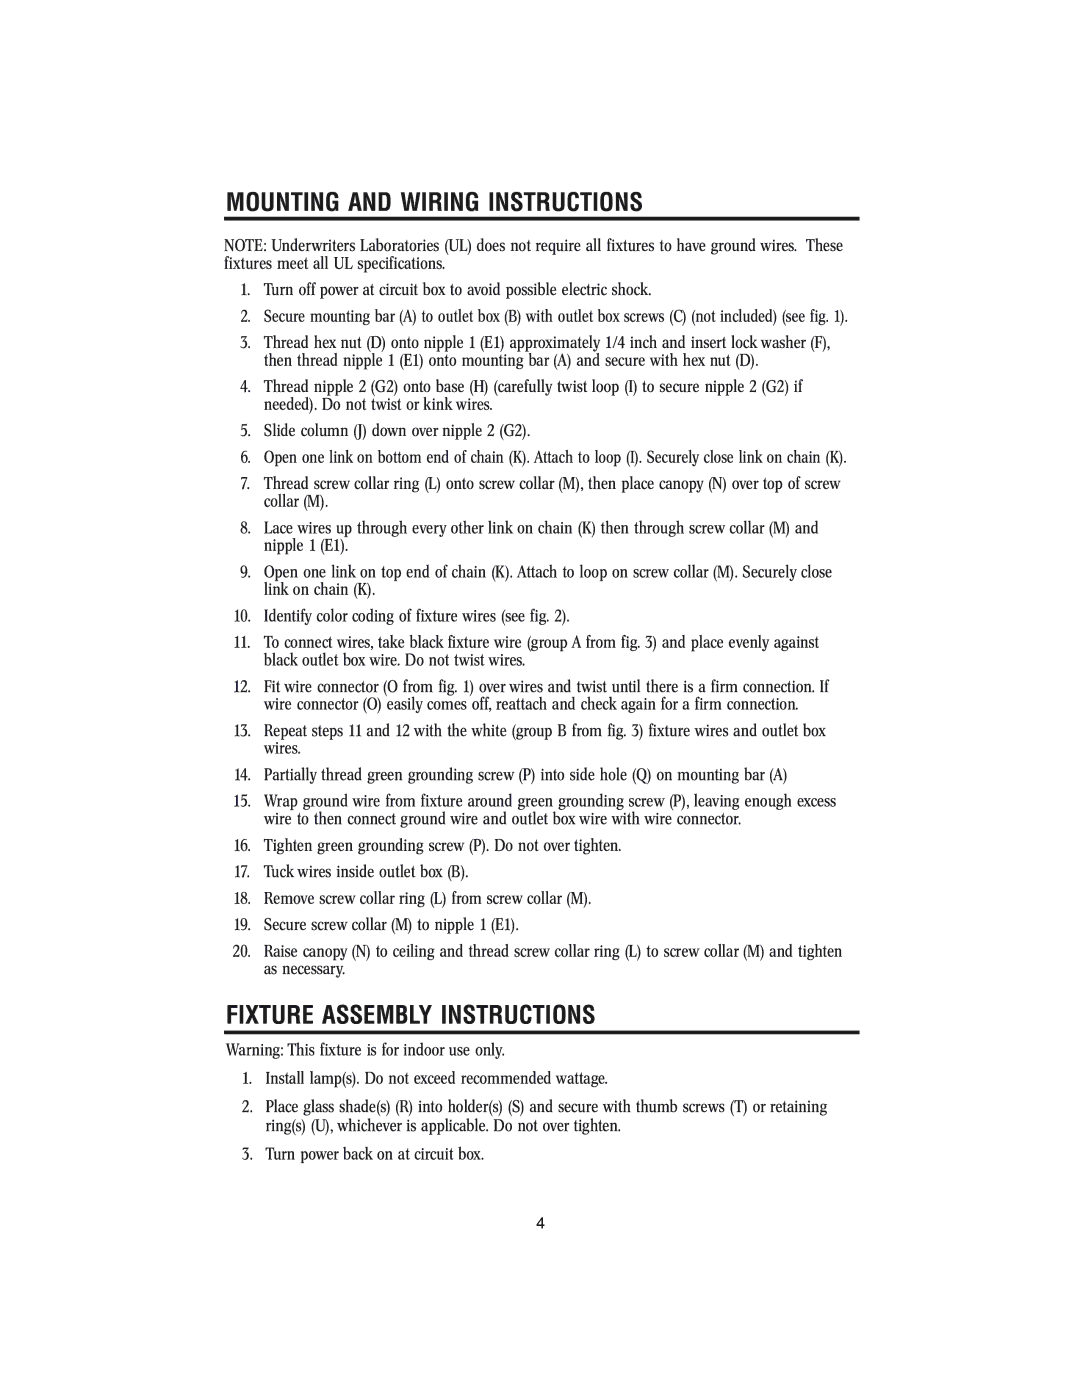
MOUNTING AND WIRING INSTRUCTIONS

NOTE: Underwriters Laboratories (UL) does not require all fixtures to have ground wires. These fixtures meet all UL specifications.

1.Turn off power at circuit box to avoid possible electric shock.

2.Secure mounting bar (A) to outlet box (B) with outlet box screws (C) (not included) (see fig. 1).

3.Thread hex nut (D) onto nipple 1 (E1) approximately 1/4 inch and insert lockwasher (F), then thread nipple 1 (E1) onto mounting bar (A) and secure with hex nut (D).

4.Thread nipple 2 (G2) onto base (H) (carefully twist loop (I) to secure nipple 2 (G2) if needed). Do not twist or kinkwires.

5.Slide column (J) down over nipple 2 (G2).

6.Open one link on bottom end of chain (K). Attach to loop (I). Securely close link on chain (K).

7.Thread screw collar ring (L) onto screw collar (M), then place canopy (N) over top of screw collar (M).

8.Lace wires up through every other link on chain (K) then through screw collar (M) and nipple 1 (E1).

9.Open one link on top end of chain (K). Attach to loop on screw collar (M). Securely close link on chain (K).

10.Identify color coding of fixture wires (see fig. 2).

11.To connect wires, take black fixture wire (group A from fig. 3) and place evenly against black outlet box wire. Do not twist wires.

12.Fit wire connector (O from fig. 1) over wires and twist until there is a firm connection. If wire connector (O) easily comes off, reattach and check again for a firm connection.

13.Repeat steps 11 and 12 with the white (group B from fig. 3) fixture wires and outlet box wires.

14.Partially thread green grounding screw (P) into side hole (Q) on mounting bar (A)

15.Wrap ground wire from fixture around green grounding screw (P), leaving enough excess wire to then connect ground wire and outlet box wire with wire connector.

16.Tighten green grounding screw (P). Do not over tighten.

17.Tuckwires inside outlet box (B).

18.Remove screw collar ring (L) from screw collar (M).

19.Secure screw collar (M) to nipple 1 (E1).

20.Raise canopy (N) to ceiling and thread screw collar ring (L) to screw collar (M) and tighten as necessary.

FIXTURE ASSEMBLY INSTRUCTIONS

Warning: This fixture is for indoor use only.

1.Install lamp(s). Do not exceed recommended wattage.

2.Place glass shade(s) (R) into holder(s) (S) and secure with thumb screws (T) or retaining ring(s) (U), whichever is applicable. Do not over tighten.

3.Turn power back on at circuit box.

4

Page 4
Image 4
Westinghouse 62204 owner manual Mounting and Wiring Instructions, Fixture Assembly Instructions

62204 specifications

The Westinghouse 62204 is a highly regarded ceiling fan designed to enhance both the aesthetics and functionality of various indoor spaces. Blending efficiency with style, this ceiling fan incorporates a range of features and technologies that elevate it above standard models.

One of the standout features of the Westinghouse 62204 is its sleek, modern design. Available in multiple finishes, including brushed nickel and white, it easily complements any interior décor, making it a versatile choice for living rooms, bedrooms, and even home offices. The fan has a 52-inch blade span, which is ideal for medium to large rooms, providing ample airflow to keep spaces cool and comfortable.

The Westinghouse 62204 is equipped with three blades that are aerodynamically designed to maximize air circulation while minimizing noise. At the highest speed, the fan can produce a significant airflow, effectively distributing cool air throughout the room. This model also features three speed settings, allowing users to customize airflow to their preference.

An important technological aspect of the Westinghouse 62204 is its energy efficiency. It is designed to operate quietly while consuming minimal electricity, helping consumers save on their energy bills. The fan is also compatible with a variety of light kits, giving users the option to add illumination that suits their needs.

The fan's installation process is user-friendly, with a straightforward mounting system that can be completed by most DIY enthusiasts. The motor is reversible, which enables the fan to operate in both clockwise and counterclockwise directions. This function is particularly useful for adjusting airflow during different seasons; it can help cool a room in the summer and redistribute warm air in the winter.

Durability is another significant characteristic of the Westinghouse 62204. Built with high-quality materials, it is designed to withstand regular use while maintaining its performance and appearance over time. The meticulous construction reflects Westinghouse's commitment to providing reliable and long-lasting products.

In summary, the Westinghouse 62204 combines style, efficiency, and functionality, making it an excellent addition to any home. Its modern design, energy-efficient operation, versatile airflow settings, and durable construction position it as a top choice for consumers looking to enhance their living spaces with a ceiling fan.