INSTALLATION INSTRUCTIONS
How to install your dryer
Now that you’ve unpacked your dryer, check to be sure you have removed the parts bag from the drum. Remove the tape that holds the drum to the cabinet. Move the drum by hand to make certain all tape has been removed. Next, wipe the interior of the drum thoroughly with a damp cloth before using the dryer.
Installation
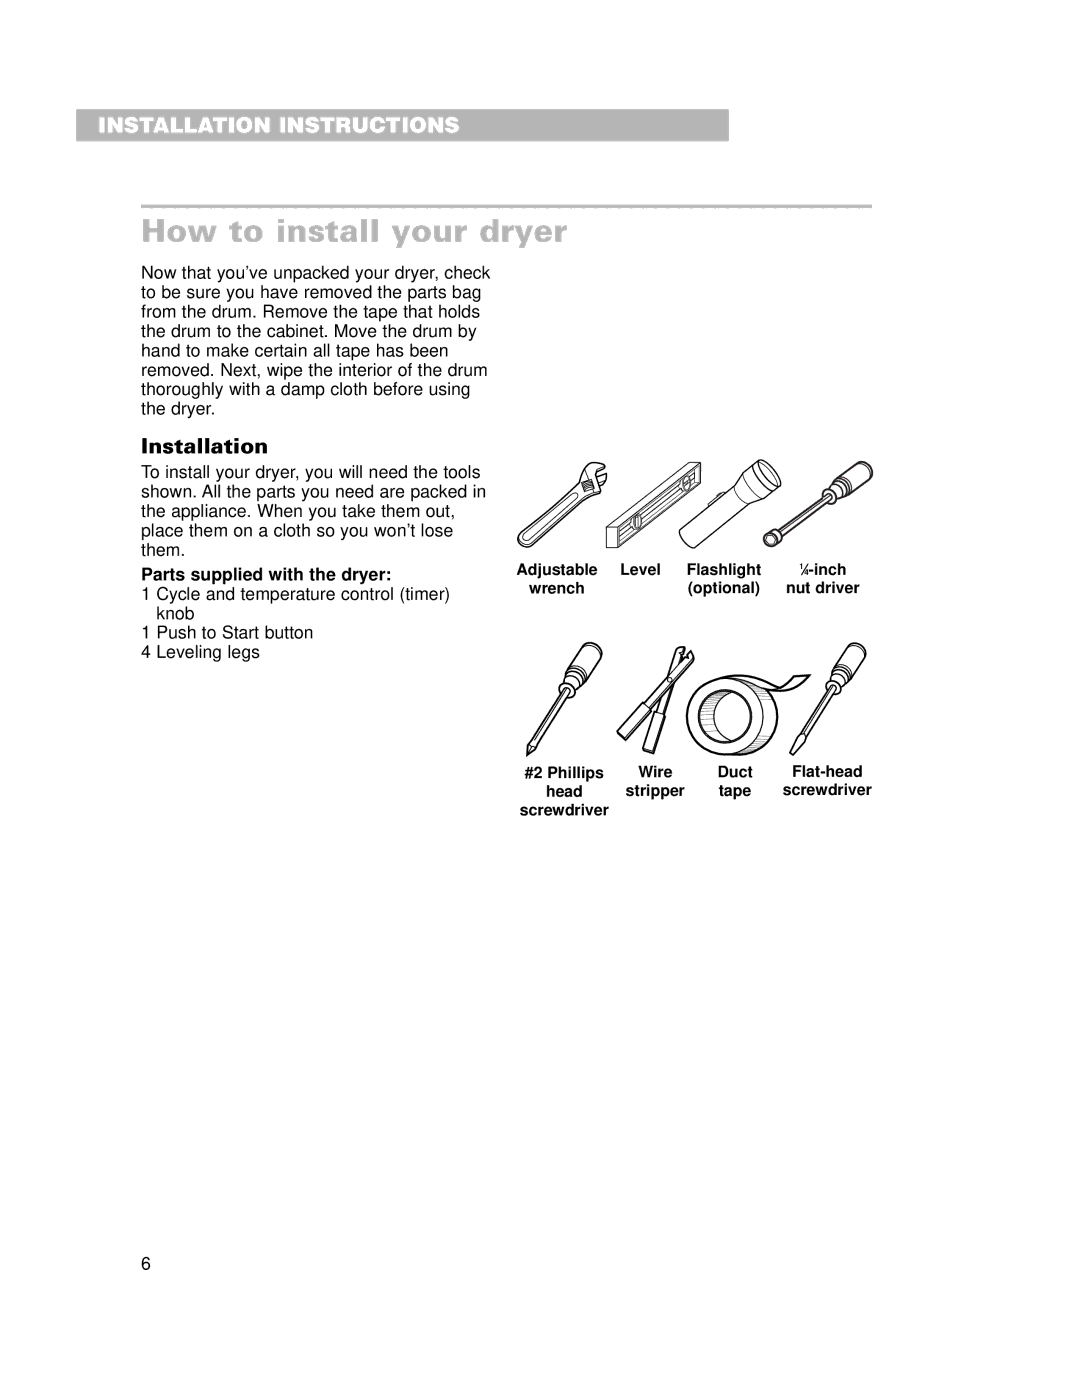
To install your dryer, you will need the tools shown. All the parts you need are packed in the appliance. When you take them out, place them on a cloth so you won’t lose them.
Parts supplied with the dryer:
1 Cycle and temperature control (timer) knob
1 Push to Start button
4 Leveling legs
Adjustable Level | Flashlight | |
wrench | (optional) | nut driver |
#2 Phillips | Wire | Duct | |
head | stripper | tape | screwdriver |
screwdriver |
|
|
|
6