8535840 specifications
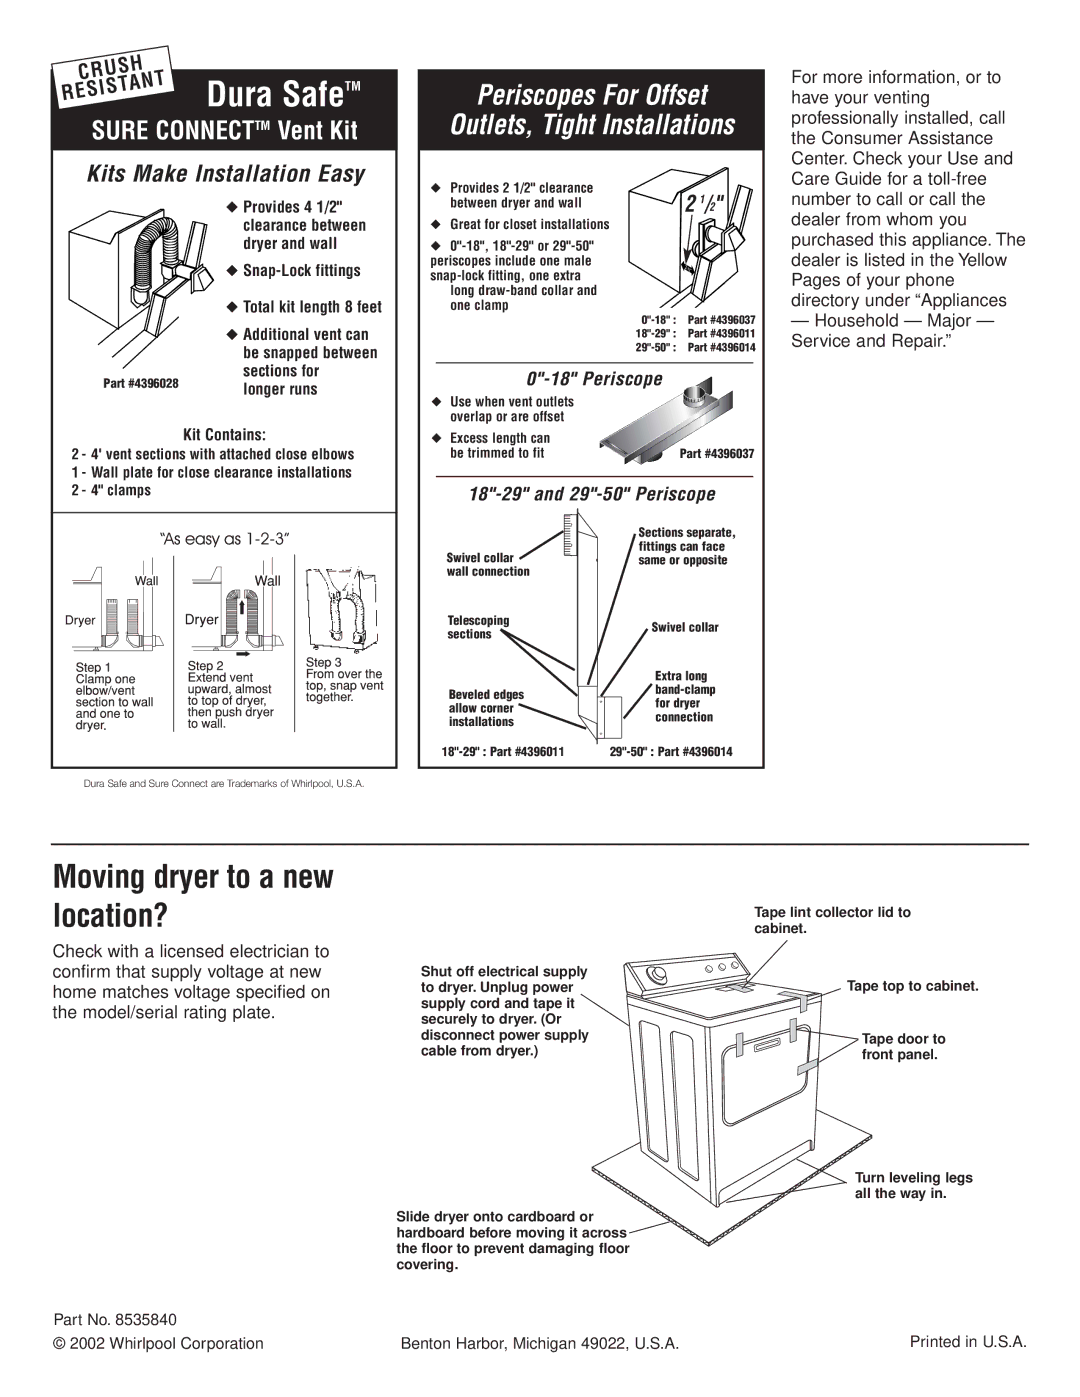
The Whirlpool 8535840 is a versatile and highly efficient appliance designed to elevate the cooking experience in the modern kitchen. This product is primarily known for its functionality as a microwave oven, catering to the need for fast and convenient meal preparation. One of its standout features is its user-friendly interface, making it accessible for individuals of all cooking skill levels.One of the main features of the Whirlpool 8535840 is the Sensor Cooking technology. This innovation allows the microwave to automatically adjust cooking time and power levels based on the moisture released from the food being cooked. As a result, it helps in achieving optimal cooking results without the need for constant monitoring, which is ideal for busy lifestyles. Whether reheating leftovers or cooking a meal from scratch, this feature ensures that food comes out perfectly cooked every time.
In addition to Sensor Cooking, this model also boasts a microwave popcorn setting, which takes the guesswork out of making popcorn. With just the press of a button, it can detect the proper cooking time needed for various types of popcorn, ensuring a perfect, fluffy snack. This level of convenience is a major selling point for many consumers.
The Whirlpool 8535840 is also designed with a spacious interior, allowing it to accommodate larger dishes and containers, which is a significant advantage over many compact models. This feature is particularly beneficial for families or individuals who like to meal prep.
Another characteristic worth noting is the sleek exterior design, which enhances the aesthetic appeal of any kitchen. Available in a variety of finishes, it can seamlessly blend with existing kitchen decor while providing the durability necessary for day-to-day use.
Furthermore, the appliance incorporates multiple power levels, offering versatility in cooking options. Users can choose from various settings depending on the type of food being prepared, whether they are defrosting meat or melting butter.
Energy efficiency is another key aspect of the Whirlpool 8535840. With an emphasis on reducing electricity consumption, this model is designed to be eco-friendly without compromising on performance.
Overall, the Whirlpool 8535840 is a top-tier microwave that combines innovative cooking technologies with practical features, making it a valuable addition to any kitchen.

