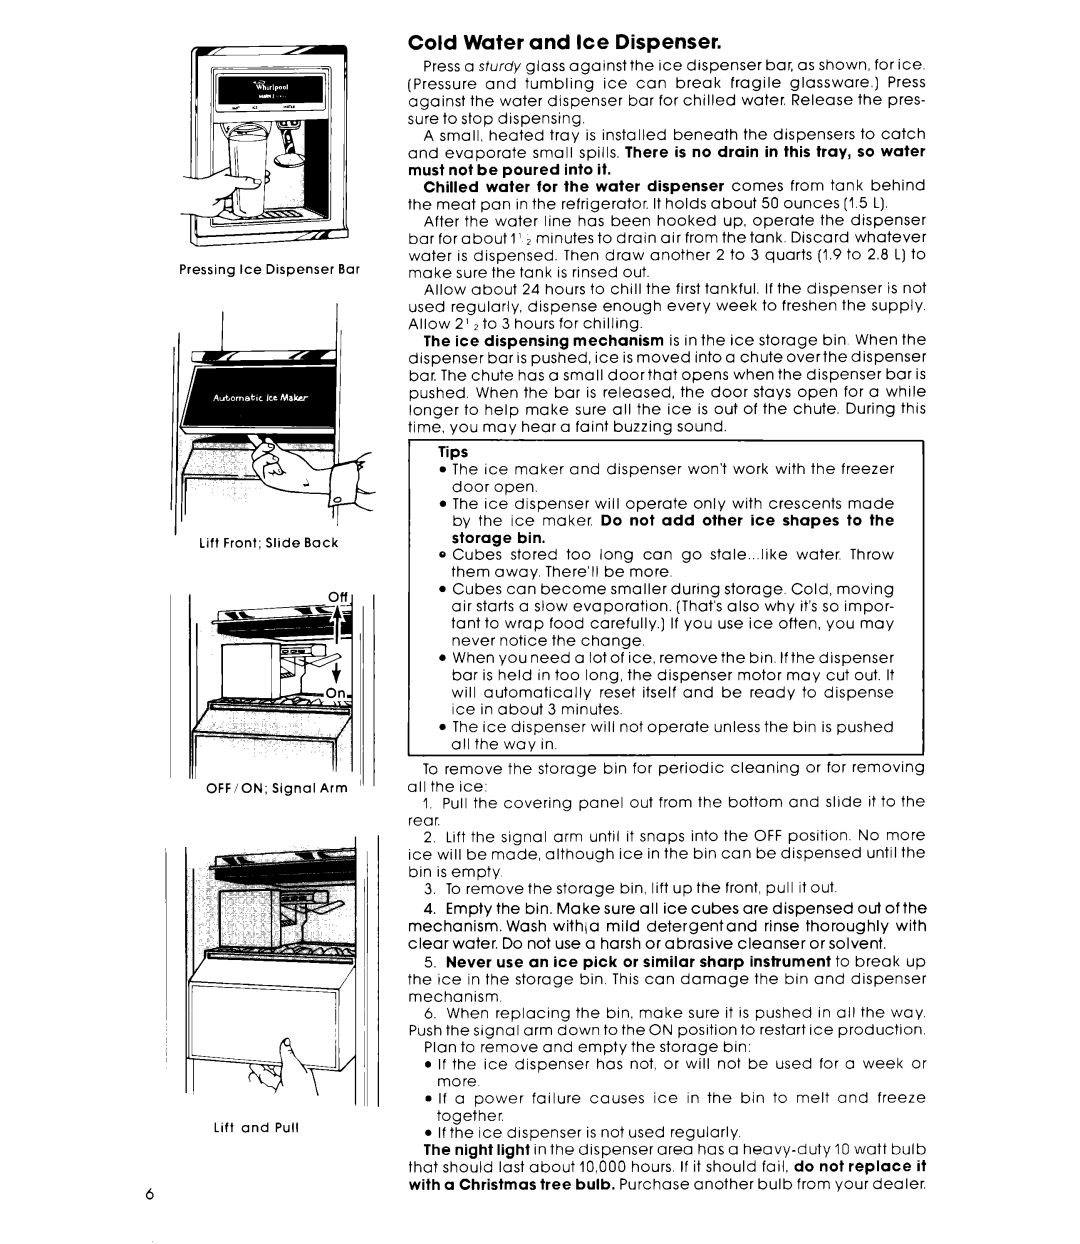
Pressing Ice Dispenser Bar
Lift Front; Slide Back
Lift and Pull
Cold Water and Ice Dispenser.
Press a sturdy glass against the ice dispenser bar, as shown, for ice.
(Pressure | and |
| tumbling |
| ice | can | break |
| fragile |
| glassware.) |
| Press | ||||||||||||
against |
| the | water | dispenser |
| bar for chilled water. Release the pres- | |||||||||||||||||||
sure | to | stop | dispensing. |
|
|
|
|
|
|
|
|
|
|
|
|
|
|
|
|
| |||||
A | small, | heated | tray |
| is installed | beneath | the dispensers | to | catch | ||||||||||||||||
and | evaporate |
| small | spills. | There | is no | drain | in | this | tray, | so | water | |||||||||||||
must not be poured into it. |
|
|
|
|
|
|
|
|
|
|
|
|
|
| |||||||||||
Chilled | water | for | the | water |
| dispenser |
| comes |
| from tank | behind | ||||||||||||||
the meat | pan | in the | refrigerator. |
| It holds | about | 50 | ounces | (1.5 L). |
| |||||||||||||||
After | the | water | line | has | been | hooked |
| up, | operate | the | dispenser | ||||||||||||||
bar | for about | I1 2 minutes | to | drain | air from | the | tank. | Discard | whatever | ||||||||||||||||
water | is dispensed. |
| Then | draw |
| another | 2 to | 3 quarts | (1.9 to | 2.8 | L) to | ||||||||||||||
make sure the tank is rinsed out. |
|
|
|
|
|
|
|
|
|
|
|
| |||||||||||||
Allow |
| about |
| 24 | hours | to | chill | the | first tankful. | If the | dispenser |
| is not | ||||||||||||
used | regularly, |
| dispense | enough | every week to freshen the supply. | ||||||||||||||||||||
Allow 2’ Zto 3 hours for chilling. |
|
|
|
|
|
|
|
|
|
|
|
|
| ||||||||||||
The | ice dispensing | mechanism |
| is in the | ice | storage | bin | When | the | ||||||||||||||||
dispenser | bar | is pushed, | ice is moved into a chute overthe dispenser | ||||||||||||||||||||||
bar. The | chute |
| has | a small | doorthat | opens | when | the | dispenser |
| bar is | ||||||||||||||
pushed. | When | the |
| bar |
| is released, | the | door | stays | open | for | a | while | ||||||||||||
longer to help make sure all the ice is out of the chute. During this time, you may hear a faint buzzing sound
Tips
l The ice maker and dispenser won’t work with the freezer door open.
l The ice dispenser will operate only with crescents made by the ice maker. Do not add other ice shapes to the storage bin.
0 Cubes stored too long can go stale...like water. Throw them away. There’ll be more.
l Cubes can become smaller during storage. Cold, moving
air starts a slow evaporation. (That’s also why it’s so impor- tant to wrap food carefully.] If you use ice often, you may never notice the change.
l When you need a lot of ice, remove the bin. If the dispenser bar is held in too long, the dispenser motor may cut out. It
will automatically reset itself and be ready to dispense ice in about 3 minutes.
l The ice dispenser will not operate unless the bin is pushed nil the wnv in
To remove the storage bin for periodic cleaning or for removing all the ice:
1.Pull the covering panel out from the bottom and slide it to the
rear.
2.Lift the signal arm until it snaps into the OFF position. No more ice will be made, although ice in the bin can be dispensed until the bin is empty
3.To remove the storage bin, lift up the front, pull it out.
4.Empty the bin. Make sure all ice cubes are dispensed out of the
mechanism. Wash with/a mild detergentand rinse thoroughly with clear water. Do not use a harsh or abrasive cleanser or solvent.
5.Never use an ice pick or similar sharp instrument to break up the ice in the storage bin. This can damage the bin and dispenser mechanism.
6.When replacing the bin, make sure it is pushed in all the way. Push the signal arm down to the ON position to restart ice production.
Plan to remove and empty the storage bin:
l If the ice dispenser has not, or will not be used for a week or more
l If a power failure causes ice in the bin to melt and freeze together.
l If the ice dispenser is not used regularly.
The night light in the dispenser area has a
