
GARF06XXMG00 specifications
The Whirlpool GARF06XXMG00 is a top-tier compact refrigerator designed to cater to the needs of modern consumers seeking efficiency, functionality, and style. With a sleek design and innovative technologies, this appliance makes an excellent addition to any kitchen, dorm room, or small living space. One of the standout features of the GARF06XXMG00 is its impressive capacity. Despite its compact size, it offers ample storage options with adjustable shelves and a spacious main compartment that allows for easy organization of food items and beverages.In terms of technology, the GARF06XXMG00 utilizes the brand's advanced cooling system, which ensures that food stays fresher for longer periods while maintaining optimal temperatures. This system is not only efficient in energy consumption but also designed to minimize noise, creating a quieter home environment. The refrigerator is equipped with a powerful compressor that quickly adjusts temperature settings, providing consistent cooling performance whether users are storing fresh produce or frozen goods.
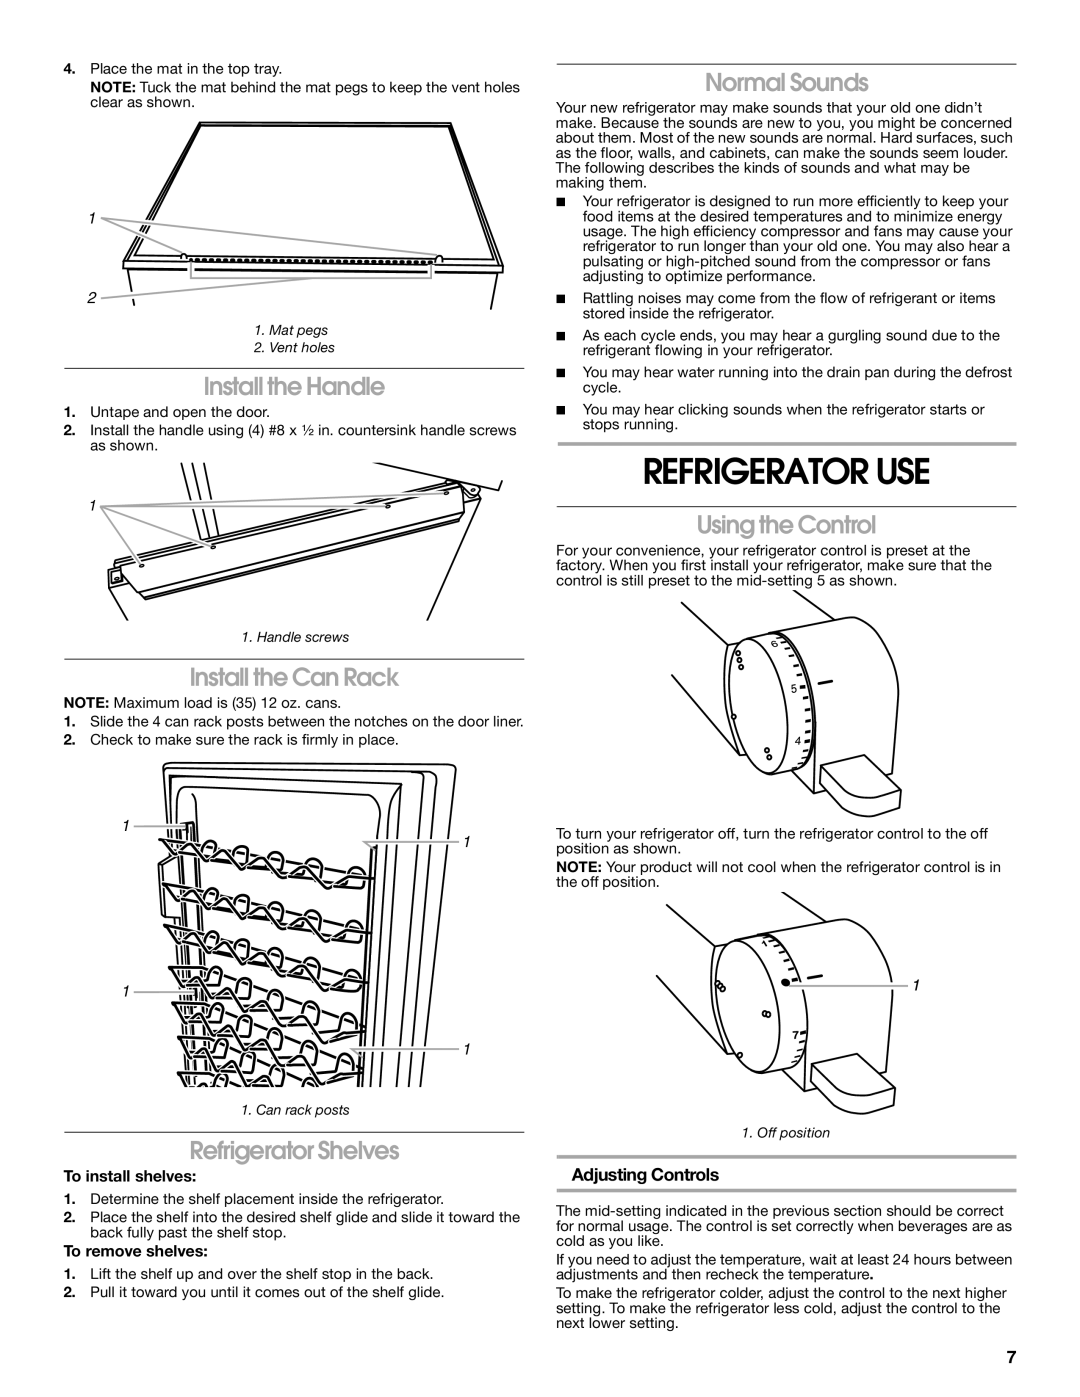
Another key characteristic of the Whirlpool GARF06XXMG00 is its user-friendly interface. The model includes easy-to-use temperature controls, enabling occupants to customize their cooling experience effortlessly. Moreover, the interior lighting is designed to illuminate the entire space, making it easier to find items, even in low-light conditions.
Storage versatility is enhanced through the presence of bin doors and specialized compartments for different types of food. The refrigerator features a dedicated produce drawer to keep fruits and vegetables fresh, while the adjustable door bins offer convenient access to smaller items. Additionally, the freezer compartment allows users to store frozen meals, ice, and various snacks with ease.
Furthermore, the GARF06XXMG00 includes advanced efficiency features that meet ENERGY STAR guidelines, making it an environmentally friendly choice. This not only benefits the planet but also reduces electricity bills, aligning with the growing consumer demand for sustainable appliances.
In summary, the Whirlpool GARF06XXMG00 combines style, efficiency, and practicality, making it an ideal solution for those looking to maximize their storage space without sacrificing performance. Its innovative features and thoughtful design make it a standout choice in the compact refrigerator category, appealing to a wide variety of lifestyles and preferences.