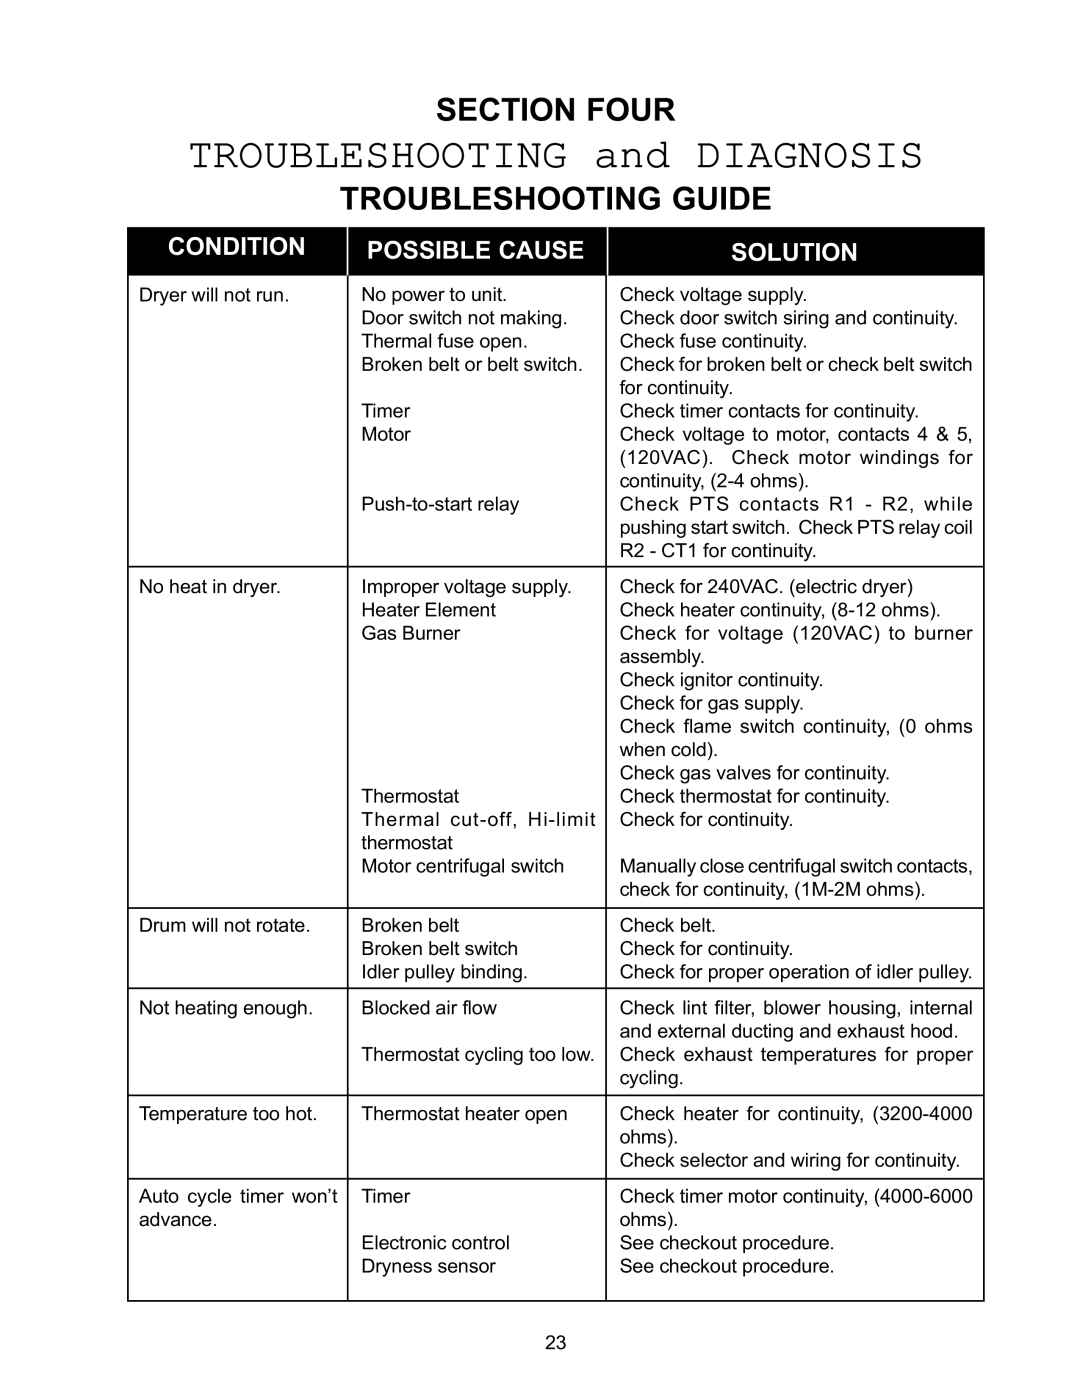
SECTION FOUR
TROUBLESHOOTING and DIAGNOSIS
TROUBLESHOOTING GUIDE
CONDITION | POSSIBLE CAUSE | SOLUTION |
|
|
|
Dryer will not run. | No power to unit. | Check voltage supply. |
| Door switch not making. | Check door switch siring and continuity. |
| Thermal fuse open. | Check fuse continuity. |
| Broken belt or belt switch. | Check for broken belt or check belt switch |
|
| for continuity. |
| Timer | Check timer contacts for continuity. |
| Motor | Check voltage to motor, contacts 4 & 5, |
|
| (120VAC). Check motor windings for |
|
| continuity, |
| Check PTS contacts R1 - R2, while | |
|
| pushing start switch. Check PTS relay coil |
|
| R2 - CT1 for continuity. |
|
|
|
No heat in dryer. | Improper voltage supply. | Check for 240VAC. (electric dryer) |
| Heater Element | Check heater continuity, |
| Gas Burner | Check for voltage (120VAC) to burner |
|
| assembly. |
|
| Check ignitor continuity. |
|
| Check for gas supply. |
|
| Check flame switch continuity, (0 ohms |
|
| when cold). |
|
| Check gas valves for continuity. |
| Thermostat | Check thermostat for continuity. |
| Thermal | Check for continuity. |
| thermostat |
|
| Motor centrifugal switch | Manually close centrifugal switch contacts, |
|
| check for continuity, |
|
|
|
Drum will not rotate. | Broken belt | Check belt. |
| Broken belt switch | Check for continuity. |
| Idler pulley binding. | Check for proper operation of idler pulley. |
|
|
|
Not heating enough. | Blocked air flow | Check lint filter, blower housing, internal |
|
| and external ducting and exhaust hood. |
| Thermostat cycling too low. | Check exhaust temperatures for proper |
|
| cycling. |
|
|
|
Temperature too hot. | Thermostat heater open | Check heater for continuity, |
|
| ohms). |
|
| Check selector and wiring for continuity. |
|
|
|
Auto cycle timer won’t | Timer | Check timer motor continuity, |
advance. |
| ohms). |
| Electronic control | See checkout procedure. |
| Dryness sensor | See checkout procedure. |
|
|
|
23
