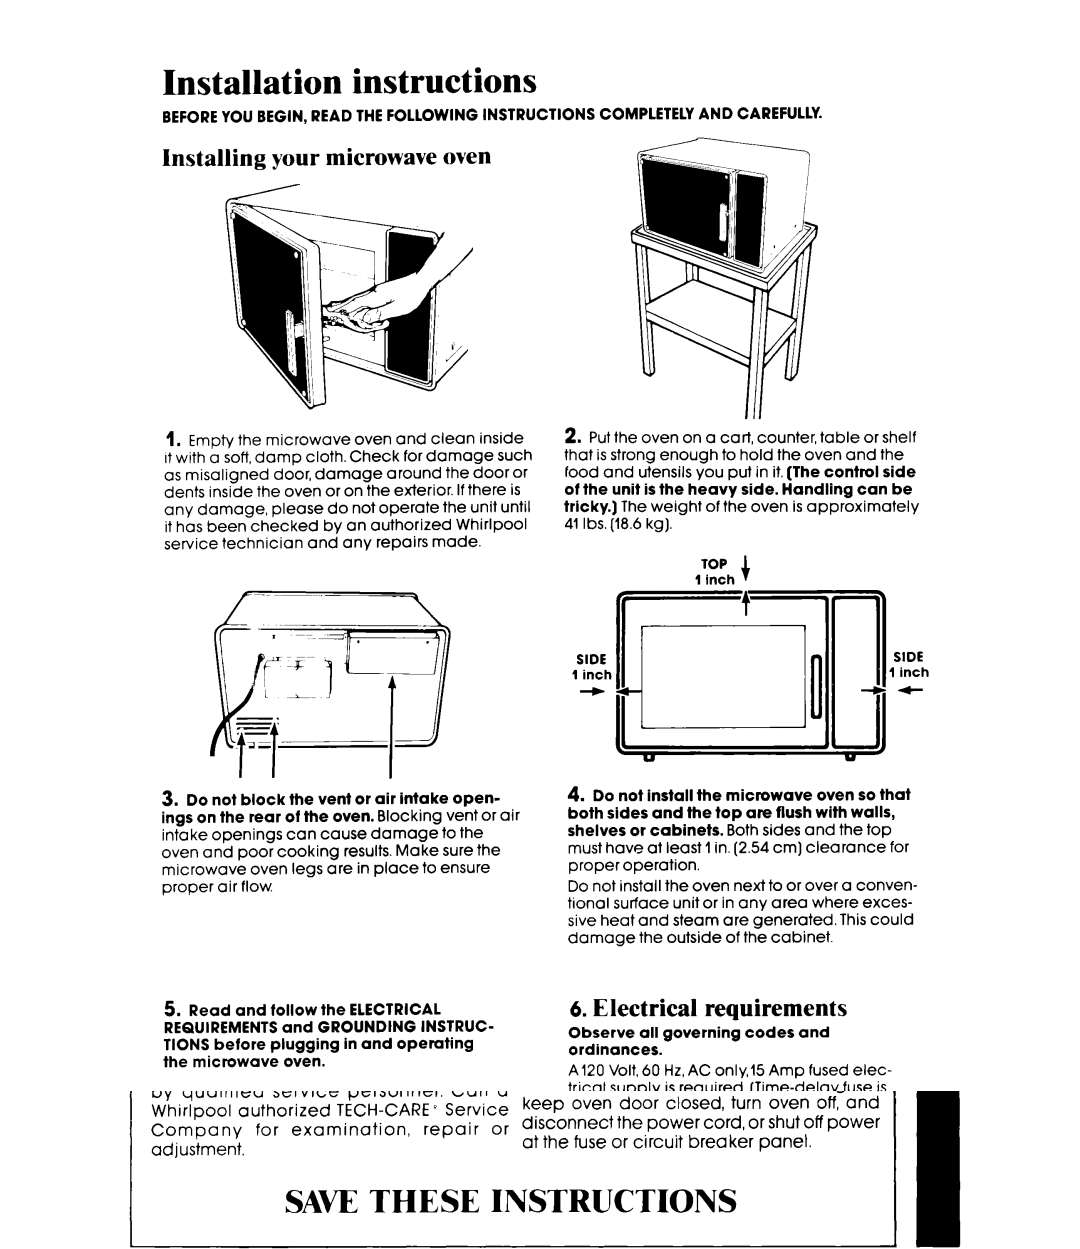
MW3500XM specifications
The Whirlpool MW3500XM is a cutting-edge microwave oven that exemplifies convenience and modern cooking technology. Designed with a sleek and modern aesthetic, this appliance not only enhances countertop appeal but also delivers exceptional cooking performance.One of the main features of the Whirlpool MW3500XM is its powerful 1,000 watts of cooking power. This robust wattage allows for quick and efficient heating, ensuring that your meals are ready in no time. The microwave’s spacious 1.9 cubic feet interior provides ample space for a wide variety of dishes, accommodating everything from a large casserole dish to multiple servings of popcorn.
The Whirlpool MW3500XM also comes equipped with a range of smart cooking technologies. Its intuitive sensor cooking feature automatically adjusts cooking time and power settings based on the moisture released from the food. This ensures that dishes are perfectly cooked, preventing overcooking or undercooking—a significant advantage for busy home cooks.
Additionally, the microwave boasts several pre-programmed cooking options for added convenience. These include settings for popcorn, pizza, and baked potatoes, making it easy for users to prepare their favorite snacks and meals with just the touch of a button. This user-friendly interface is complemented by a clear LED display, which provides easy readability and precise cooking time management.
The Whirlpool MW3500XM also prioritizes safety and ease of use. It features a child lock function, which restricts access to the microwave’s controls, making it a safer option for households with young children. Moreover, the microwave includes a removable turntable that promotes even cooking and reheating by rotating food items for consistent results.
In terms of maintenance, this microwave is designed to be easy to clean. The interior surfaces are made of stainless steel, which resists stains and allows for quick wipe-downs after use. The grease filter is also readily accessible and washable, enhancing convenience and hygiene.
Overall, the Whirlpool MW3500XM combines power, versatile cooking options, and user-friendly features, making it an essential appliance for any modern kitchen. Whether you're reheating leftovers, cooking a quick meal, or experimenting with new recipes, this microwave oven stands out for its efficiency and ease of use, appealing to cooks of all levels.