j=qq 120 sgrm | L |
|
f | KITCHEN | |
|
| |
|
| RANGE HOOD |
|
| MODEL |
| I | RH4930XL |
|
|
READ AND SAVE THESE INSTRUCTIONS
Before you begln, read the following instructions
completely and carefully. If followed, they will s:mpllfy
the installation 101~.
IMPORTANT: | OBSERVE ALL GOVERklNG | CODES | KNOLKCJT | FL14 7” ,AtYi- |
| &ND ORDINANCES |
| ROUVC | /EYTlNG |
|
|
|
|
SAVE THESE INSTRUCTIONS FOR THE LOCAL
ELECTRICAL INSPECTOR’S USE
Your range hoocr ‘:a> been deslgr,?d
accessories are r? ncve<j frc m iari,n ‘zol bc jt re ,u ‘s ant ease In !h+ IRS!? Hatlo I 0. !ws
Instructlonc sheet tonecome fam!. arwtt tb?step t,y ;tel Installat80i
YOUR HOSD CAN BE !NST4iLED VENTLES.; WHESE Al3 I3
CIRCULATED BACK IbTO THE RO:3b:
FILTER OR VENTED Wl+ERE 4lR i5 i4KEN OUT OF YOU9
KITCHEN
For | mosl efficient | operalion. | the | top of | the | hood | should | be | ||
approximalely | 66 inches | (167.6 | cm) | from | the | floor. | See Page 2 | |||
for | examples | of | typical | ductwork | installations. |
| Choose | the | ||
best | melhod | for | your installation. |
|
|
|
|
|
| |
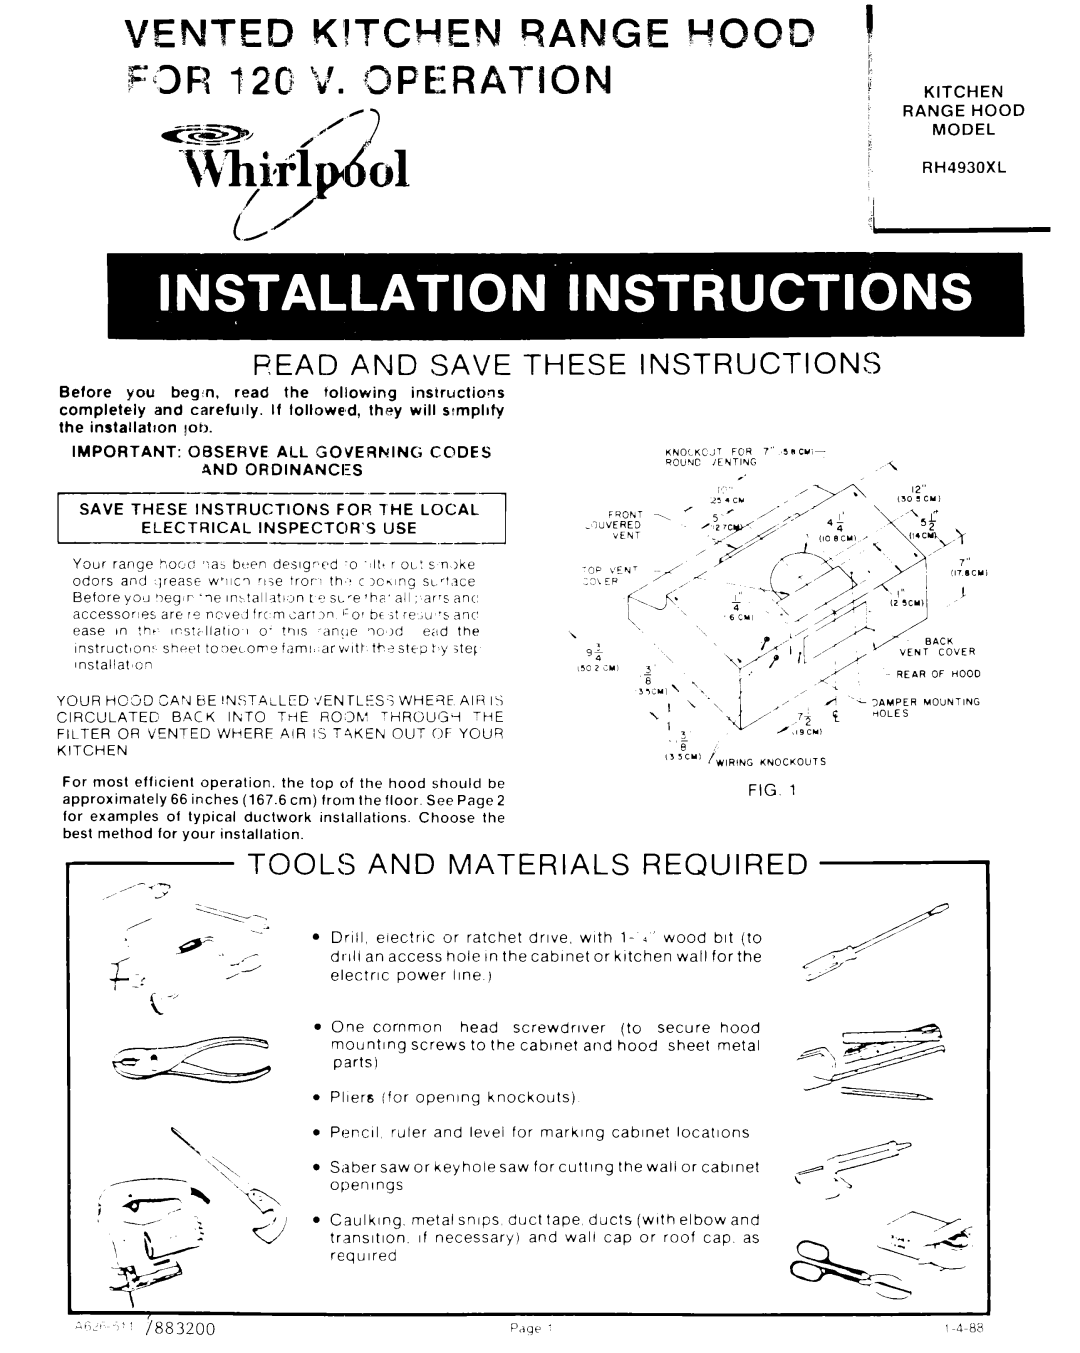
REAR OF HOOD
” ‘“,” i,,R,NG KNOCKOUTS
FIG. 1
TOOLS AND MATERIALS REQUIRED
fl_. /-
q:
FS
\
,;\
; Fy | ‘~:,- |
72
l Drill, | elec!rlc | or ratchet | drive, | with | l- 4’ | wood | bit | (to | ’ / /’ | |
hole | In the | cabinet | or | kitchen | wall | for | the | |||
electric | power | line | j |
|
|
|
|
|
| 2 |
|
|
|
|
|
| K | ||||
l One common head screwdriver (to secure hood
mounting screws to the cabinet and hood sheet metal
parts1
l Pllera [for opening knockouts)
l Pencil ruler and levei for marklng cabinet locations
l | Saber saw | or | keyhole | saw for | cutting | the | wall or | cabinet | ,/e |
| openings |
|
|
|
|
|
|
|
|
l | Caulking. | metal snips | duct tape ducts (with elbow and |
| |||||
| transItIon. | If | necessary) | and | wall | cap | or roof | cap. as |
|
| required |
|
|
|
|
|
|
|
|
