RJM 7800 specifications
The Whirlpool RJM 7800 is a high-performance microwave oven that offers efficiency and versatility, making it an essential addition to any modern kitchen. Notably, this model incorporates several advanced features and technologies designed to enhance cooking convenience and improve user experience.One of the standout features of the RJM 7800 is its 800-watt power output, which ensures rapid heating and cooking of meals. This power level is optimal for various cooking tasks, whether you are reheating leftovers, defrosting frozen items, or cooking a meal from scratch. The microwave is equipped with multiple power levels, allowing users to select the ideal setting for specific cooking needs, ensuring food is not just heated but cooked evenly.
The RJM 7800 integrates intuitive controls that make operation simple and user-friendly. A clear digital display provides easy visibility of cooking times and settings, while the ergonomic buttons allow for seamless navigation through the microwave's functions. Furthermore, the included pre-set cooking options for popular foods, such as popcorn and pizza, simplify the cooking process by automatically determining the ideal time and power settings.
This model also features a spacious interior, with a turntable that ensures even cooking by rotating food during operation. The generous capacity allows for the preparation of larger quantities or bigger dishes, accommodating families or gatherings without compromising convenience.
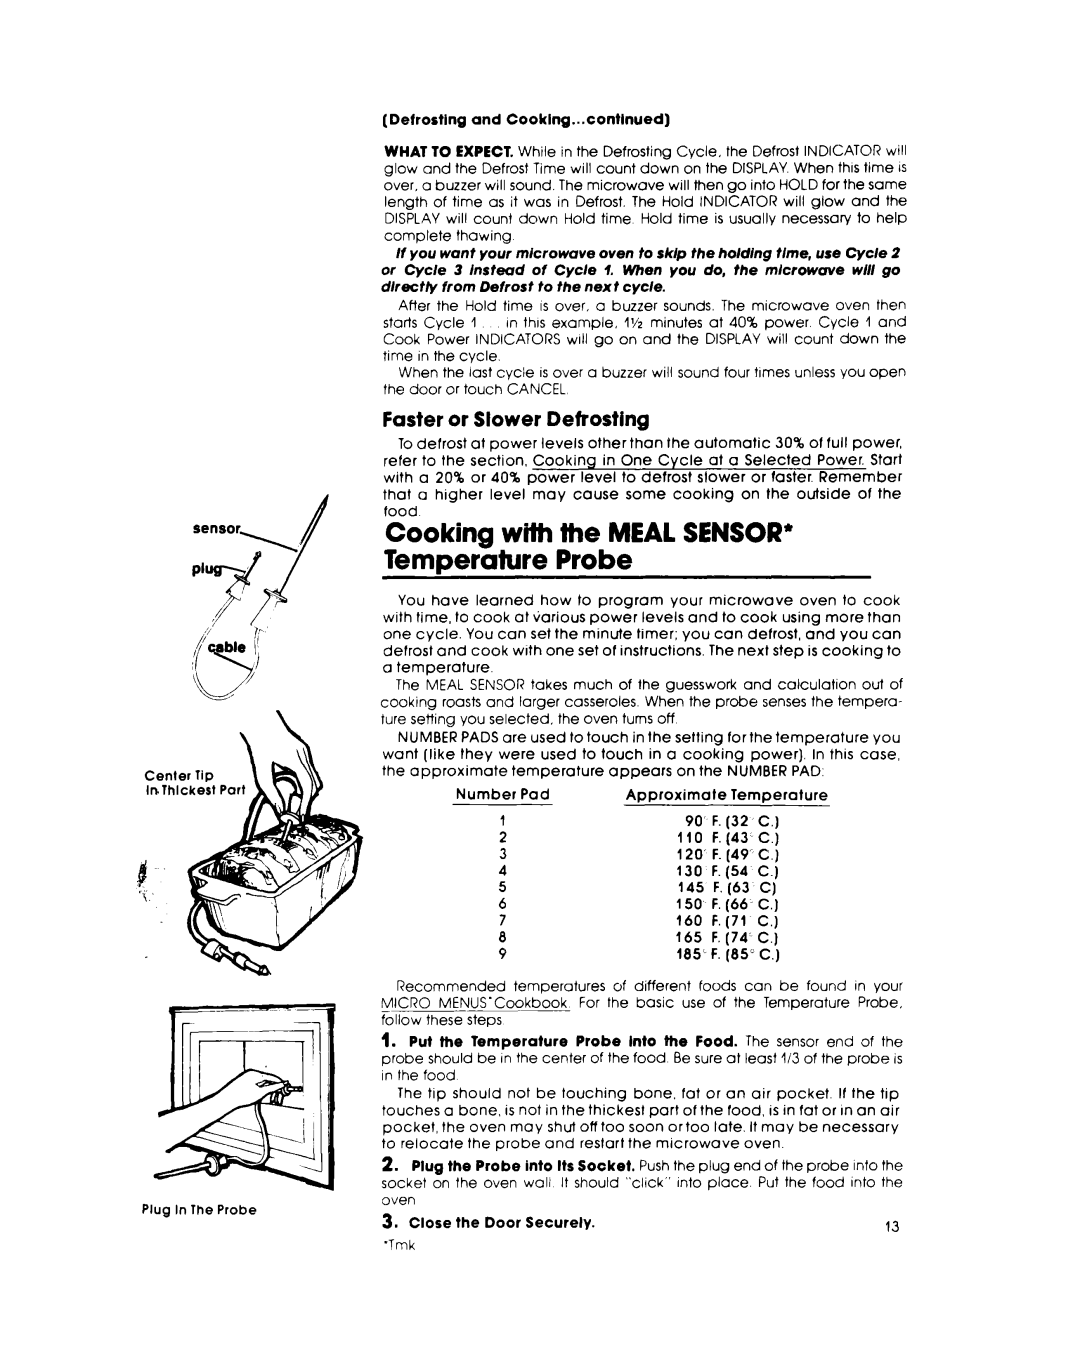
Additionally, the RJM 7800 boasts advanced sensor cooking technology. This innovative feature monitors the moisture levels in the food and adjusts cooking times accordingly, ensuring meals are perfectly cooked without manual intervention. This technology not only enhances cooking efficiency but also helps to prevent overcooking or undercooking.
The design of the RJM 7800 reflects both functionality and style, with a sleek stainless-steel finish that complements modern kitchens. The durable exterior is designed for easy cleaning, while the interior surfaces resist stains and odors, providing a hygienic cooking environment.
Lastly, energy efficiency is a key consideration in its design, as this microwave uses less energy compared to traditional cooking methods, making it an eco-friendly choice for the conscientious consumer.
In summary, the Whirlpool RJM 7800 microwave is an amalgamation of power, efficiency, and modern technology. Its user-friendly features, spacious design, and advanced cooking technologies make it a valuable appliance in any household, streamlining meal preparation and enhancing the overall cooking experience.

