Removing meat drawer and cover
For models RT14CK and RTlSDK
To remove:
1.Slide meat drawer out to the guide stops.
2.Lift the front of meat drawer until
it clears stops. Slide drawer out the rest of the way.
3.Lift cover straight up and out.
To replace:
1.Fit notches of cover sides over center shelf support.
2.Lower cover into place.
3.Fit edges of drawer into supports on cover.
4.Slide meat drawer into place.
For models RT18AK, RTl8BM, RT18BK, RTZOCK and RTZOAK
To remove:
1.Slide meat drawer out to the guide stops.
2.Lift the front of meat drawer until it clears stops.
3.Slide drawer out the rest of the way.
4.Tilt cover front up.
5.Lift up at back until it releases.
6.Pull straight out. (Be
To replace:
1.Guide rear hooks of cover into the shelf support slots.
2.Tilt cover front up until hooks drop into slots. Lower front of cover to a level position.
3.Replace meat drawer in reverse order.
Removing crispers and crisper cover
For models RT14DK, RT14DM, RT14CK, RTlGDK and RTlSDK
To remove crispers:
1.Slide crisper straight forward to the guide stops.
2.Lift front until it clears stops. Slide crisper out the rest of the way.
3.Replace in reverse order.
To remove cover:
1.Lift front and remove cover support.
2.Lift cover up and out.
To replace cover:
1.Fit cover notches into supports on walls of refrigerator. Lower front into place.
2.Insert cover support (with the long tab toward the front) into the groove
on the underside of the crisper
cover.
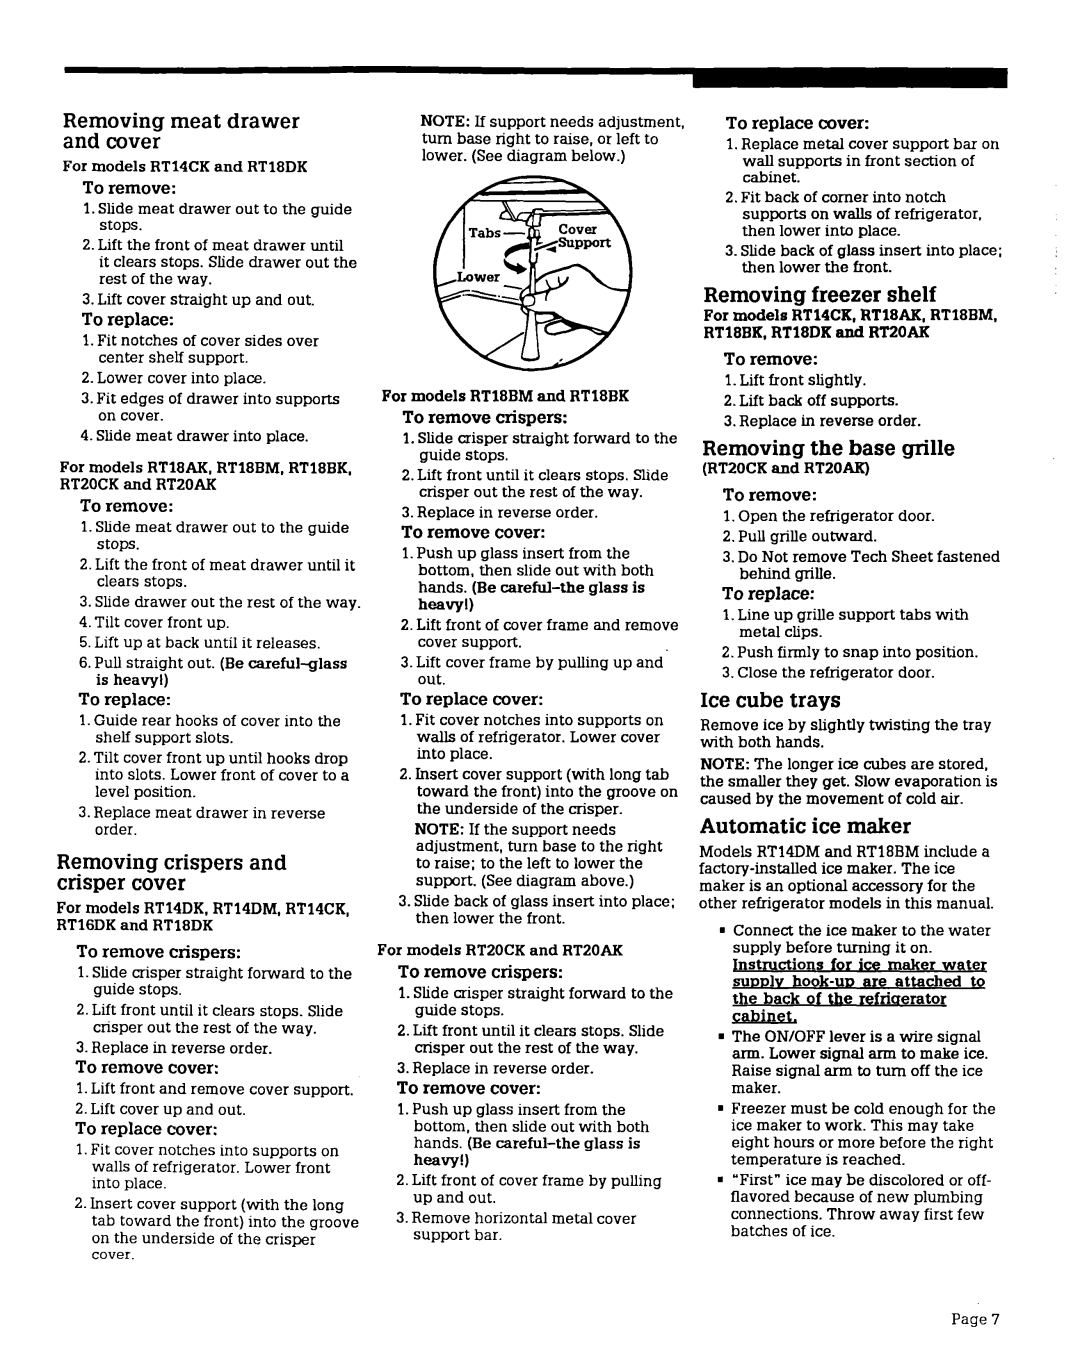
NOTE: If support needs adjustment, turn base right to raise, or left to lower. (Seediagram below.)
For models RT18BM and RT18BK
To remove crispers:
1.Slide crisper straight forward to the guide stops.
2.Lift front until it clears stops. Slide crisper out the rest of the way.
3.Replace in reverse order.
To remove cover:
1.Push up glass insert from the bottom, then slide out with both hands. (Be
2.Lift front of cover frame and remove cover support.
3.Lift cover frame by pulling up and’ out.
To replace cover:
1.Fit cover notches into supports on walls of refrigerator. Lower cover into place.
2.Insert cover support (with long tab toward the front) into the groove on the underside of the crisper.
NOTE: If the support needs adjustment, turn base to the right to raise; to the left to lower the support. (Seediagram above.)
3.Slide back of glass insert into place; then lower the front.
For models RTZOCK and RT2OAK
To remove crispers:
1.Slide crisper straight forward to the guide stops.
2.Lift front until it clears stops. Slide crisper out the rest of the way.
3.Replace in reverse order.
To remove cover:
1.Push up glass insert from the bottom, then slide out with both hands. (Be
heavy!)
2.Lift front of cover frame by pulling up and out.
3.Remove horizontal metal cover support bar.
To replace cover:
1.Replace metal cover support bar on wall supports in front section of cabinet.
2.Fit back of comer into notch supports on wa.Usof refrigerator, then lower into place.
3.Slide back of glass insert into place; then lower the front.
Removing freezer shelf
For models RT14CK, RT18AK, RTlSBM. RT18BK, RT18DK and RTZOAK
To remove:
1.Lift front slightly.
2.Lift back off supports.
3.Replace in reverse order.
Removing the base grille
(RTZOCK and RTZOAK)
To remove:
1.Open the refrigerator door.
2.Pull grille outward.
3.Do Not remove Tech Sheet fastened behind grille.
To replace:
1.Line up grille support tabs with metal clips.
2.Push firmly to snap into position.
3.Close the refrigerator door.
Ice cube trays
Remove ice by slightly twisting the tray with both hands.
NOTE: The longer ice cubes are stored, the smaller they get. Slow evaporation is caused by the movement of cold air.
Automatic ice maker
Models RT14DM and RT18BM include a
Connect the ice maker to the water supply before turning it on.
Jnstructions for ice maker water SUDD~V
cabinet.
The ON/OFF lever is a wire signal arm. Lower signal arm to make ice. Raise signal arm to turn off the ice maker.
Freezer must be cold enough for the ice maker to work. This may take eight hours or more before the right temperature is reached.
“First”ice may be discolored or off- flavored because of new plumbing connections. Throw away first few batches of ice.
Page 7