Whirlpool W10175487A Replace Door and Hinges Style 1-Standard Door, Remove Drawer Front

Models: W10175487A

1 58
Download 58 pages 20.12 Kb
Page 7
Image 7

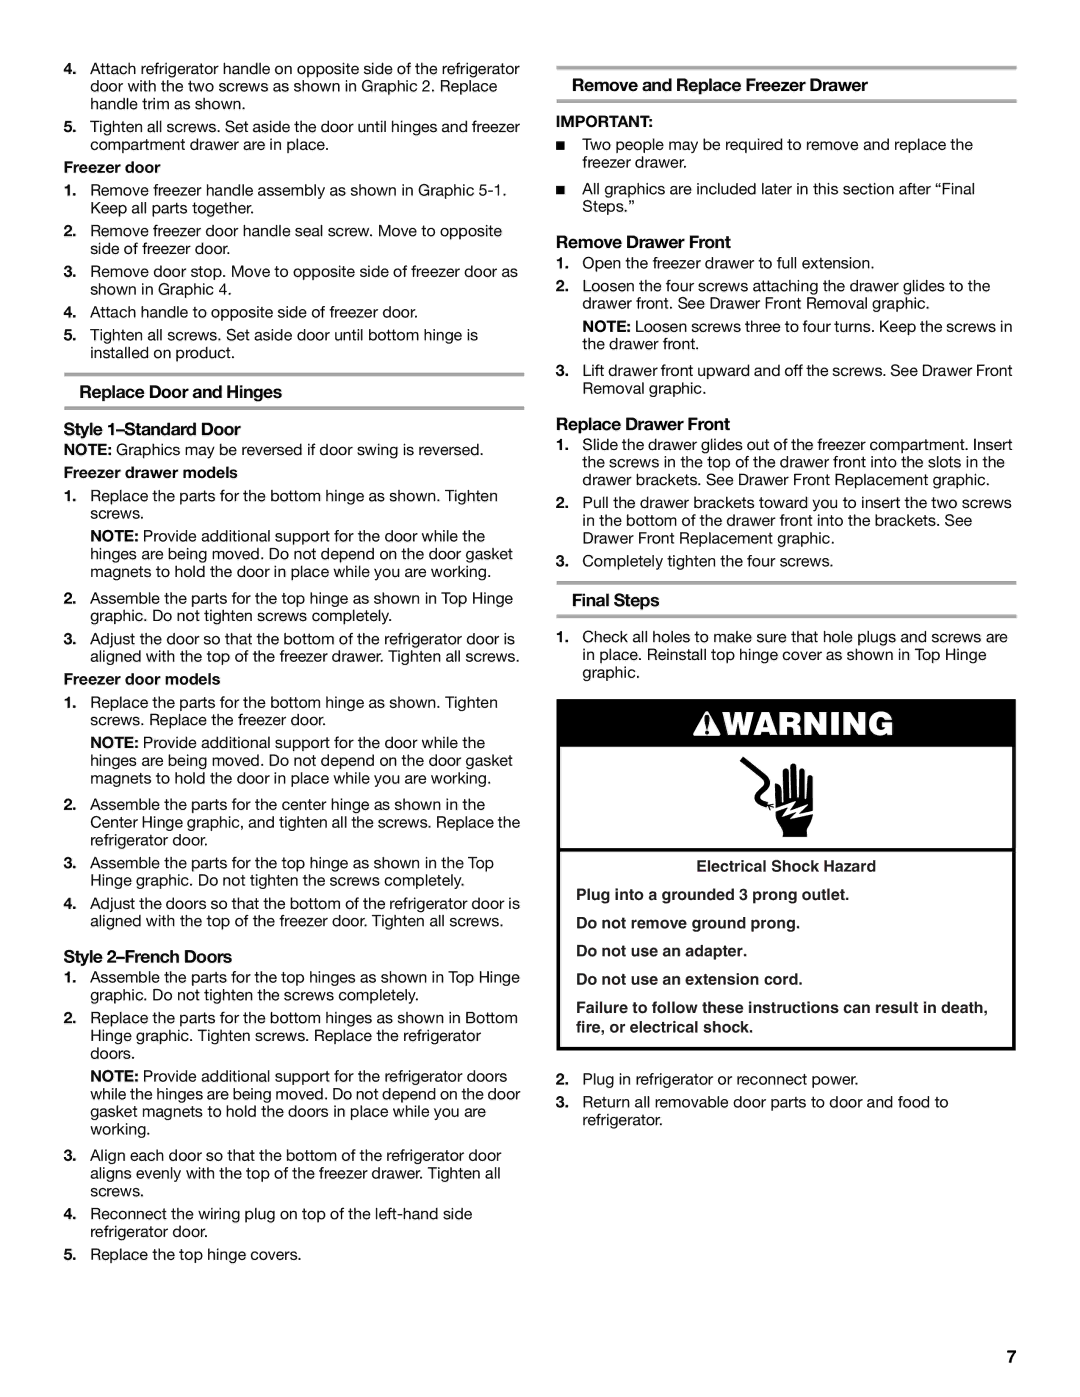
4.Attach refrigerator handle on opposite side of the refrigerator door with the two screws as shown in Graphic 2. Replace handle trim as shown.

5.Tighten all screws. Set aside the door until hinges and freezer compartment drawer are in place.

Freezer door

1.Remove freezer handle assembly as shown in Graphic 5-1. Keep all parts together.

2.Remove freezer door handle seal screw. Move to opposite side of freezer door.

3.Remove door stop. Move to opposite side of freezer door as shown in Graphic 4.

4.Attach handle to opposite side of freezer door.

5.Tighten all screws. Set aside door until bottom hinge is installed on product.

Replace Door and Hinges

Style 1–Standard Door

NOTE: Graphics may be reversed if door swing is reversed.

Freezer drawer models

1.Replace the parts for the bottom hinge as shown. Tighten screws.

NOTE: Provide additional support for the door while the hinges are being moved. Do not depend on the door gasket magnets to hold the door in place while you are working.

2.Assemble the parts for the top hinge as shown in Top Hinge graphic. Do not tighten screws completely.

3.Adjust the door so that the bottom of the refrigerator door is aligned with the top of the freezer drawer. Tighten all screws.

Freezer door models

1.Replace the parts for the bottom hinge as shown. Tighten screws. Replace the freezer door.

NOTE: Provide additional support for the door while the hinges are being moved. Do not depend on the door gasket magnets to hold the door in place while you are working.

2.Assemble the parts for the center hinge as shown in the Center Hinge graphic, and tighten all the screws. Replace the refrigerator door.

3.Assemble the parts for the top hinge as shown in the Top Hinge graphic. Do not tighten the screws completely.

4.Adjust the doors so that the bottom of the refrigerator door is aligned with the top of the freezer door. Tighten all screws.

Style 2–French Doors

1.Assemble the parts for the top hinges as shown in Top Hinge graphic. Do not tighten the screws completely.

2.Replace the parts for the bottom hinges as shown in Bottom Hinge graphic. Tighten screws. Replace the refrigerator doors.

NOTE: Provide additional support for the refrigerator doors while the hinges are being moved. Do not depend on the door gasket magnets to hold the doors in place while you are working.

3.Align each door so that the bottom of the refrigerator door aligns evenly with the top of the freezer drawer. Tighten all screws.

4.Reconnect the wiring plug on top of the left-hand side refrigerator door.

5.Replace the top hinge covers.

Remove and Replace Freezer Drawer

IMPORTANT:

Two people may be required to remove and replace the freezer drawer.

All graphics are included later in this section after “Final Steps.”

Remove Drawer Front

1.Open the freezer drawer to full extension.

2.Loosen the four screws attaching the drawer glides to the drawer front. See Drawer Front Removal graphic.

NOTE: Loosen screws three to four turns. Keep the screws in the drawer front.

3.Lift drawer front upward and off the screws. See Drawer Front Removal graphic.

Replace Drawer Front

1.Slide the drawer glides out of the freezer compartment. Insert the screws in the top of the drawer front into the slots in the drawer brackets. See Drawer Front Replacement graphic.

2.Pull the drawer brackets toward you to insert the two screws in the bottom of the drawer front into the brackets. See Drawer Front Replacement graphic.

3.Completely tighten the four screws.

Final Steps

1.Check all holes to make sure that hole plugs and screws are in place. Reinstall top hinge cover as shown in Top Hinge graphic.

WARNING

Electrical Shock Hazard

Plug into a grounded 3 prong outlet.

Do not remove ground prong.

Do not use an adapter.

Do not use an extension cord.

Failure to follow these instructions can result in death, fire, or electrical shock.

2.Plug in refrigerator or reconnect power.

3.Return all removable door parts to door and food to refrigerator.

7

Page 7
Image 7
Whirlpool W10175487A Replace Door and Hinges Style 1-Standard Door, Remove and Replace Freezer Drawer, Remove Drawer Front

W10175487A specifications

The Whirlpool W10175487A is a high-efficiency washer and dryer that embodies modern home appliance technology. Designed to seamlessly integrate into any laundry space, it efficiently combines functionality with user-friendly features to streamline the washing process.

One of the main characteristics of the W10175487A is its advanced wash system, which utilizes an adaptive wash action. This feature tailors the washing motion based on the load size and fabric type, ensuring that clothes receive a thorough clean without being subjected to unnecessary wear and tear. This not only helps in maintaining the quality of your garments but also reduces energy consumption.

The machine is equipped with a large capacity drum that accommodates sizeable laundry loads, making it ideal for families. This generous size means fewer washes are required, saving both time and resources. Furthermore, the washer's load sensing technology automatically adjusts the water level, ensuring that each wash is as efficient as possible.

In terms of energy efficiency, the Whirlpool W10175487A boasts Energy Star certification, a testament to its low energy consumption and minimized environmental impact. The energy-saving mode allows for even further reduction in electricity use while still delivering superior cleaning performance.

The dryer that accompanies this washer offers an array of key features, including multiple drying cycles that cater to diverse fabric types. From delicate items to heavy-duty towels, the drying options are versatile enough to accommodate all needs. An integrated moisture sensor ensures clothes are dried to the perfect level, preventing shrinkage and fabric damage.

User-friendliness is a core focus of the W10175487A, evident in its easy-to-use control panel. With clearly marked settings and a simple interface, navigating through various wash and dry cycles is effortless, making laundry day less of a chore.

In summary, the Whirlpool W10175487A stands out for its advanced washing technology, energy-efficient design, large capacity, and user-friendly features. Ideal for households seeking a reliable laundry solution, it offers a perfect blend of performance and convenience, enhancing the overall laundry experience.