Whirlpool W10297006B Remove the wiring clip using a ¹⁄₄ hex-head socket wrench

Models: W10297006B

1 60
Download 60 pages 28.71 Kb
Page 4
Image 4

Remove the Doors

WARNING

Electrical Shock Hazard

Disconnect power before removing doors.

Failure to do so can result in death or electrical shock.

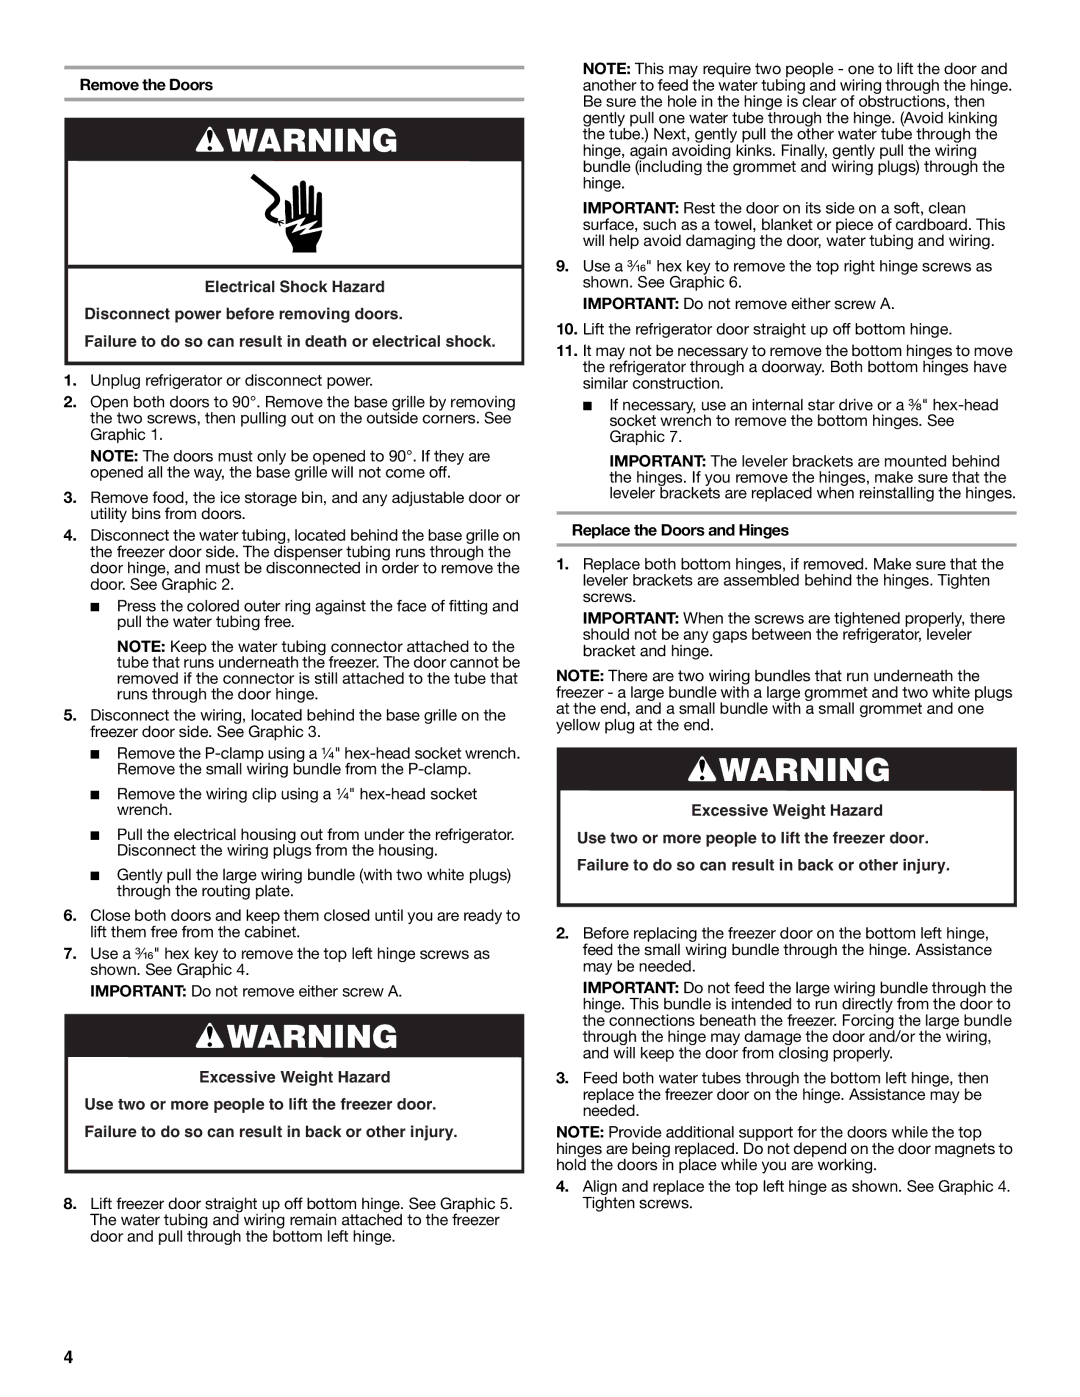
1.Unplug refrigerator or disconnect power.

2.Open both doors to 90°. Remove the base grille by removing the two screws, then pulling out on the outside corners. See Graphic 1.

NOTE: The doors must only be opened to 90°. If they are opened all the way, the base grille will not come off.

3.Remove food, the ice storage bin, and any adjustable door or utility bins from doors.

4.Disconnect the water tubing, located behind the base grille on the freezer door side. The dispenser tubing runs through the door hinge, and must be disconnected in order to remove the door. See Graphic 2.

Press the colored outer ring against the face of fitting and pull the water tubing free.

NOTE: Keep the water tubing connector attached to the tube that runs underneath the freezer. The door cannot be removed if the connector is still attached to the tube that runs through the door hinge.

5.Disconnect the wiring, located behind the base grille on the freezer door side. See Graphic 3.

Remove the P-clamp using a ¹⁄₄" hex-head socket wrench. Remove the small wiring bundle from the P-clamp.

Remove the wiring clip using a ¹⁄₄" hex-head socket wrench.

Pull the electrical housing out from under the refrigerator. Disconnect the wiring plugs from the housing.

Gently pull the large wiring bundle (with two white plugs) through the routing plate.

6.Close both doors and keep them closed until you are ready to lift them free from the cabinet.

7.Use a ³⁄₁₆" hex key to remove the top left hinge screws as shown. See Graphic 4.

IMPORTANT: Do not remove either screw A.

WARNING

Excessive Weight Hazard Use two or more people to lift the freezer door. Failure to do so can result in back or other injury.

8.Lift freezer door straight up off bottom hinge. See Graphic 5. The water tubing and wiring remain attached to the freezer door and pull through the bottom left hinge.

NOTE: This may require two people - one to lift the door and another to feed the water tubing and wiring through the hinge. Be sure the hole in the hinge is clear of obstructions, then gently pull one water tube through the hinge. (Avoid kinking the tube.) Next, gently pull the other water tube through the hinge, again avoiding kinks. Finally, gently pull the wiring bundle (including the grommet and wiring plugs) through the hinge.

IMPORTANT: Rest the door on its side on a soft, clean surface, such as a towel, blanket or piece of cardboard. This will help avoid damaging the door, water tubing and wiring.

9.Use a ³⁄₁₆" hex key to remove the top right hinge screws as shown. See Graphic 6.

IMPORTANT: Do not remove either screw A.

10.Lift the refrigerator door straight up off bottom hinge.

11.It may not be necessary to remove the bottom hinges to move the refrigerator through a doorway. Both bottom hinges have similar construction.

If necessary, use an internal star drive or a ³⁄₈" hex-head socket wrench to remove the bottom hinges. See Graphic 7.

IMPORTANT: The leveler brackets are mounted behind the hinges. If you remove the hinges, make sure that the leveler brackets are replaced when reinstalling the hinges.

Replace the Doors and Hinges

1.Replace both bottom hinges, if removed. Make sure that the leveler brackets are assembled behind the hinges. Tighten screws.

IMPORTANT: When the screws are tightened properly, there should not be any gaps between the refrigerator, leveler bracket and hinge.

NOTE: There are two wiring bundles that run underneath the freezer - a large bundle with a large grommet and two white plugs at the end, and a small bundle with a small grommet and one yellow plug at the end.

WARNING

Excessive Weight Hazard Use two or more people to lift the freezer door. Failure to do so can result in back or other injury.

2.Before replacing the freezer door on the bottom left hinge, feed the small wiring bundle through the hinge. Assistance may be needed.

IMPORTANT: Do not feed the large wiring bundle through the hinge. This bundle is intended to run directly from the door to the connections beneath the freezer. Forcing the large bundle through the hinge may damage the door and/or the wiring, and will keep the door from closing properly.

3.Feed both water tubes through the bottom left hinge, then replace the freezer door on the hinge. Assistance may be needed.

NOTE: Provide additional support for the doors while the top hinges are being replaced. Do not depend on the door magnets to hold the doors in place while you are working.

4.Align and replace the top left hinge as shown. See Graphic 4. Tighten screws.

4

Page 4
Image 4
Whirlpool W10297006B Remove the wiring clip using a ¹⁄₄ hex-head socket wrench, Replace the Doors and Hinges

W10297006B specifications

The Whirlpool W10297006B is a high-quality and efficient appliance designed to meet the demands of modern kitchens. With a focus on performance, convenience, and user-friendly features, this appliance has garnered attention from both homeowners and culinary enthusiasts alike.

One of the standout characteristics of the Whirlpool W10297006B is its innovative technology. This appliance incorporates advanced features aimed at enhancing cooking efficiency and precision. The built-in technology ensures even heating and cooking, giving users the confidence that their meals will be prepared to perfection every time. The appliance boasts a powerful heating element, which significantly reduces cooking time, making it ideal for busy individuals or families.

In addition to its cutting-edge technology, the Whirlpool W10297006B is designed with user convenience in mind. Its intuitive control panel allows for easy navigation between settings, making it accessible for users of all skill levels. Features such as preset cooking modes and customizable temperature settings provide versatility, allowing for a wide range of recipes to be tackled effortlessly.

The appliance also emphasizes energy efficiency, helping users save on utility bills. With a focus on sustainability, the Whirlpool W10297006B is built to minimize energy consumption while delivering exceptional cooking performance. This energy-efficient design is not only beneficial for your wallet but also contributes positively to the environment.

Another notable feature of this appliance is its spacious interior. The thoughtfully designed interior provides ample space for cooking multiple dishes simultaneously. Whether you are preparing a hearty family meal or hosting a gathering, the Whirlpool W10297006B allows for flexibility and ease of use.

Durability is another key characteristic of this appliance. Made with quality materials, the Whirlpool W10297006B is built to withstand the rigors of daily use. Its sleek design not only enhances the aesthetics of any kitchen but also ensures that it remains functional and stylish for years to come.

In summary, the Whirlpool W10297006B combines advanced technology, user-friendly features, energy efficiency, and durability to create an appliance that stands out in the kitchen. Whether you are a novice cook or an experienced chef, this appliance is designed to cater to all your cooking needs with ease and reliability.